CHAPTER 11 INSTALLATION
11-22
COPYRIGHT © 1999 CANON INC. CANON CLC1120/1130/1150 REV.0 MAR. 1999 PRINTED IN JAPAN (IMPRIME AU JAPON)
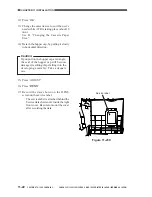
12) Press ‘OK’.
13) Change the cassette size to suit the user’s
needs while ATR is taking place (about 10
min).
See H. “Changing the Cassette Paper
Size.”
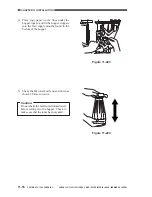
14) Detach the hopper cap, by pulling it slowly
in horizontal direction.
Caution:
If you pull on the hopper cap at an angle,
the seal of the hopper cap will become
damaged, resulting chips falling into the
developing assembly. Take adequate
care.
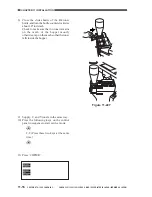
15) Press ‘ADJUST’.
16) Press ‘
DENS
’.
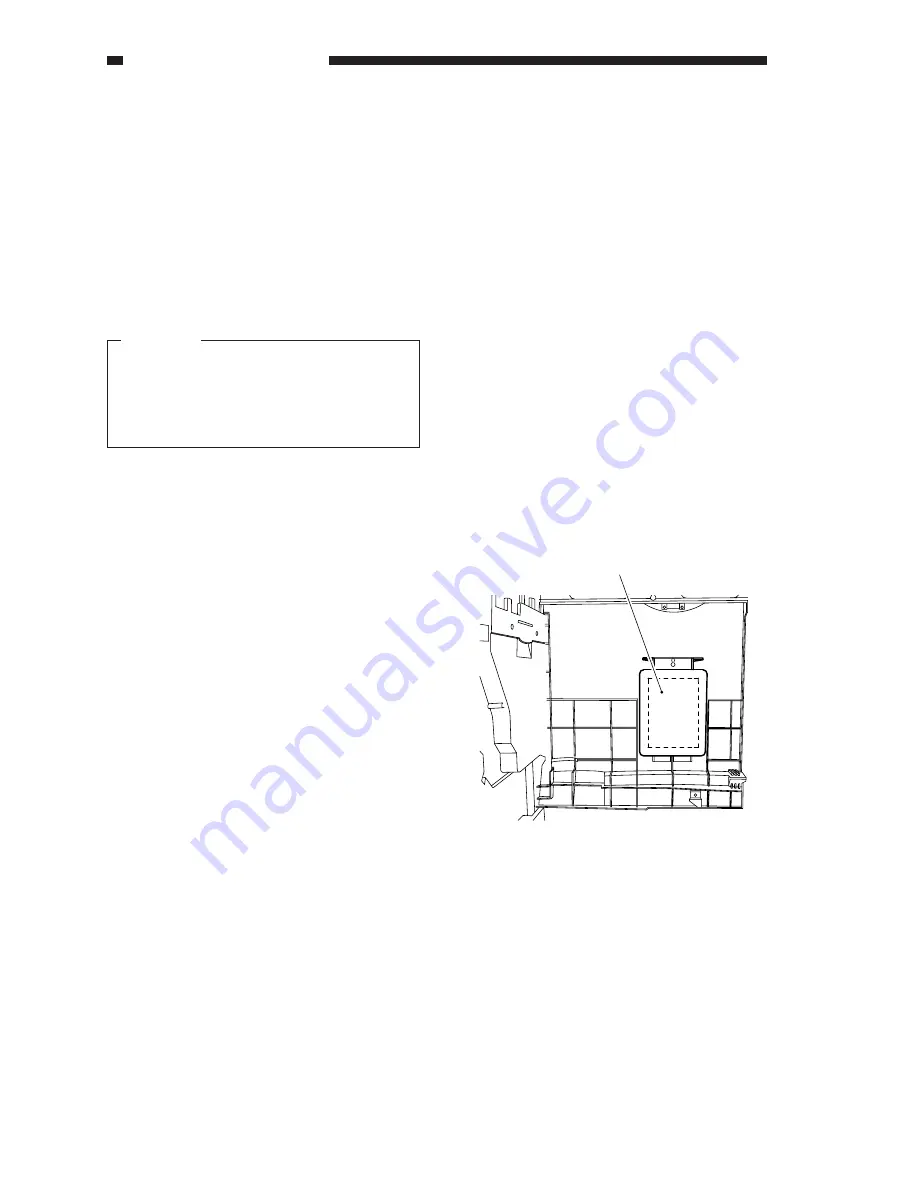
17) Record the data shown on the DENS
screen on the service label.
·
The service label is attached behind the
Service data sheet cover inside the right
front cover. Be sure to mount the cover
after recording the data.
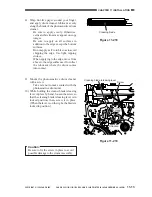
Figure 11-230
Service label
Summary of Contents for CLC 1120
Page 6: ......
Page 20: ......
Page 22: ......
Page 48: ......
Page 94: ......
Page 96: ......
Page 114: ......
Page 134: ......
Page 136: ......
Page 152: ......
Page 242: ......
Page 346: ......
Page 374: ......
Page 376: ......
Page 412: ......
Page 452: ......
Page 454: ......
Page 517: ......
Page 881: ......
Page 893: ......
Page 895: ......
Page 899: ......


