COPYRIGHT © 2001 CANON INC.
2000 2000 2000 2000
CANON CLC5000 REV.0 JAN. 2001
CHAPTER 3 INSTALLATION
3-34
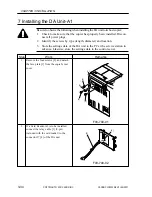
7 Installing the DA Unit-A1
Be sure to observe the following when installing the DA unit to its host copier:
1.
Check to make sure that the copier has properly been installed. Discon
nect all power plugs.
2.
Identify the screws by type (length, diameter) and location.
3.
Store the settings data of the DA unit to the PC at the service station in
advance. Likewise, store the settings data to the control server.
Step
Work
Remarks
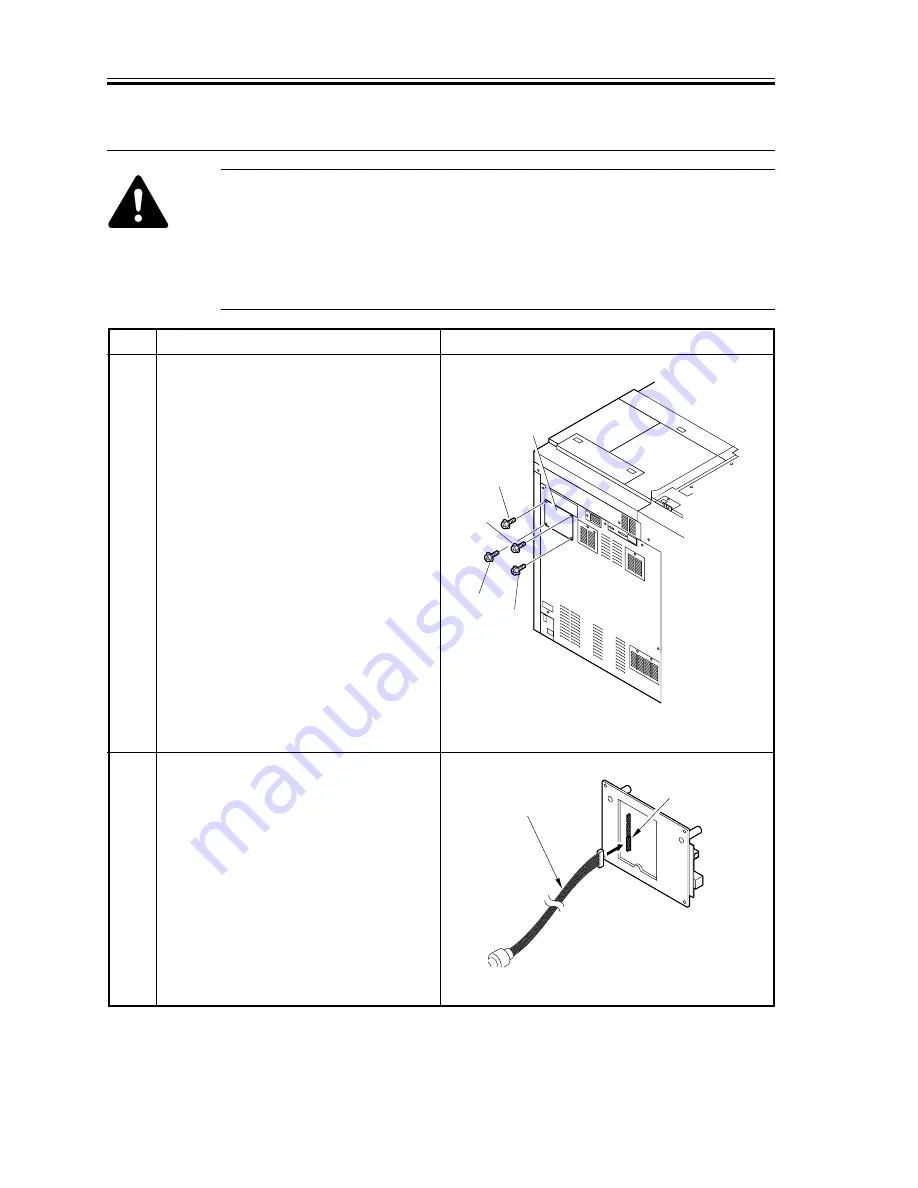
1
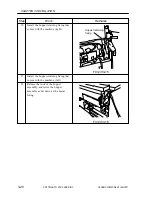
Remove the four screws [2], and detach
the face plate [1] from the copier’s rear
cover.
2
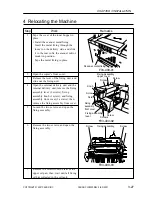
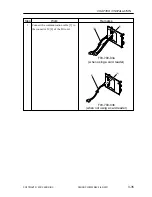
If a Card Reader-A1 is to be installed,
connect the relay cable [3] (9-pin;
included with the card reader) to the
connector J7 [4] of the DA unit.
[1]
[2]
[2]
[2]
[2]
[3]
[4]
F03-700-01
F03-700-02
Summary of Contents for CLC 5000
Page 7: ...Main Body Accessory COPYRIGHT 2001 CANON INC 2000 2000 20000 CANON CLC5000 REV 0 JAN 2001 ...
Page 574: ...COPYRIGHT 2001 CANON INC 2000 2000 2000 2000 CANON CLC5000 REV 0 JAN 2001 APPENDIX ...
Page 578: ...COPYRIGHT 2001 CANON INC 2000 CANON CLC5000 REV 0 JAN 2001 A 4 Blank page ...
Page 587: ...Service Mode COPYRIGHT 2001 CANON INC 2000 CANON CLC5000 REV 0 JAN 2001 ...
Page 725: ...Error Code COPYRIGHT 2001CANONINC 2000CANONCLC5000REV 0JAN 2001 ...
Page 727: ...COPYRIGHT 2001 CANON INC 2000 CANON CLC5000 REV 0 JAN 2001 ii CONTENTS Blank page ...

