background image

Setting Transfer Syntax for DICOM

5

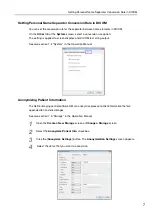
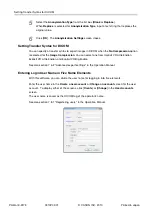
Select the 

Anonymization Type

 from the list box (

Blank

 or 

Replace

).

When 

Replace

 is selected for 

Anonymization Type

, input a text string that replaces the 

original value. 

6

Click [

OK

].  The 

Anonymization Settings

 screen closes.

Setting Transfer Syntax for DICOM 

You can specify a transfer syntax to export images in DICOM when the 

No Compression

 option 

is selected for the 

Image Compression

. You can select one from Implicit VR Little Endian, 

Explicit VR Little Endian, and Explicit VR Big Endian. 

See also section 7.6.2 “Advanced export settings” in the Operation Manual. 

Entering Login User Name in Five Name Elements  

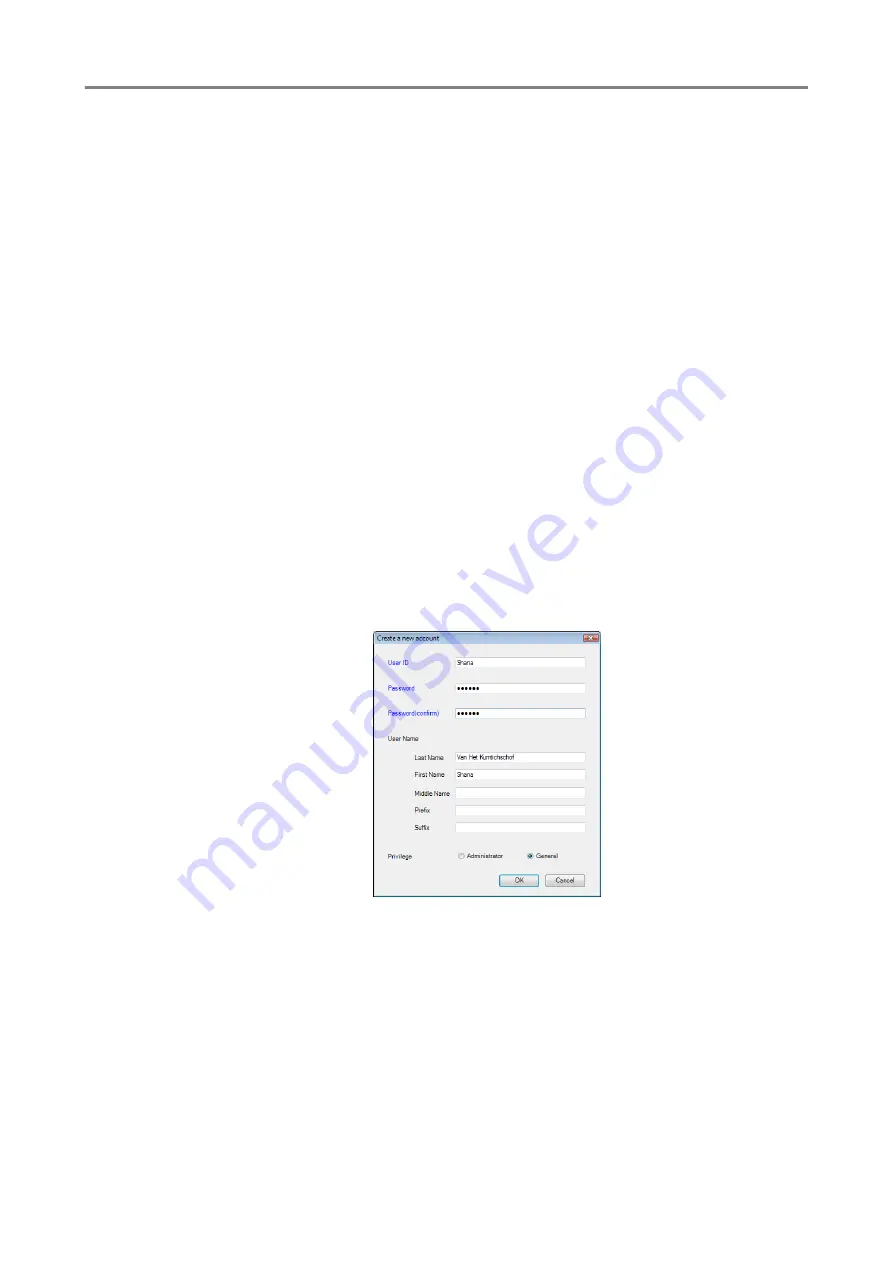
With this software, you can divide the user name for logging in into five elements. 

Enter the user name in the 

Create a new account

 or 

Change an account

 screen for the user 

account.  To display either of the screens, click [

Create

] or [

Change

] in the 

User Accounts


screen. 

The user name is saved as the DICOM tag of the operator’s name. 

See also section 7.8.1 “Registering users” in the Operation Manual. 

PUB.L-IE-5173

Printed in Japan

0310P0.001

© CANON INC. 2010

Summary of Contents for CR-1 Mark II

Page 1: ...use them in the future New Features New features in version 3 1 are listed below Deleting rows from the Patient History list See page 2 Displaying the memory space required and available when saving t...

Page 2: ...red and available memory are displayed on the Save screen Hardware or Software Specifications CPU Core 2 Duo 2 0 GHz or higher RAM 2 GB or more Display Screen resolution XGA 1024 x 768 pixels or highe...

Page 3: ...the ESC key See also section 6 1 Main screen in the Operation Manual Changing Capture Settings During Examination You can open the Capture screen with a click of a button when you are about to capture...

Page 4: ...ou can record two captured images paired in a stereo image on the Stereo Display screen Pairing Images for Stereo Images 1 Click the thumbnail of the first image you want to pair as a stereo image 2 H...

Page 5: ...are recorded as a stereo image 5 Click Close The stereo mark is added to the thumbnails Pair as stereo image The stereo mark appears Unpair the images The stereo mark disappears Adjust images Apply th...

Page 6: ...in zoom out or to adjust the image click the image once 3 Click Close to exit the Stereo View screen Saving Displayed Image in TIFF Format You can save the image displayed on the main screen in TIFF...

Page 7: ...text string output See also section 7 2 System in the Operation Manual Anonymizing Patient Information The Retinal imaging control software NM can anonymize pieces of patient information that are app...

Page 8: ...plicit VR Little Endian Explicit VR Little Endian and Explicit VR Big Endian See also section 7 6 2 Advanced export settings in the Operation Manual Entering Login User Name in Five Name Elements With...

Reviews: