CHAPTER 3 MECHANICAL SYSTEM
3-24
COPYRIGHT © 1998 CANON INC. CANON DADF-A1 REV.0 DEC. 1998 PRINTED IN JAPAN (IMPRIME AU JAPON)
I. Stopper Plate Solenoid
1.
Removing the Stopper Plate
Solenoid
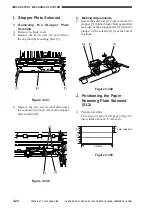
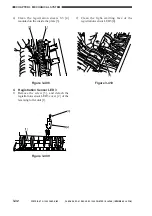
1) Remove the body cover.
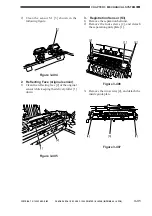
2) Remove the two screws [1], and remove
the original tray mounting plate [2].
[1]
[2]
[1]
Figure 3-347
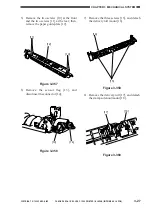
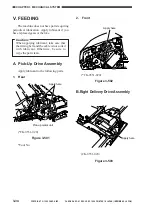
3) Remove the two screws, and disconnect
the connector [4]; then, remove the stopper
plate solenoid [5].
[3]
[5]
[4]
Figure 3-348
2.
Making Adjustments
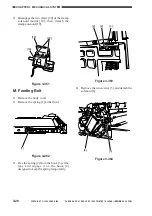
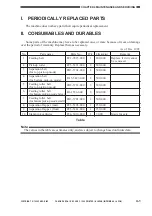
1) Secure the solenoid [1] in place where the
stopper [3] (rubber block) butts against the
rear edge of the stopper plate [2] when the
plunger of the solenoid [1] is at the end of
its stroke.
[1]
[2]
[3]
Figure 3-349
J. Positioning the Paper
Retaining Plate Solenoid
(SL2)
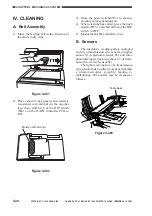
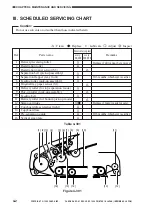
1) Prepare test strips.
Cut a sheet of A4 or LTR paper (64 g/m
2
)
into widths of about 70 mm each.
70 mm (approx.)
Vertical
1/3
1/3
1/3
Figure 3-350

