COPYRIGHT © 1999 CANON INC.
CANON DADF-B1 REV.0 APR. 1999 PRINTED IN JAPAN (IMPRIME AU JAPON)
5-31
CHAPTER 5 TROUBLESHOOTING
Item
Setting
Description
O
F
F
1
2
3
4
5
6
7
8
ON
EEPROM
initialization
Last original sensor
off
Last original sensor
operation check
mode
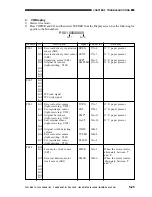
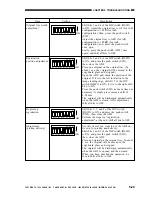
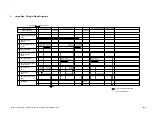
Shift bits 4, 5, and 6 of the DIP switch
(DSW1) to ON, and keep the pickup unit
cover open.
While holding down the push switch (SW1),
turn off and then on the copier.
LED2 will turn on when the EEPROM on the
ADF controller PCB has been initialized.
When it has turned on, shift all bits to OFF,
and turn off the power.
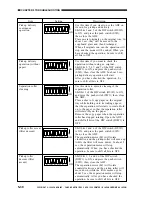
Use this item as a remedy in the event that the
last original sensor (U504) fails. Shift bits 7 of
the DIP switch to ON so as to disable the last
original sensor. After you have checked the
operation, be sure to shift all bits to OFF.
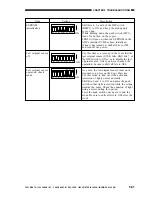
As a rule, the last original sensor turns on in
response to a press on the Copy Start key.
Use this mode to find out if the activation
(emission of light) occurs normally.
Shift bits 2 and 4 to ON, and press the push
switch so that light is emitted while the setting
remains the same. Check the emission of light
using a meter during this period.
Press the push switch once again to end the
mode. Be sure to shift all bits to OFF after the
work.
O
F
F
1
2
3
4
5
6
7
8
ON
O
F
F
1
2
3
4
5
6
7
8
ON

