CHAPTER 5 TOROUBLESHOOTING
5-6
COPYRIGHT © 1999 CANON INC.
CANON DADF-B1 REV.0 APR. 1999 PRINTED IN JAPAN (IMPRIME AU JAPON)
4
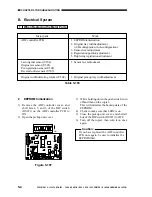
Sensor Lever Adjustment
(sensitivity adjustment)
Perform the following when you have
replaced the ADF controller PCB, original set
sensor (U503), last original sensor (U504), pre-
registration sensor (U502), or reversal outlet
sensor (U505):
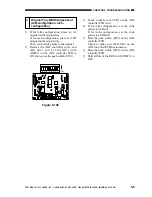
1) Put a solid black sheet of paper over the
last original sensor of the original pickup
tray. At this time, take care so that the black
sheet will not cover the original set sensor.
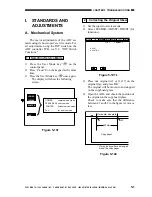
2) Set the copier to service mode. (Keep the
ADF closed.)
3) Select FEEDER>FUNCTION>SENS
INT.
4) Press 'OK'.
In about 15 sec, the original detection LED
flashes twice; the notation 'SERVICE' on
the display changes to 'READY' to
indicate the end of auto adjustment.
During automatic adjustment, the message
'SERVICE' will appear in the upper right
corner of the display.
(i.e., the message 'SERVICE' on the
display changes to 'READY').
5
Registration Adjustment
1) Start service mode.
2) Select FEEDER>ADJUST>KDOCST.
3) Place an original (A3 or 11x17) on the
original tray, and press 'OK'.
·
The original will be moved to and
stopped on the copyboard glass.
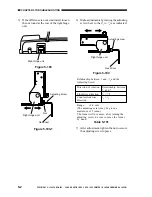
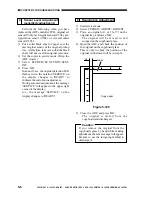
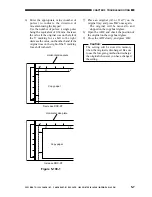
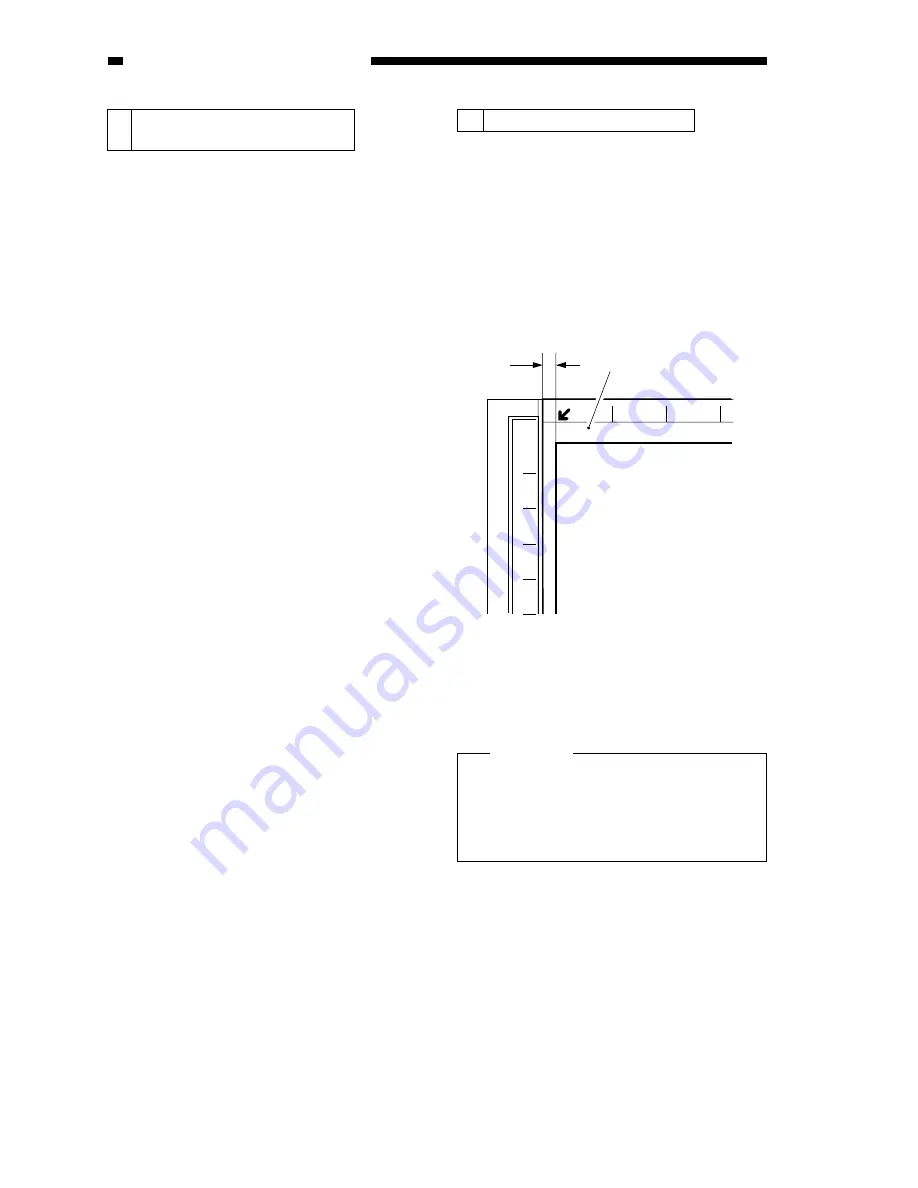
4) Open the ADF, and check the position of
the original on the copyboard glass.
This is only to check the position of the
original. Adjustment will be in step 6).
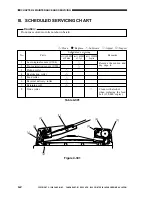
Figure 5-109
5) Close the ADF, and press 'OK'.
·
The original is moved from the
copyboard and discharged.
Caution:
If you remove the original from the
copyboard glass by hand while making
adjustment, the Jam message will appear.
Be sure to use the foregoing method to
discharge it.
L4
Glass
Copy paper


