Chapter 3
3-3
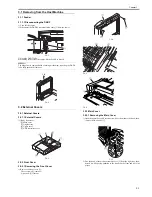
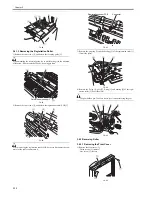
F-3-15
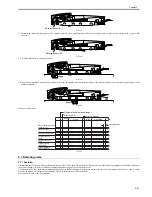
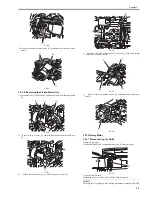
3) When you have removed the ADF controller cover, disconnect the con-
nector [3] of the ADF controller PCB; then, remove the screw [4], and re-
move the grounding wire [5]. Free the harness from the wire saddle [6],
and detach the other saddle [7].
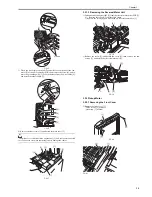
F-3-16
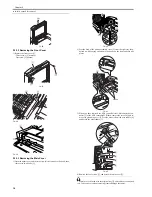
4) Remove the four screws [1], and detach the main cover [2].
The main cover is fitted with the original tray [3], and cables are connected
to it. Take extra care when removing it not to damage the cables.
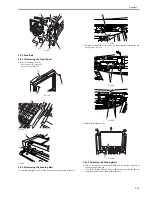
F-3-17
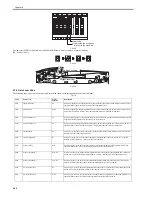
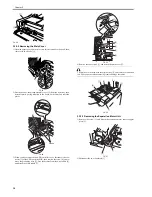
3.3.1.3 Removing the Reversal Motor Unit
0011-2444
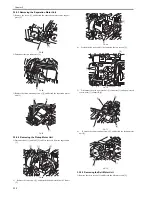
1) Disconnect the connector J602 [2] from the reversal motor driver PCB [1].
2) Remove the cable [2] from the cable clamp.
3) Remove the screw [4], and detach the pre-reversal sensor base [3].
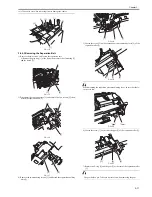
F-3-18
3) Remove the screw [2], and detach the cover [2]; then, remove the two
screws [3], and detach the reversal motor unit [4].
F-3-19
3.3.2 Pickup Motor
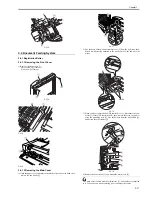
3.3.2.1 Removing the Front Cover
0011-9224
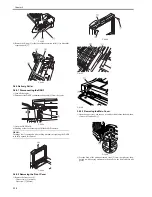
1) Remove the front cover [1].
-Three screws [2] (remove)
-One screw [3] (loosen)
F-3-20
F-3-21
[2]
Hooks
Push.
Freed.
[5]
[7]
[4]
[6]
[3]
[1]
[1]
[1]
[1]
[3]
[2]
[1]
[2]
[3]
[4]
[1]
[4]
[3]
[3]
[2]
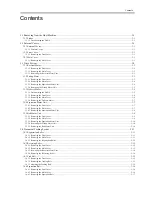
Summary of Contents for DADF-Q1
Page 1: ...Aug 24 2007 Service Manual Feeder DADF Q1 ...
Page 2: ......
Page 6: ......
Page 11: ...Chapter 1 Specifications ...
Page 12: ......
Page 14: ......
Page 18: ......
Page 19: ...Chapter 2 Functions ...
Page 20: ......
Page 22: ......
Page 75: ...Chapter 3 Parts Replacement Procedure ...
Page 76: ......
Page 107: ...Chapter 4 Maintenance ...
Page 108: ......
Page 149: ...Chapter 5 Error Code ...
Page 150: ......
Page 152: ......
Page 154: ......
Page 155: ...Aug 24 2007 ...
Page 156: ......

