66
E
Using the Full
Rang
e of Features
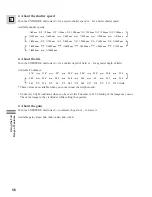
D E C
1 1 9 9 9
.
,
D E C
1 1 9 9 9
.
,
D E C
1 1 9 9 9
.
,
1 0 : 0 0 A M
1 /
0 dB
2 0 0
0
1 /
0 dB
2 0 0
0
1 /
0 dB
2 0 0
0
1 /
0 dB
2 0 0
0
1 /
0 dB
2 0 0
0
1 /
0 dB
2 0 0
0
D E C
1 1 9 9 9
.
,
1 0 : 0 0 : 0 0 A M
1 0 : 0 0 A M
1 0 : 0 0 : 0 0 A M
F 1 6
F 1 6
F 1 6
F 1 6
F 1 6
F 1 6
.
.
.
.
.
.
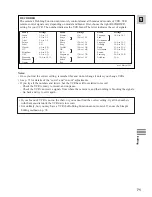
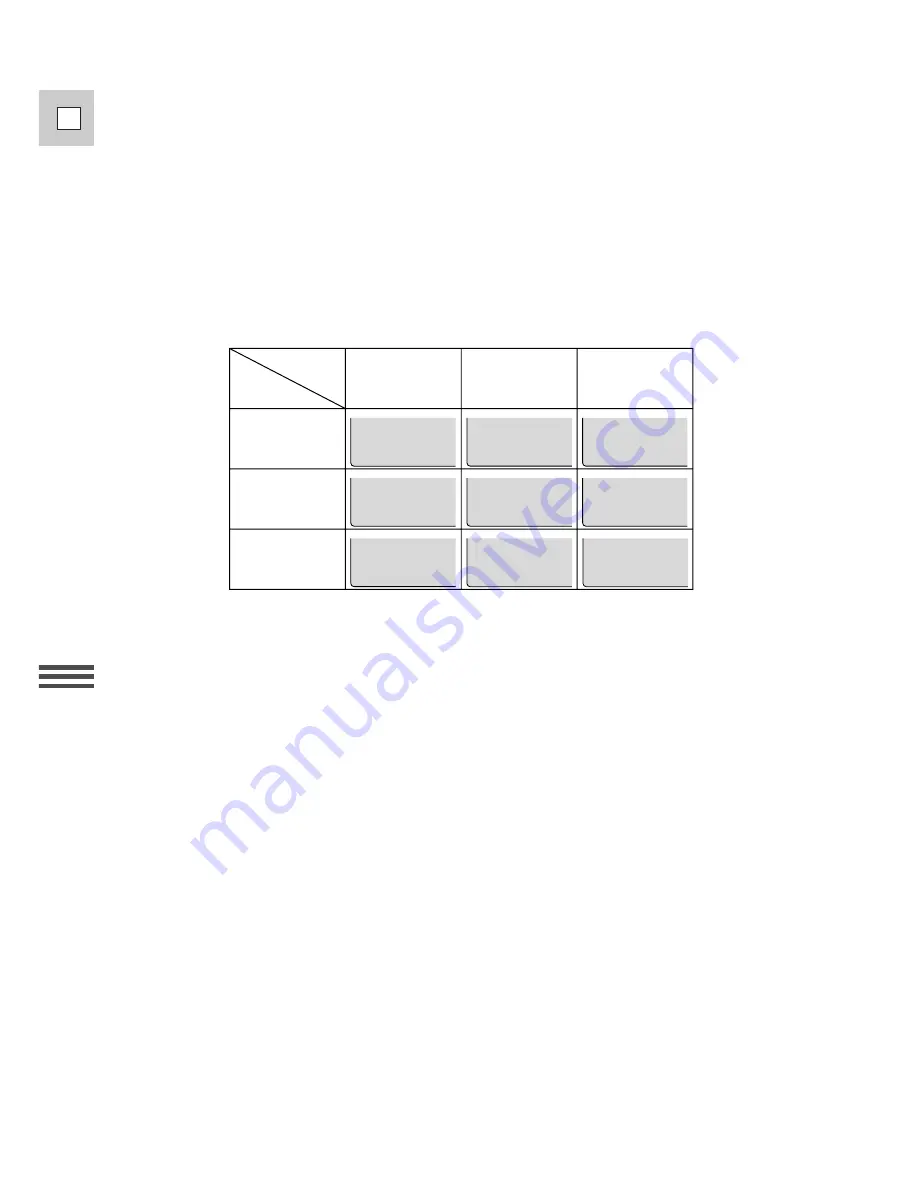
Date/Time
Camera data
Date/Time &
Camera data
Time
Date & Time
Date
Setting the
“
Data Code
”
Setting
“
Select Date/Time
”
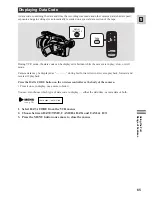
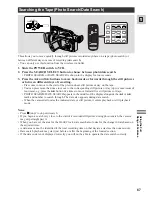
• The data code will appear in the display even if DISPLAYS (p. 95) has been set to OFF through the
VCR menu.
Notes:
• To avoid accidental recording, make sure that you slide the tab on the cassette so that it exposes the hole
(the switch position is usually labeled SAVE or ERASE OFF).
• The data code will read “— — —” in the following situations:
– During playback of a blank section of tape.
– If the tape was recorded before entering the date and time in the camera’s memory.
– If the tape was recorded on a camera without a data code function.
– If noise or tape damage prevents the data code from being read.
• Data code is sometimes not displayed during high speed playback modes.
• If a recording made on GL1 is played back on a different DV camcorder, the data code may not be
displayed correctly.
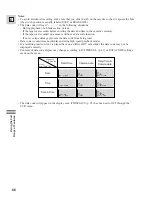
• Contents of data code display may change according to D/TIME SEL. (p. 41) or DATA CODE settings
made on the menu.

