43
ENGLISH
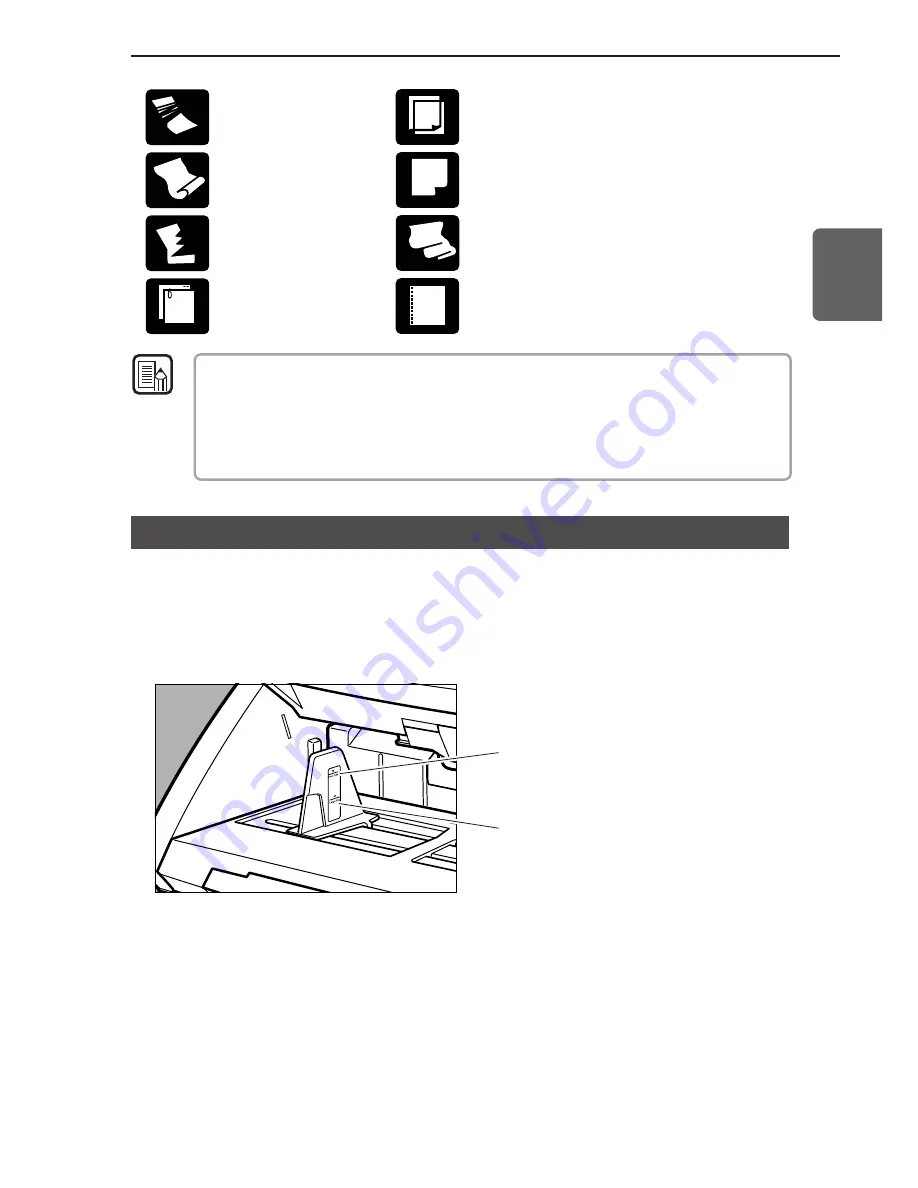
Paper with clips or staples
Carbon-backed paper
Coated paper or fax recording paper
Extremely thin paper
Paper with binding holes
Wrinkled or creased paper
Curled paper
Torn paper
●
Note that mixing documents of different thickness and size may cause a malfunction
during feeding.
●
Heavily curled wrinkled, or creased documents may cause them to double feed.
●
Documents containing text or pictures within 5 mm of its edges or documents with a
color background may cause erroneous skew detection or automatic size detection.
4.1 Documents
Note
How to Place Documents
Note the following points when placing documents on the scanner.
●
Place the documents face up in the document tray.
●
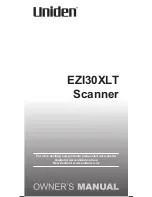
Do not exceed the load limitation mark when placing documents in the
document tray. It may cause paper jams.
Small Size Limitation Mark:
When placing documents that
are smaller than LTR/A4 size.
Large Size Limitation Mark:
When placing documents that
are larger than LTR/A4 size.
●
It is possible to place approximately 500 documents of regular LTR/A4
size (80g/m
2
), or approximately 200 documents of larger than LTR size.
●
If the document tray does not rise and makes a “clacking” noise, then the
amount of paper placed on the document tray may weigh too much even
if the documents do not exceed the limitation mark. Reduce the amount
of pages and scan the documents again.
●
In the Long Document mode, if you place a long document askew in the
document tray, it will rub against both sides of the feeding path and may
damage the document. Be sure to align the document straight when
placing it in the document tray. (See p.61.)
Summary of Contents for DR-6080
Page 4: ......
Page 22: ......
Page 182: ......
Page 188: ...1003N0 0 1 ...
Page 195: ...COPYRIGHT 2003 CANON ELECTRONICS INC CANON DR 6080 9080C FIRST EDITION OCT 2003 vii ...
Page 236: ......
Page 240: ......
Page 242: ...ix 1003N0 0 0 ...
Page 284: ...38 Chapter 3 Software Closing CapturePerfect 1 Select Exit from the File menu ...
Page 308: ......
Page 352: ...1 Imprinter for DR 6080 9080C Installation Procedure IMS Product Planning Dept ...
Page 355: ...4 3 Remove the left cover 4 screws Remove these screws x4 ...
Page 359: ...8 7 Insert it firmly to the back and fix it with 1 screw M3x6 ...
Page 366: ...15 14 Replace the cable to cable clamp and the document eject cover to the original position ...


