Summary of Contents for DR 7090C - imageFORMULA - Document Scanner
Page 48: ......
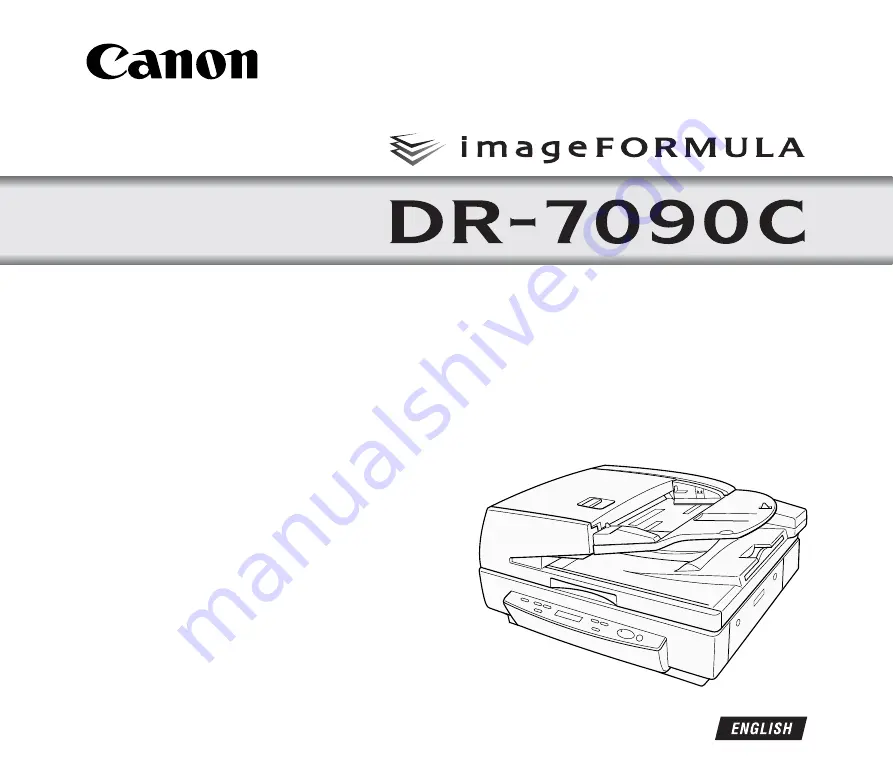
The Canon DR 7090C - imageFORMULA - Document Scanner is a high-performance scanning solution for businesses. To optimize your user experience and take full advantage of its features, be sure to download the comprehensive Reference Manual - available for free download at 88.208.23.73:8080. This manual provides step-by-step instructions and valuable insights for efficient operation and troubleshooting.
Page 48: ......


