N
Cropping JPEG Images
400
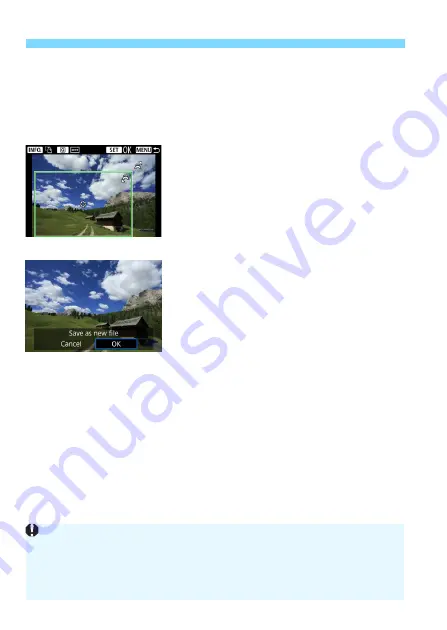
Switching the Cropping Frame Orientation
Pressing the <
B
> button will toggle the cropping frame between
the vertical and horizontal orientations. This enables you to crop the
image shot in horizontal orientation to look as if it was shot in vertical
orientation.
4
Check the image area to be
cropped.
Press the <
Q
> button.
X
The image area to be cropped will be
displayed.
Press the <
Q
> button again to return
to the original image.
5
Save the cropped image.
Press <
0
> and select [
OK
] to save
the cropped image.
Check the destination folder and
image number, then select [
OK
].
To crop another image, repeat steps
2 to 4.
Once a cropped image is saved, it cannot be cropped again or resized.
AF point display information (p.351) and Dust Delete Data (p.403) will
not be appended to the cropped images.
Depending on the image and the size it is cropped to, the cropped image
file may not be smaller than the original.
Summary of Contents for EOS-1 D X Mark II G
Page 40: ...40 ...
Page 86: ...86 ...
Page 210: ...210 ...
Page 226: ...226 ...
Page 270: ...270 ...
Page 476: ...476 ...
Page 540: ...540 ...
Page 541: ...541 ...
Page 542: ...542 ...
Page 543: ...543 ...
Page 544: ...544 ...
Page 545: ...545 ...
Page 546: ...546 ...
Page 547: ...547 ...
Page 548: ...548 ...
Page 549: ...549 15 Software Overview I ...
Page 561: ......


