76
Index
Appendix
Errors and Warnings
Troubleshooting
Settings
Playback
Shooting
Setup and Basics
Learning About the Camera
Accessories
Wireless Features
Wireless Features/Accessories
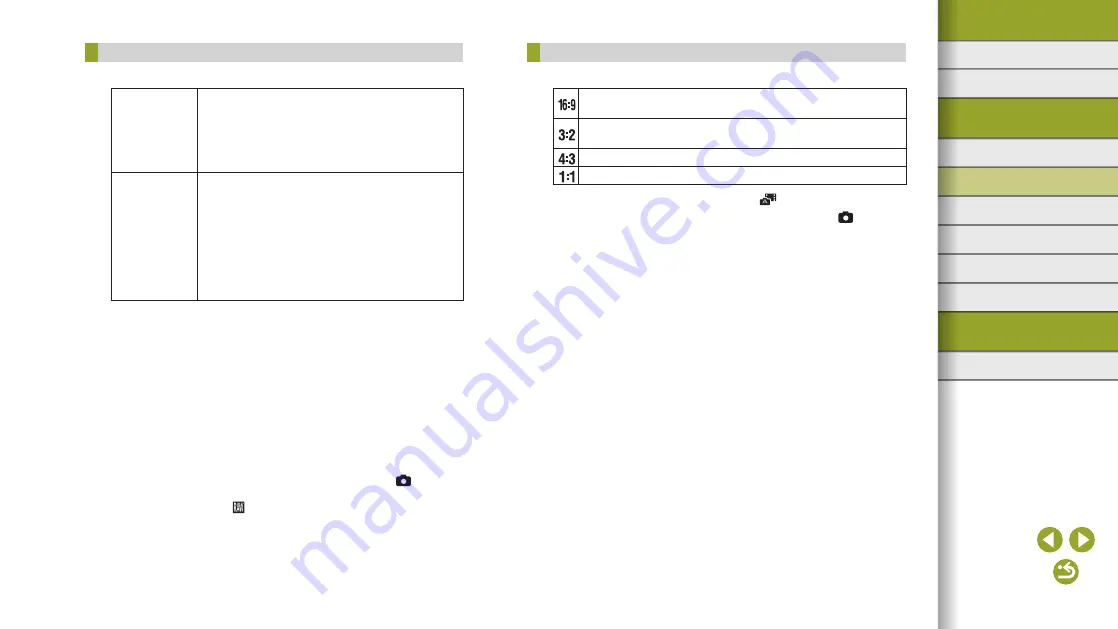
Changing the Aspect Ratio
●
The following items are available.
Used for display on widescreen HDTVs or similar display
devices.
Native aspect ratio of the camera screen, equivalent to 35mm
film. Used for printing images at 5 x 7-inch or postcard sizes.
Used for printing images at 3.5 x 5-inch or A-series sizes.
Square aspect ratio.
●
The aspect ratio cannot be configured in [
] mode.
●
You can also configure this setting by choosing MENU > [
1] tab >
[Still Image Aspect Ratio].
Capturing in RAW Format
●
The camera can capture images in JPEG and RAW format.
JPEG
Images
Processed in the camera for optimal image
quality and compressed to reduce file size.
However, the compression process is irreversible,
and images cannot be restored to their original,
unprocessed state. Image processing may also
cause some loss of image quality.
RAW Images
“Raw” (unprocessed) data, recorded with
essentially no loss of image quality from the
camera’s image processing. The data cannot be
used in this state for viewing on a computer or
printing. You must first process it on this camera
or use the Digital Photo Professional application
to convert images to ordinary JPEG or TIFF files.
Images can be adjusted with minimal loss of
image quality during processing.
●
To save RAW images (or RAW and JPEG images captured together)
to a computer, always use the dedicated software, EOS Utility.
●
For details on the relationship between the number of recording pixels
and the number of shots that will fit on a card, see “Recording.”
●
The file extension for JPEG images is .JPG, and the extension for
RAW images is .CR2. File names of JPEG and RAW images captured
together have the same image number.
●
For details on Digital Photo Professional and EOS Utility applications,
see “Software.” Download software instruction manuals from the
Canon website as needed. For downloading instructions, see
“Software Instruction Manual.”
●
You can also configure this setting by choosing MENU > [
1] tab
> [Image quality]. To capture images in both JPEG and RAW format
simultaneously, choose [ ] in [RAW].
●
Only JPEG images are captured when [RAW] is set to [−] on the
[Image quality] menu screen, and only RAW images are captured
when [JPEG] is set to [−]. [RAW] and [JPEG] cannot both be set to [−].


