background image

1

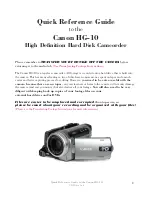
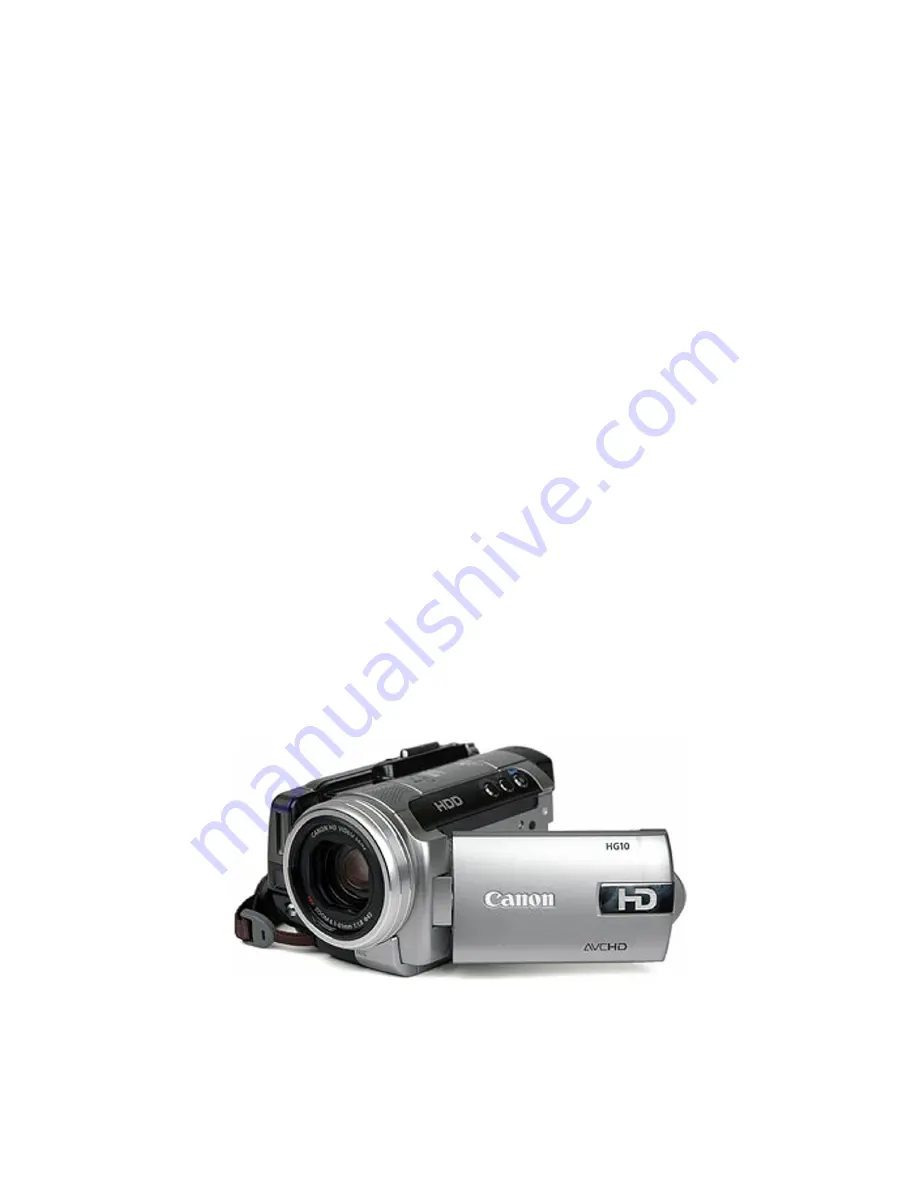
Quick Reference Guide to the Canon HG-10

UB Media Lab

Quick Reference Guide 

to the

Canon HG-10


High Definition Hard Disk Camcorder

Please remember to 

TRANSFER YOUR FOOTAGE OFF THE CAMERA

 before 

returning it to the media lab.

 (See Transferring Footage Instructions)

The Canon HG-10 is a tapeless camcorder. All footage is recorded onto a hard drive that is built into 
the camera. This has many advantages, two of which are no more money spent on tapes and a much 
easier and faster capturing process for editing. However, 

you need to be extra careful with the 

camera because there are no tapes

 - any carelessness or harm to the camera will not only damage 

the camera (and cost you money) but also destroy all your footage. 

You will also need to be very 

diligent with keeping back up copies of your footage files on your 
external hard drives and/or DVDs. 

Files are easier to be misplaced and corrupted

 than tapes are, so 

please be smart about your recording and be organized with your files! 

(Please see the Transferring Footage Instructions for more information.)

Summary of Contents for HG-10

Page 1: ...ore money spent on tapes and a much easier and faster capturing process for editing However you need to be extra careful with the camera because there are no tapes any carelessness or harm to the came...

Page 2: ...a shoulder strap 2 Camera with a shoulder strap 3 2 Batteries 4 AC Power Adapter with cord 5 Remote Controller 6 XLR mini Cable 7 USB2 Cable Please make it sure to check out the following items with C...

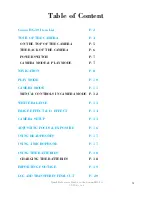
Page 3: ...6 POWER SWITCH P 7 CAMERA MODE PLAY MODE P 7 NAVIGATION P 8 PLAY MODE P 10 CAMERA MODE P 11 MENU CONTROLS IN CAMERA MODE P 12 WHITE BALANCE P 13 IMAGE EFFECT D EFFECT P 14 CAMERA SETUP P 15 ADJUSTING...

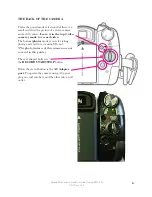
Page 4: ...D screen there is the USB port A for plugging the camcorder into the computer See Transferring Footage instruc tions Also there is a tiny door that can open to accept a mini SD card 3 4 this is only u...

Page 5: ...AUTO When it is in AUTO position the entire camera will be in automatic mode you will not be able to use any manual settings It is recommend to leave it in the P position so that you ll have manual co...

Page 6: ...Leave it in the top video camera mode to record video The bottom photo mode is only for taking photos and you ll need a mini SD card The photo features of this camera are not covered in this guide The...

Page 7: ...pressed down and turn the dial from OFF to ON This will power the camera ON The camera will beep and a light will come on CAMERA MODE PLAY MODE Turn the dial toward MODE and release Green light PLAY...

Page 8: ...s to select the sub menu Left and Right arrows to access each sub menu s options or to adjust the settings of some features SET will open a submenu or turn a feature ON or OFF Press FUNC to view MENU...

Page 9: ...need to be concerned with in this sub menu is SPEAKER VOLUME and AV PHONES SPEAKER VOL Press SET to change the volume A large vol ume bar will appear Press the right and left ar rows to raise or lowe...

Page 10: ...button or the START PAUSE button The REW FFWD START PAUSE STOP buttons at the bottom of the LCD screen work the same as a DVD player The STOP button will return to the PLAY menu The FUNC button will b...

Page 11: ...of how much time you have left to record In the upper right corner of the LCD screen below the time code display is a display that reads HDD _h__m this is how much time there is left on the hard drive...

Page 12: ...See notes on the Zoom Toggle button START STOP this is another way to start and stop recording BLC This button activates an automatic back light adjustment setting It may or may not be a useful way t...

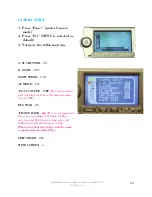
Page 13: ...at they appear correctly on the video The best way to white balance is to have someone hold a white piece of paper or poster board and then zoom the camera into that and follow the instructions below...

Page 14: ...Cut In the next submenu you can select the quality of the HD video you re shooting ALWAYS use HXP 15mbps or XP 9mbps quality The levels of quality give you different amounts of recording time HXP 5hr...

Page 15: ...OOM SPEED VAR AF MODE I AF FOCUS ASSIST OFF This feature meant well but turns out to be really annoying make sure it s OFF IMG STAB ON FRAME RATE 60i This is very important Keep your recording at 60i...

Page 16: ...show you how you are adjusting the exposure Press the right arrow to lighten the exposure Press the left arrow to darken the exposure Once you re done adjusting the exposure Press the down arrow to g...

Page 17: ...is the AV Headphone jack plug the headphones plug into this jack See Menu instructions for switching between AV and Headphones and also adjusting the volume USING A MICROPHONE On the front of the came...

Page 18: ...plastic lock out of the way Line up the arrows and slide the battery into place The plastic lock will snap into place under the battery CHARGING THE BATTERIES To charge the battery insert a battery t...

Page 19: ...ouble click to open to the desktop then burn it onto a DVD AVCHD folder contains the footage in compressed form It is like having a tape as a backup 3 When you are finished using the camera Drag the C...

Page 20: ...3 Choose File Log and Transfer 4 Drag and Drop clips as shown to transfer Please note iMovie with the star icon not the older iMovie HD will import this footage as well Lab assistants will delete the...

Reviews: