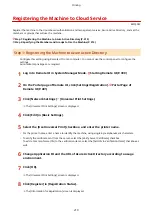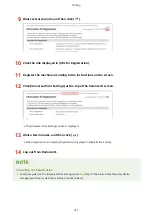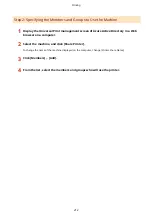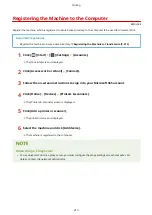
When Adding an MFNP Port
1
Select [Canon MFNP Port], and click [New Port].
2
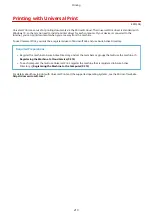
Select [Auto Detect] and the machine, and click [Next].
If the machine is not displayed, click [Refresh]. If the machine is still not displayed, select [IP address] or
[MAC address], enter the IP address or MAC address of the machine, and then click [Next].
3
Click [Add].
When Adding a Standard TCP/IP Port
1
Select [Standard TCP/IP Port], and click [New Port].
➠
The [Add Standard TCP/IP Printer Port Wizard] screen is displayed.
2
Click [Next].
3
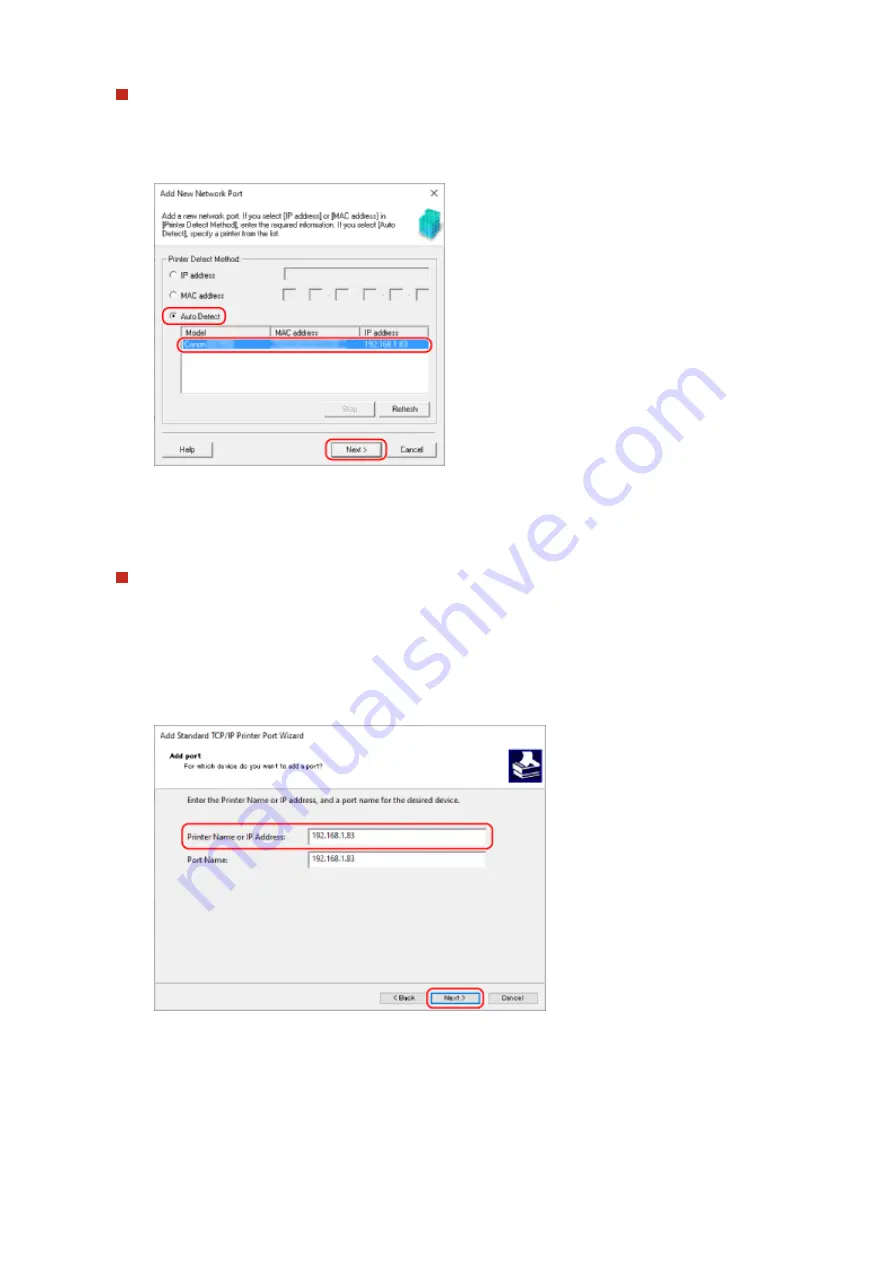
Enter the IP address or DNS name (host name), and then click [Next].
The port name is entered automatically, so change it, as needed.
When [Additional port information required] Appears
Take action following the instructions on the screen. To set [Device Type], select [Canon Network Printing
Device with P9100] in [Standard].
6
Click [Finish].
Printing
204
Summary of Contents for imageCLASS MF264dw
Page 72: ... Shared Key Encryption for WPA WPA2 TKIP AES CCMP IEEE 802 1X Authentication Setting Up 63 ...
Page 139: ...Basic Operations 130 ...
Page 204: ... The volume is adjusted Basic Operations 195 ...
Page 333: ...Copying 324 ...
Page 368: ...8 Log out from Remote UI Security 359 ...
Page 501: ... Confirm Destination Scan PC Settings Menu Items 492 ...


