5
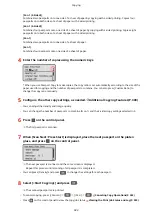
Enter the number of copies using the numeric keys.
6
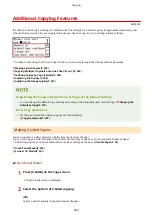
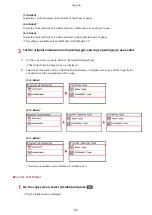
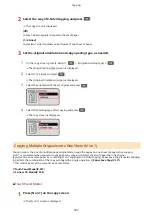
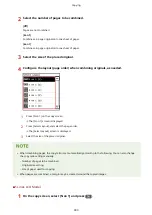
Configure the other copy settings, as needed. Additional Copying Features(P. 300)
➠
You can adjust the density and image quality and other settings.
7
Press
on the control panel.
➠
Copying starts.
●
To cancel copying, press [<Cancel>]
[<Yes>]
. Canceling Copy Operations(P. 323)
●
Press
on the control panel to view the copy job status. Viewing the Print Job Status and Log(P. 223)
When [Scan Next: Press Start] appears
When an original is placed on the platen glass and copied using 2-sided copying or N on 1, the screen is
displayed for scanning the next original.
1
Place the next original on the platen glass, and press
on the control panel.
➠
The next original is scanned, and the same screen is displayed.
Repeat this process until scanning of all originals is completed.
●
You can also press [Density]
and [Original Type]
to change the settings for each
original.
2
Press [<Start Copying>] and press
.
➠
The scanned originals are printed.
Copying
314
Summary of Contents for imageCLASS MF264dw
Page 72: ... Shared Key Encryption for WPA WPA2 TKIP AES CCMP IEEE 802 1X Authentication Setting Up 63 ...
Page 139: ...Basic Operations 130 ...
Page 204: ... The volume is adjusted Basic Operations 195 ...
Page 333: ...Copying 324 ...
Page 368: ...8 Log out from Remote UI Security 359 ...
Page 501: ... Confirm Destination Scan PC Settings Menu Items 492 ...

