Changing the Print Settings for Received Faxes
8W0J-064
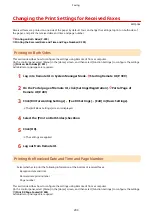
Received faxes are printed on one side of the paper by default. You can change the settings to print on both sides of
the paper, and print the received date and time and page number.
Printing on Both Sides(P. 290)
Printing the Received Date and Time and Page Number(P. 290)
Printing on Both Sides
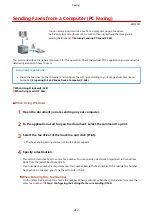
This section describes how to configure the settings using Remote UI from a computer.
On the control panel, select [Menu] in the [Home] screen, and then select [Function Settings] to configure the settings.
Administrator privileges are required.
1
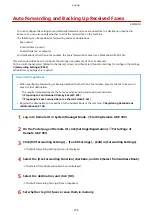
Log in to Remote UI in System Manager Mode. Starting Remote UI(P. 399)
2
On the Portal page of Remote UI, click [Settings/Registration]. Portal Page of
Remote UI(P. 401)
3
Click [RX/Forwarding Settings] [Fax RX Settings] [Edit] in [Basic Settings].
➠
The [Edit Basic Settings] screen is displayed.
4
Select the [Print on Both Sides] checkbox.
5
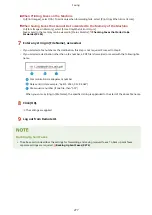
Click [OK].
➠
The settings are applied.
6
Log out from Remote UI.
Printing the Received Date and Time and Page Number
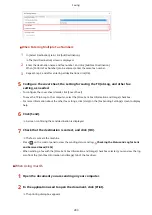
Select whether to print the following information at the bottom of received faxes:
●
Reception date and time
●
Received reception number
●
Page number
This section describes how to configure the settings using Remote UI from a computer.
On the control panel, select [Menu] in the [Home] screen, and then select [Function Settings] to configure the settings.
[Print RX Page Footer](P. 500)
Administrator privileges are required.
Faxing
290
Summary of Contents for imageCLASS MF264dw
Page 72: ... Shared Key Encryption for WPA WPA2 TKIP AES CCMP IEEE 802 1X Authentication Setting Up 63 ...
Page 139: ...Basic Operations 130 ...
Page 204: ... The volume is adjusted Basic Operations 195 ...
Page 333: ...Copying 324 ...
Page 368: ...8 Log out from Remote UI Security 359 ...
Page 501: ... Confirm Destination Scan PC Settings Menu Items 492 ...

