1
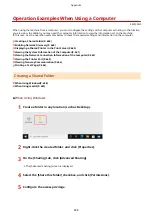
In [Group or user names], select [Everyone].
2
In [Permissions], select the [Allow] checkbox in [Change].
3
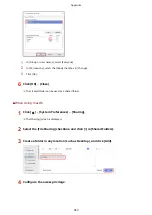
Click [OK].
6
Click [OK] [Close].
➠
The created folder can be used as a shared folder.
◼
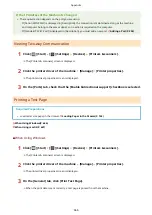
When Using macOS
1
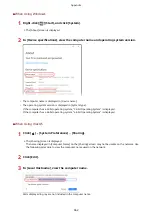
Click [ ] [System Preferences] [Sharing].
➠
The [Sharing] screen is displayed.
2
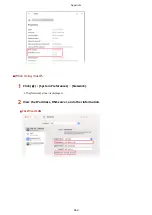
Select the [File Sharing] checkbox, and click [+] in [Shared Folders].
3
Create a folder in any location (such as Desktop), and click [Add].
4
Configure the access privilege.
Appendix
659
Summary of Contents for imageCLASS MF264dw
Page 72: ... Shared Key Encryption for WPA WPA2 TKIP AES CCMP IEEE 802 1X Authentication Setting Up 63 ...
Page 139: ...Basic Operations 130 ...
Page 204: ... The volume is adjusted Basic Operations 195 ...
Page 333: ...Copying 324 ...
Page 368: ...8 Log out from Remote UI Security 359 ...
Page 501: ... Confirm Destination Scan PC Settings Menu Items 492 ...

