Storing Documents to a Shared
Folder
If the document was
stored successfully:
Go to Home.
Close the Guide.
If the document was not
stored:
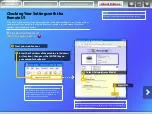
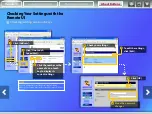
Use the Remote UI to make sure
that the settings are correct.
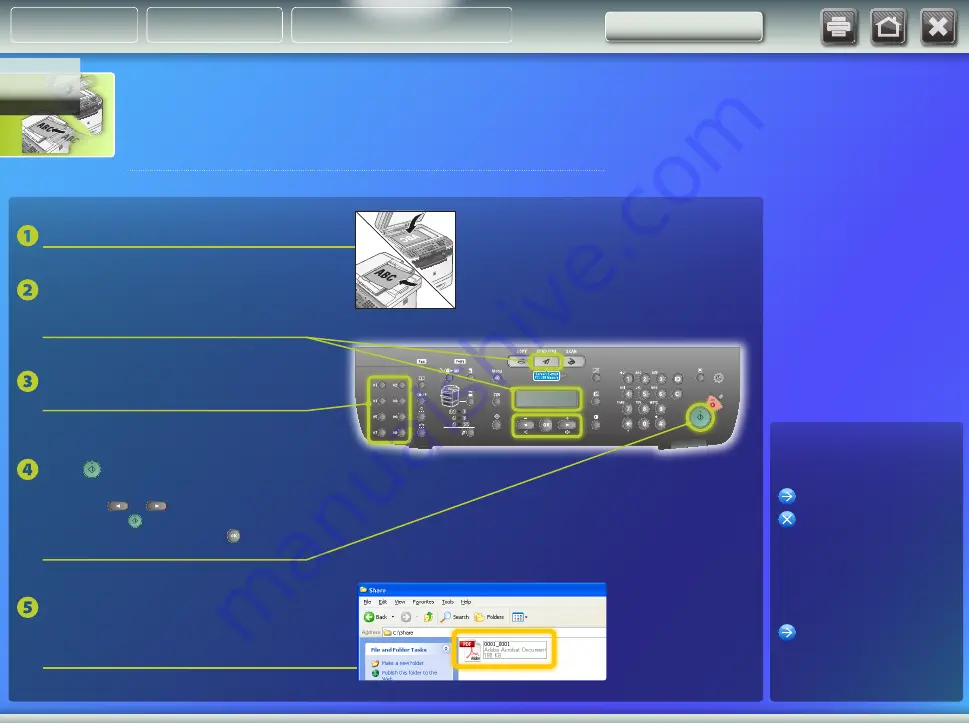
Press the one-touch key you
registered.
Set the document.
Press the Sending Function key
repeatedly to select the color mode
(<E-MAIL: B&W> or <E-MAIL: COLOR>).
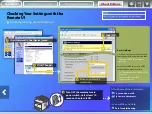
Confirm that the document is stored in the
shared folder.
Open the shared folder you created, and check if the scanned
document is saved.
Press
[Start].
When you place the documents on the platen
glass, press
or
to select the document
size, then press [Start] for each document.
When scanning is complete, press [OK] to
start sending.
* The appearance of the operation panel may differ
depending on the model you use.
This section explains how to scan a document and store the scanned image in the
shared folder that you created earlier.
Setting Up
About Buttons
Outline
Storing documents


