


53
2
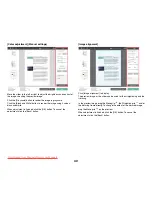
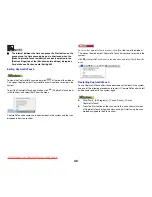
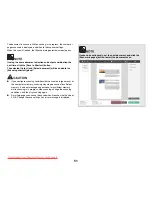
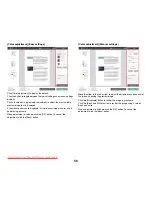
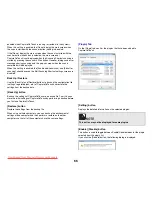
The Edit Scanning Shortcut Panel dialog box appears when you click
the Edit button.
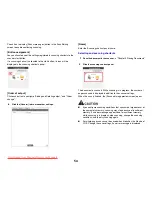
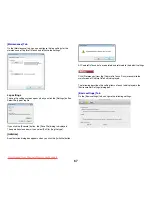
3
Click the [Document] tab to set the Select document settings. ->
"Select document settings"
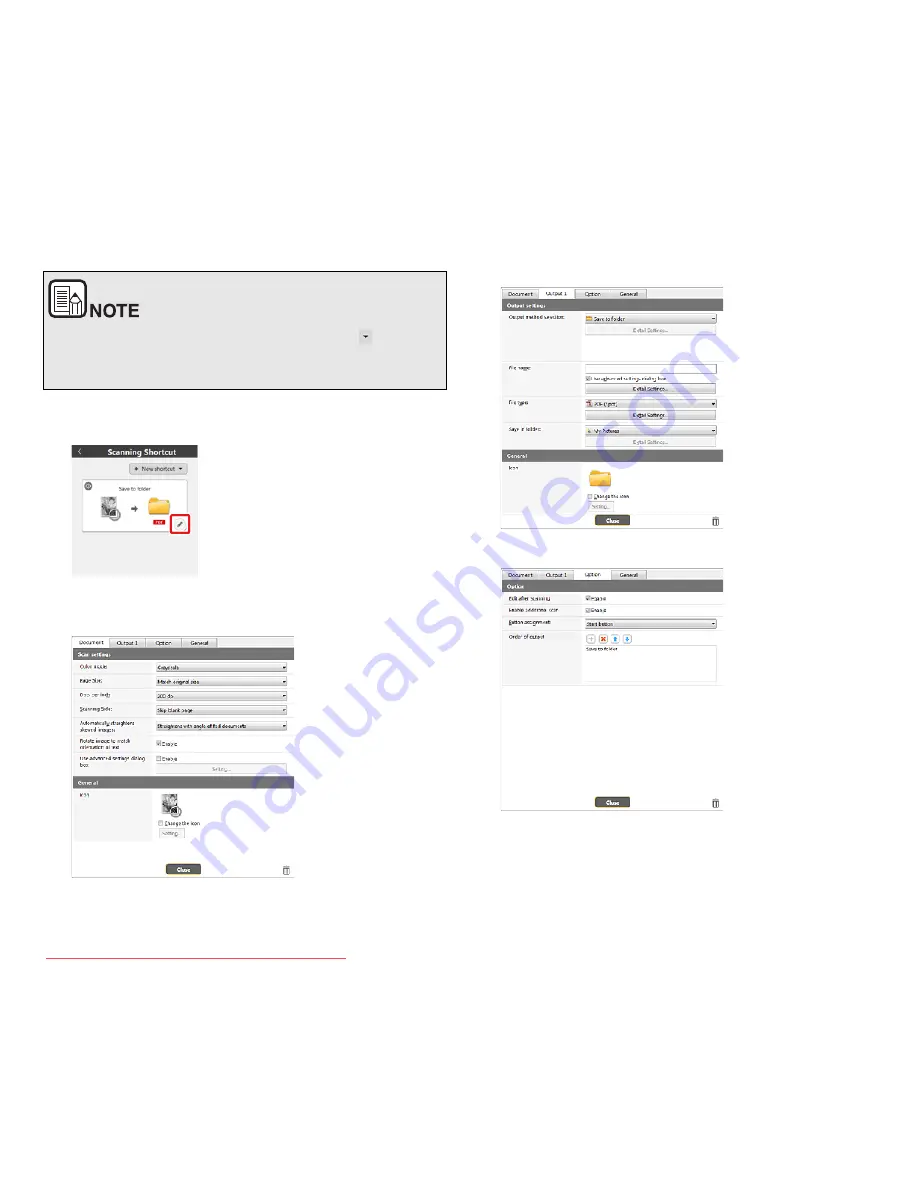
4
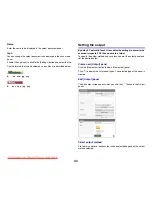
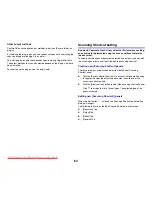
Click the [Output] tab to set the outputs. -> "Setting the output"
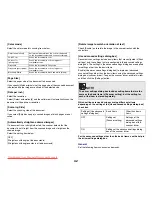
5
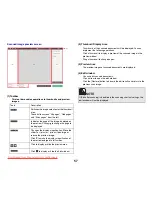
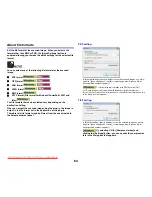
Click the [Option] tab to set the options.
[Edit after scanning]
Check it on to enable modifying the scanned images in Scan Editing
screen. When unchecked, the Edit window is not displayed in Scan Editing
screen-> "Operations for the scanned image edit window"
[Enable additional scan]
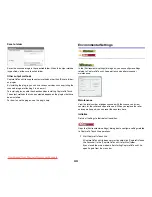
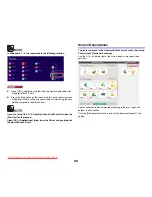
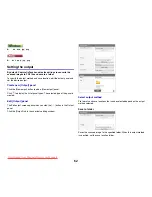
You can also create a new Destination panel by clicking [
] on the
[New] button, and in the menu that appears, selecting the type of
Scanning Shortcut.
Downloaded from ManualsPrinter.com Manuals


