


25
9.
Documents
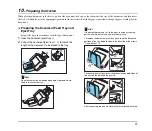
The ScanFront can scan documents in a range of sizes from business cards to LTR/A4.
It is possible to feed documents of the following sizes and thicknesses depending on the feeding method used.
❏
Plain Paper
Size
Width: 2" to 8 1/2" (50.8 mm to 216 mm)
Length: 2 1/8" to 14" (53.9 mm to 355.6 mm)
Thickness for Page Separation Feeding
14 lb to 32 lb bond (52 g/m
2
to 128 g/m
2
)
Thickness for Bypass Feeding
11 lb to 40 lb bond (42 g/m
2
to 157 g/m
2
)
IMPORTANT
A document must meet the following criteria to be scannable:
• When scanning a multipage document, pages must be
grouped together so that they have the same size, thickness,
and weight. Scanning different types of paper at one time can
cause the device to jam.
• Always make sure that the ink on a document is dry before
scanning it. Scanning documents with the ink still wet may soil
the rollers or scanning glass, cause lines or smudges to
appear on images, or dirty other documents.
• Always clean the rollers or scanning glass after scanning a
document written in pencil. Scanning documents with pencil
written on them may soil the rollers or scanning glass, cause
stripes to appear in images, or dirty other documents.
• When scanning a two-sided document that is printed on thin
paper, the image on the opposite side of each page may show
through. Adjust the brightness in the scanning conditions
before scanning the document.
• Note that scanning the following types of documents can
cause a paper jam or malfunction. To scan such a document,
make a photocopy of the document and then scan the
photocopy.
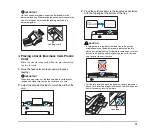
❏
Business Card
Size
Width: 2" (50.8 mm) and above
Length: 2 1/8" (53.9 mm) and above
Thickness
110 lb Cover (300 g/m
2
) and below
IMPORTANT
• If the stack of business cards that you placed is not fed
properly, reduce the number business cards.
• Business cards may sometimes be stacked in the wrong order
when they are ejected, depending on the size and thickness
of the business cards, and the orientation that they are loaded.
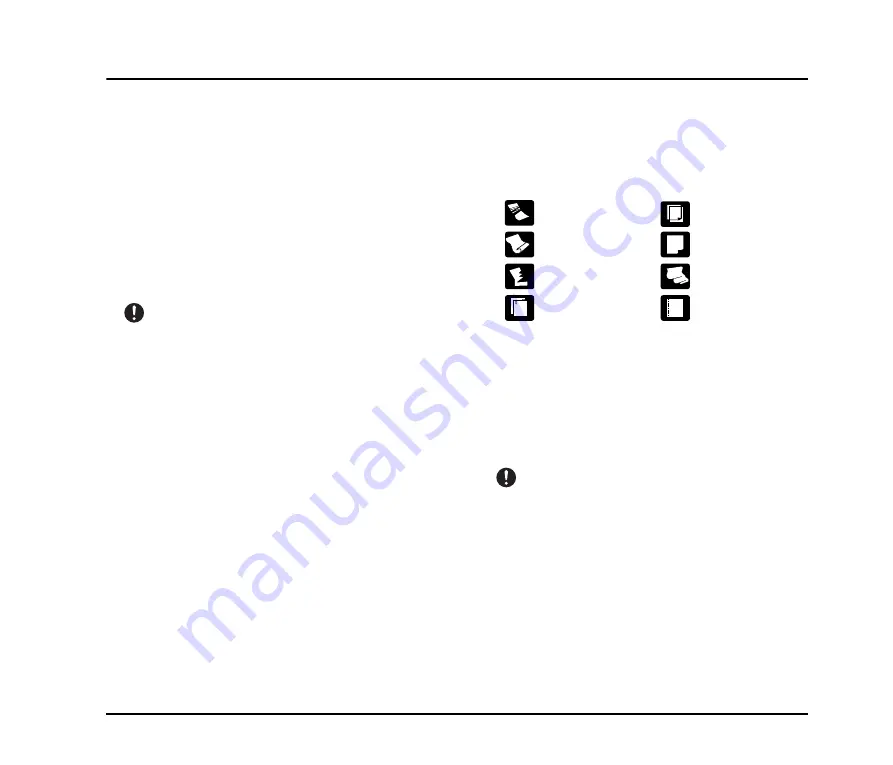
Wrinkled or creased
documents
Carbon paper
Curled documents
Coated paper
Torn documents
Extremely thin,
translucent paper
Documents with
paper clips or staples
Document with square
punch holes


