S
ERVICE
P
ROCEDURES
17
Restoring functionality after service
To complete any service procedures performed on the imagePASS, reassemble the imagePASS,
reattach it to the copier, and verify that it works correctly. To verify the installation, check the
external connections of the imagePASS to the copier and then to the network and/or USB
port.
T
O
REASSEMBLE
AND
VERIFY
THE
IMAGE
PASS
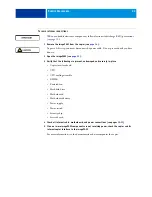
When you handle electronic components, follow electrostatic discharge (ESD) precautions
(see
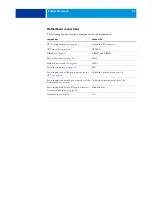
1 Check internal connections (see
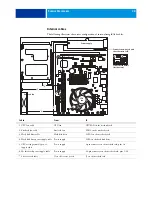
Make sure that internal components, including cables, are secure, especially those you may
have moved.
2 Close the imagePASS (see
3 Attach the imagePASS to the copier.
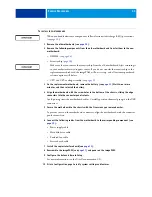
4 Make the following connections (see
• Connect the network cable from the connector panel to the network.
• Connect the copier cable from the connector panel to the copier.
• Connect the copier interface cable from the connector panel to the copier.
5 Connect the power cable from the imagePASS to a power outlet.
6 If you installed a replacement hard disk drive, install system software on the imagePASS (see
In this case, you must install system software because replacement hard disk drives do not ship
with system software installed.
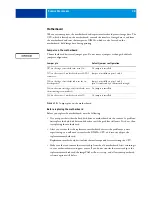
7 If the imagePASS is not already set to Normal mode, do the following:
• Shut down the imagePASS (see
• Move both the service switches to OFF (see
8 Do the following to verify that the imagePASS is working correctly:
• Start the imagePASS (see
).
• Check the airflow from the fan to make sure that it is blowing outward.
• Check the Test Page (see
).
• Check the network connection (see
).
• Check Setup options (see
Configuration and Setup
, which is part of the user
documentation set)


