S
ERVICE
P
ROCEDURES
25
T
O
REMOVE
THE
COPIER
INTERFACE
BOARD
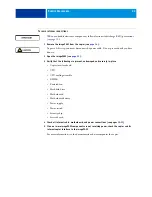
When you handle electronic components, follow electrostatic discharge (ESD) precautions
(see
1 Remove the imagePASS from the copier (see
As part of this step, you must disconnect the power cable. Do not proceed until you have
done so.
2 Open the imagePASS (see
When you open the imagePASS, you will remove the screw that attaches the copier interface
board bracket to the chassis lid.
3 Remove the screw that connects the copier interface board bracket to the connector panel.
4 Gently pull the copier interface board out of its connector on the motherboard.
Set the board and the screws aside.
T
O
INSTALL
THE
COPIER
INTERFACE
BOARD
When you handle electronic components, follow electrostatic discharge (ESD) precautions
(see
1 Insert the copier interface board into the PCI-E connector on the motherboard.
2 Attach the copier interface board bracket to the connector panel with the screw you removed
earlier.
3 Reassemble the unit and verify functionality (see


