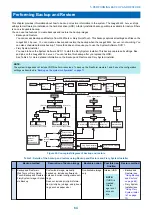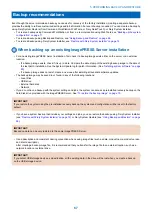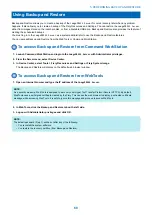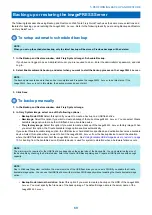
8. In Warning window, click Continue.
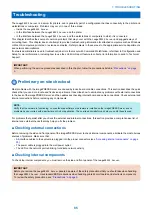
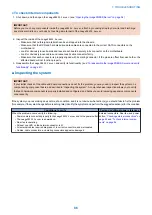
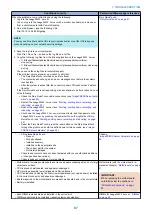
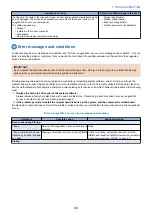
The Network connection is lost and “Fiery services are not responding” message is displayed on the printer control panel.
NOTE:
It may take approximately 40 minutes or more to format the USB flash drive and load the files on to the drive. Do not interrupt the
operation.
9. When the “Remove all USB Drives except the drive for the backup image” message is displayed, remove the first
USB flash drive (32GB) and attach the second USB drive (preferably 64GB) to one of the USB3.0 ports on the
imagePRESS Server
and click Continue.
The Fiery deployable image of
imagePRESS Server
is loaded into the second USB flash drive and the imagePRESS Server
enters into an unusable state.
NOTE:
It may take approximately 60 minutes or more to load the files on to the drive. Do not interrupt the operation.
■ To install the imagePRESS Server using a Fiery deployable image
Before you restore the
imagePRESS Server
with a Fiery deployable image, you must do the following:
• Create a bootable USB storage device with the Fiery deployable image
• Connect a monitor, keyboard, and mouse to the
imagePRESS Server
NOTE:
You can also use this procedure to install the system software after you replace the HDD with a new one.
1. Shut down the
imagePRESS Server
2. Attach the bootable USB backup media with the Fiery deployable image (which was created using
) to one of the USB3.0 ports on the
imagePRESS Server
.
Make sure to remove any media in the DVD drive. Do not attach other USB devices to the
imagePRESS Server
.
3. Press the power button to turn on the
imagePRESS Server
.
The
imagePRESS Server
will boot from the bootable USB backup media.
4. When the “Insert media for this backup” message is displayed in the
imagePRESS Server
, remove the first (bootable)
USB flash drive and attach the second USB drive with Deployable image to one of the USB3.0 ports on the
imagePRESS Server
.
After restoring the
imagePRESS Server
using Fiery deployable image, the
imagePRESS Server
will display IDLE.
5. Restore the
imagePRESS Server
using the backup image that was created in Step 1 of
“To create a deployable image”
5. PERFORMING BACKUP AND RESTORE
78
Summary of Contents for ImagePRESS Server H350 V2
Page 8: ...Introduction 1 Introduction 2 Specifications 7 ...
Page 17: ...INSTALLING HARDWARE 2 Installing Hardware 11 ...
Page 26: ...USING THE IMAGEPRESS SERVER 3 Using the imagePRESS Server 20 ...
Page 35: ...REPLACING PARTS 4 Replacing parts 29 ...
Page 86: ...INSTALLING SYSTEM SOFTWARE 6 Installing System Software 80 ...
Page 91: ...TROUBLESHOOTI NG 7 Troubleshooting 85 ...
Page 104: ...INSTALLATION PROCEDURE 8 Installation 98 Removable HDD Kit B5 108 ...

