11
13
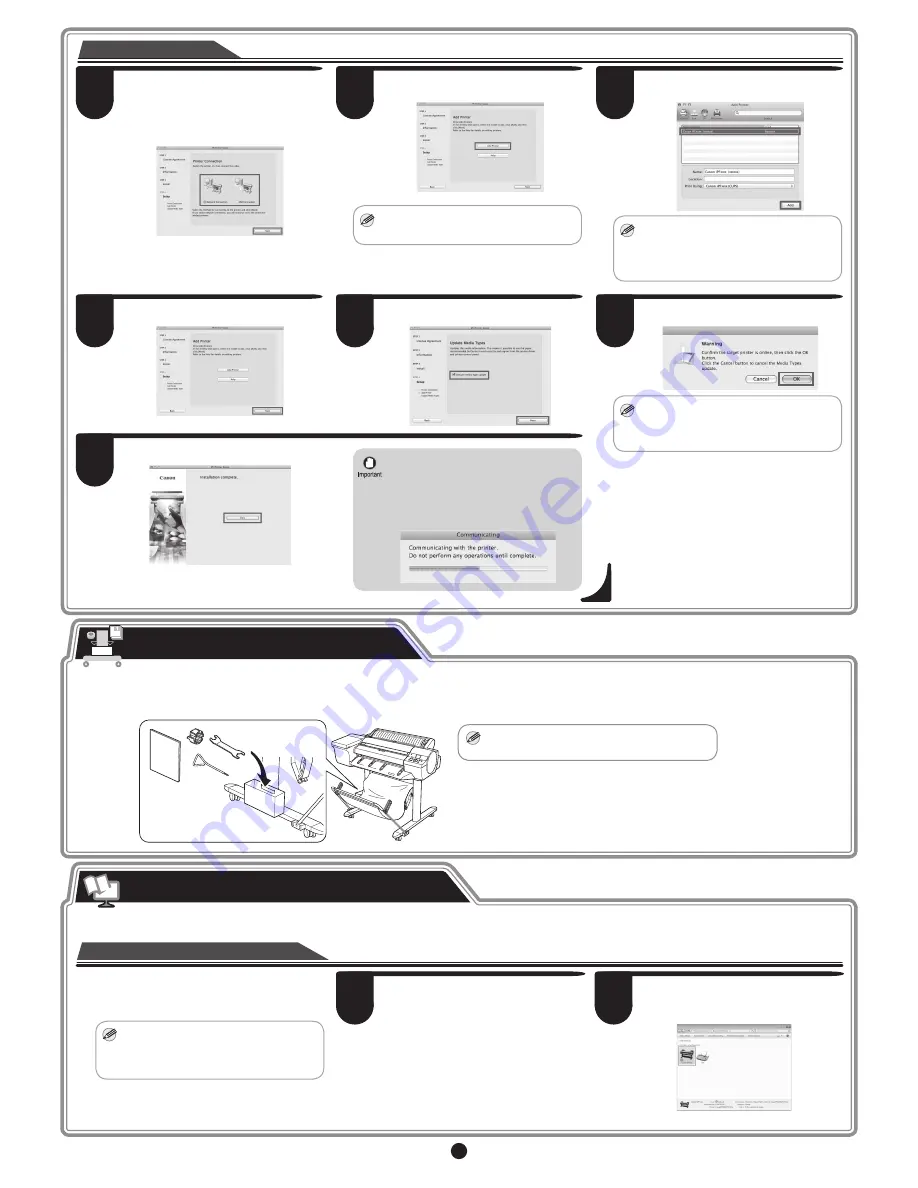
Select the method of connecting to the
printer, and click
Next
.
For USB connection, the printer is
automatically added and you should
proceed to step 17.
14
Click
Add Printer
.
MEMO
• You can view a description of adding
printers by clicking
Help
.
15
Select the printer to add from
Default
and
click
Add
.
MEMO
• It may take a long time until the printer
information is displayed on the screen.
• You can also add the printer by
specifying the IP address by selecting
IP
.
Select the printer
16
Click
Next
.
17
Select the
Execute media type update
check box and click
Next
.
18
Click
OK
.
MEMO
• If the same model of printer is already
registered on the computer, a screen is
displayed for printer selection. Select
the desired printer and click
Next
.
Click
Exit
.
• The following screen is displayed while
the media information is being updated.
Do not perform any other operations.
When the media information has
been updated, the screen is no longer
displayed.
19
Store Accessories in the Pockets
MEMO
• The accessory pocket is included with the
stand.
If you are using the stand, accessories such as the 3-Inch Paper Core Attachment and the Basic Guide are stored in the accessory pocket. The
Basic Guide details information such as basic printer usage, daily maintenance, and how to resolve problems. Store it so that you are able to read it
at any time.
Right-click the printer and then click
Properties
(or
Printer Properties
).
This section describes how to display the electronic
manuals from the printer driver.
From the
Start
menu, open
Printers
and Faxes
(or
Printers
or
Devices and
Printers
).
On Windows
MEMO
• The electronic manuals can be
displayed by clicking the link to the
product manuals from other installed
software.
How to Display the Electronic Manuals
The User's Guide and Paper Reference Guide are not included. Each of the manuals can be viewed on the web site from the links in the installed
software. An Internet connection is required to display the manuals.
1
2


