8
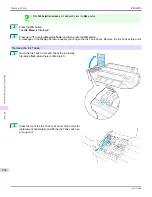
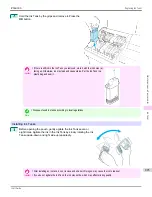
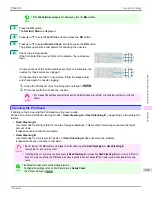
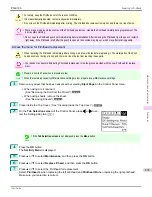
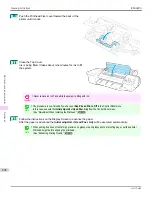
Press the
OK
button.
The ink begins to be drawn in, and instructions appear on the Display Screen after this has finished.
It takes about three minutes for the ink to be drawn in.
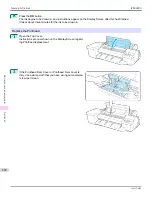
Replace the Printhead
1
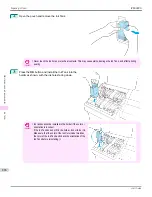
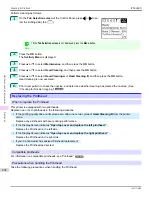
Open the Top Cover.
Instructions are now shown on the Display Screen regard-
ing Printhead replacement.
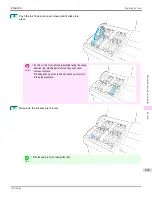
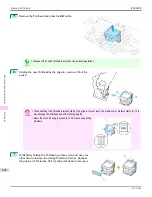
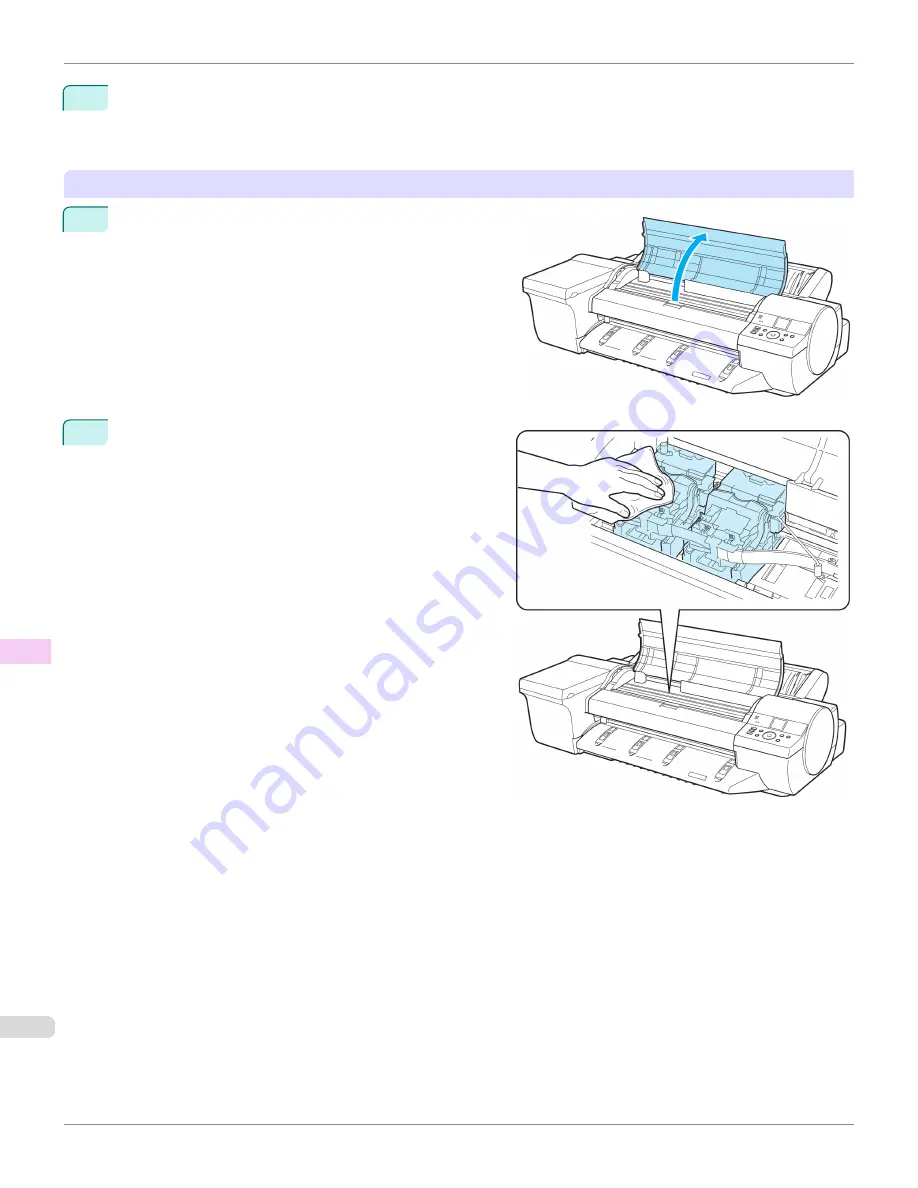
2
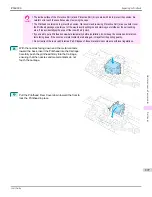
If the Printhead Fixer Cover or Printhead Fixer Lever is
dirty, use a damp cloth that you have wrung out complete-
ly to wipe it clean.
Replacing the Printhead
iPF6400S
User's Guide
Maintenance and Consumables
Printheads
894
Summary of Contents for imagePROGRAF iPF6400S Series
Page 34: ...iPF6400S User s Guide 34 ...
Page 344: ...iPF6400S User s Guide 344 ...
Page 494: ...iPF6400S User s Guide 494 ...
Page 650: ...iPF6400S User s Guide 650 ...
Page 668: ...iPF6400S User s Guide 668 ...
Page 700: ...iPF6400S User s Guide 700 ...
Page 1010: ...WEEE Directive iPF6400S User s Guide Appendix Disposal of the product 1010 ...
Page 1011: ...iPF6400S WEEE Directive User s Guide Appendix Disposal of the product 1011 ...
Page 1012: ...WEEE Directive iPF6400S User s Guide Appendix Disposal of the product 1012 ...
Page 1013: ...iPF6400S WEEE Directive User s Guide Appendix Disposal of the product 1013 ...
Page 1014: ...WEEE Directive iPF6400S User s Guide Appendix Disposal of the product 1014 ...
Page 1015: ...iPF6400S WEEE Directive User s Guide Appendix Disposal of the product 1015 ...
Page 1016: ...WEEE Directive iPF6400S User s Guide Appendix Disposal of the product 1016 ...
Page 1017: ...iPF6400S WEEE Directive User s Guide Appendix Disposal of the product 1017 ...
Page 1018: ...iPF6400S User s Guide 1018 ...
Page 1021: ...1021 ...

