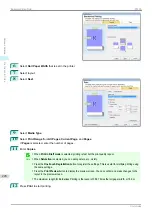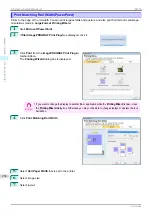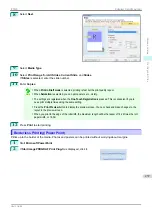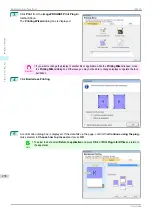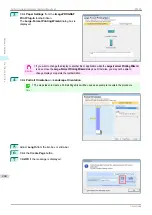
5
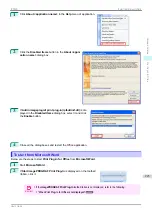
Adjust
Length
from the list-box or slide-bar.
6
Click the
Create Page
button.
7
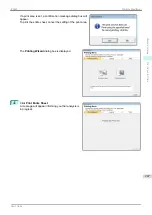
Click
OK
if the message is displayed.
8
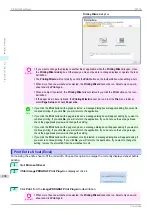
Edit and create the document.
Note
•
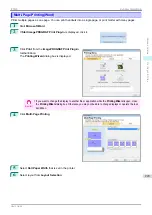
Printing is done in
Print Matching Roll Width
of the
Printing Wizard
. For details on
Print Matching Roll
Width
Print Matching Roll Width(Word)
Important
•
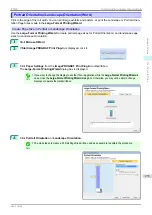
The layout may collapse if you create a form using existing data. If that is the case, modify the data again.
To start from Microsoft PowerPoint
To start from Microsoft PowerPoint
Below are the steps to start
Print Plug-In for Office
from
Microsoft PowerPoint
.
1
Start
Microsoft PowerPoint
.
2
If
Start imagePROGRAF Print Plug-In
is displayed on the toolbar/
ribbon, click it.
Important
•
If the
imagePROGRAF Print Plug-In
toolbar/ribbon is not displayed, refer to the following.
•
When Print Plug-In for Office is not displayed
3
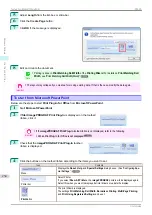
Check that the
imagePROGRAF Print Plug-In
toolbar/
ribbon is displayed.
4
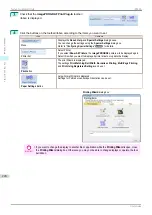
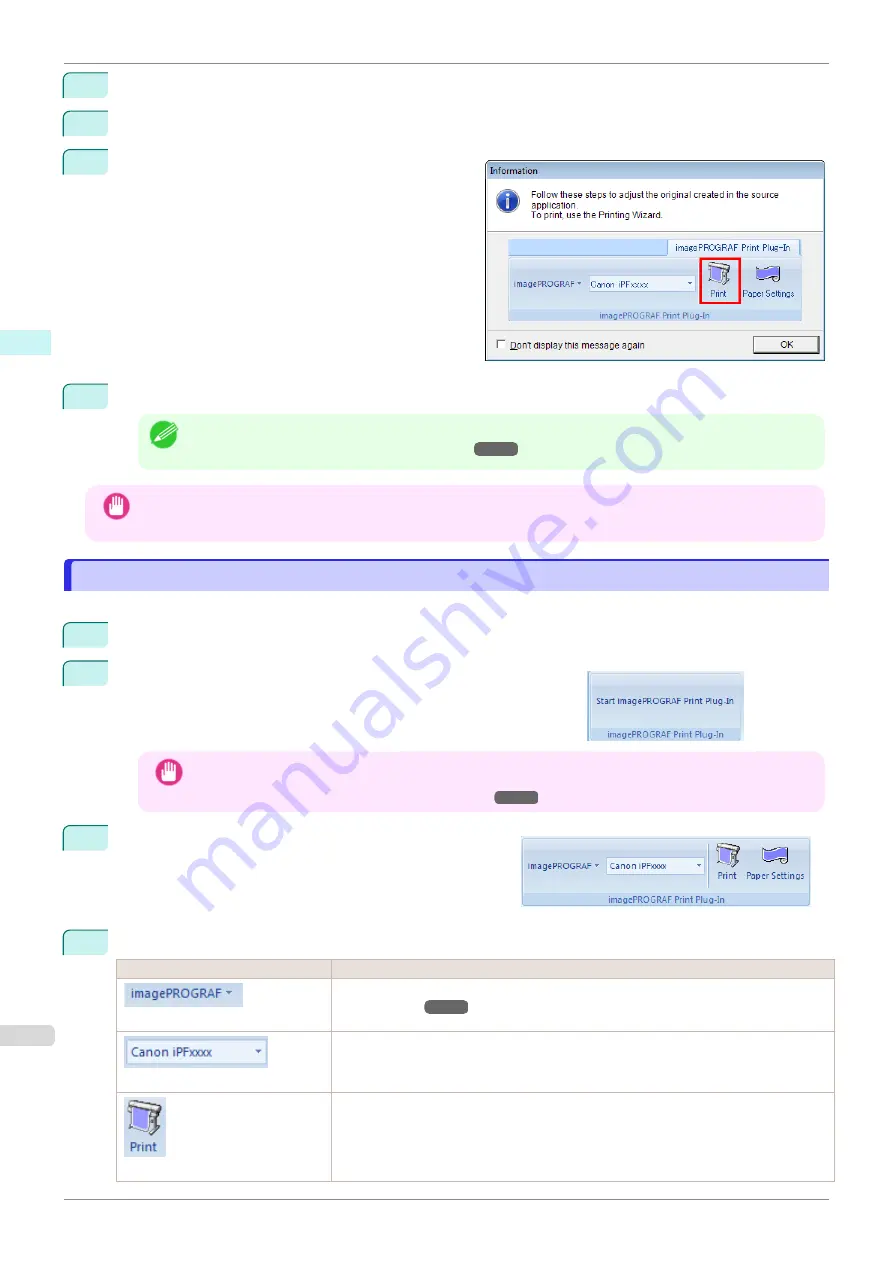
Click the buttons on the toolbar/ribbon according to the items you want to set.
Icon
Contents
Menu
Displays the
About
,
Help
, and
Special Settings
dialog boxes.
Printer list
Select Printer.
If you select
Show All Printers
, the
imagePROGRAF
printers will be displayed again.
Select this when you want to display all printer drivers or update the display.
Button
The print Wizard is displayed.
The settings
Print Matching Roll Width
,
Borderless Printing
,
Multi-Page Printing
,
and
Print Using Registered Settings
can be set.
To start from Microsoft PowerPoint
iPF830
Windows Software
Print Plug-In for Office
234
Summary of Contents for imagePROGRAF iPF830
Page 14: ...14 ...
Page 28: ...iPF830 User s Guide 28 ...
Page 144: ...iPF830 User s Guide 144 ...
Page 254: ...iPF830 User s Guide 254 ...
Page 318: ...iPF830 User s Guide 318 ...
Page 460: ...iPF830 User s Guide 460 ...
Page 494: ...iPF830 User s Guide 494 ...
Page 604: ...iPF830 User s Guide 604 ...
Page 636: ...iPF830 User s Guide 636 ...
Page 678: ...iPF830 User s Guide 678 ...


