2.
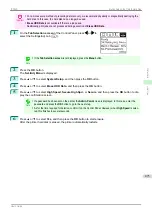
Press the
OK
button.
The
Set./Adj. Menu
is displayed.
3.
Press
▲
or
▼
to select
Interface Setup
, and then press the
OK
button.
4.
Press
▲
or
▼
to select
Ethernet Driver
, and then press the
OK
button.
5.
Press
▲
or
▼
to select
MAC Address
, and then press the
OK
button.
Note
•
If the
Tab Selection screen
is not displayed, press the
Menu
button.
•
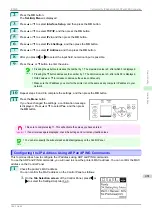
You can investigate the MAC address by printing an interface setting report.
Printing Interface Setting Reports
2
In Windows, open a command prompt, or in Mac OS, start Terminal.
3
Execute the following command to add entries to the ARP table for managing IP addresses and corre-
sponding MAC addresses.
arp -s [IP address] [the printer's MAC address you have verified]
Example: arp -s xxx.xxx.xxx.xxx 00-1E-8F-xx-xx-xx
Note
•
In Mac OS when using Terminal, enter the arp command in the format arp -s xxx.xxx.xxx.xxx 00:1E:
8F:xx:xx:xx. For details, refer to the help file for the command line.
4
Execute the following command to send the IP address to the printer and configure it.
ping [IP address as specified in the ARP command] -l 479
Example: ping xxx.xxx.xxx.xxx -l 479
Note
•
In
-l
, the
l
is the letter
l
.
•
In Mac OS when using Terminal, enter the ping command in the format ping -s 479 xxx.xxx.xxx.xxx. For
details, refer to the help file for the command line.
Note
•
The subnet mask and default gateway are set to 0.0.0.0. Use RemoteUI to change the subnet mask and default
gateway to match your network settings.
For details on RemoteUI,
Configuring TCP/IPv6 Network Settings
Configuring TCP/IPv6 Network Settings
When printing in a TCP/IPv6 network, you must configure the TCP/IPv6 settings on the Control Panel.
Follow the steps below to configure the TCP/IPv6 network settings.
1
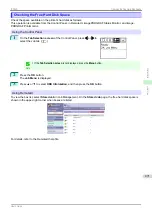
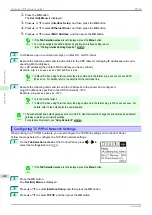
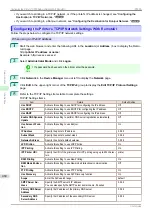
On the
Tab Selection screen
of the Control Panel, press
◀
or
▶
to
select the Settings/Adj. tab (
).
Note
•
If the
Tab Selection screen
is not displayed, press the
Menu
button.
2
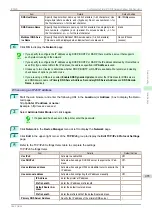
Press the
OK
button.
The
Set./Adj. Menu
is displayed.
3
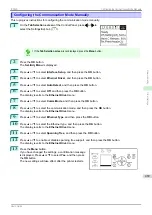
Press
▲
or
▼
to select
Interface Setup
, and then press the
OK
button.
4
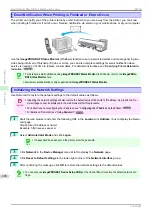
Press
▲
or
▼
to select
TCP/IP
, and then press the
OK
button.
Configuring TCP/IPv6 Network Settings
iPF830
Network Setting
Initial Settings
482
Summary of Contents for imagePROGRAF iPF830
Page 14: ...14 ...
Page 28: ...iPF830 User s Guide 28 ...
Page 144: ...iPF830 User s Guide 144 ...
Page 254: ...iPF830 User s Guide 254 ...
Page 318: ...iPF830 User s Guide 318 ...
Page 460: ...iPF830 User s Guide 460 ...
Page 494: ...iPF830 User s Guide 494 ...
Page 604: ...iPF830 User s Guide 604 ...
Page 636: ...iPF830 User s Guide 636 ...
Page 678: ...iPF830 User s Guide 678 ...

