4
4
4-27
4-27
Parts Replacement and Cleaning > Main Units/Parts > Removing the Laser Scanner Unit
Parts Replacement and Cleaning > Main Units/Parts > Removing the Laser Scanner Unit
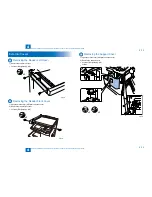
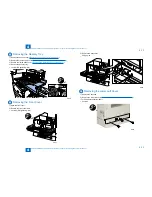
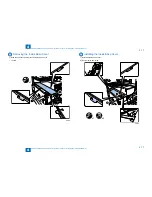
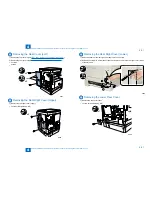
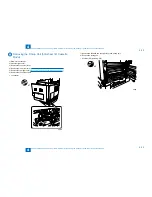
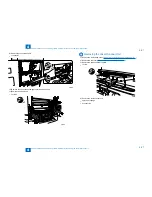
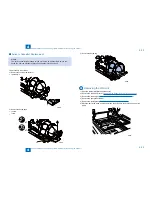
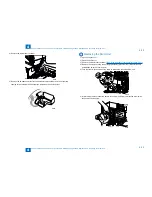
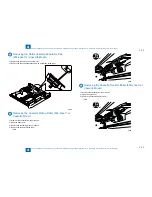
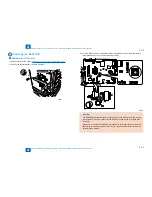
9) Remove the connection cable.
1 connector
x1
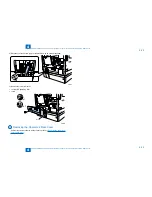
10)Remove the link between the right cover and pickup unit.
11)Remove the pickup unit.
3 screws
x3
•
•
F-4-52
F-4-52
F-4-53
F-4-53
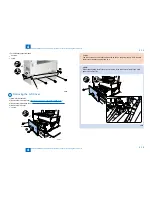
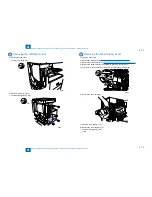
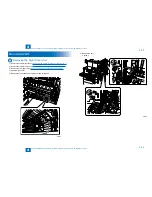
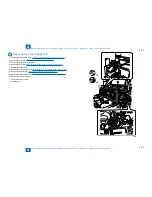
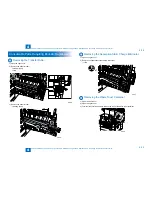
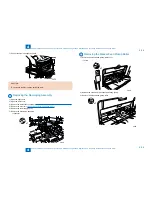
Removing the Laser Scanner Unit
1) Remove the inside base cover.(
"Removing the Inside Base Cover"(page 4-17).
)
2) Remove the left cover.(
"Removing the Left Cover"(page 4-16)
.
)
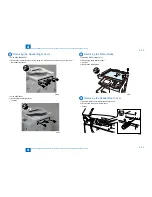
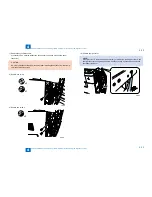
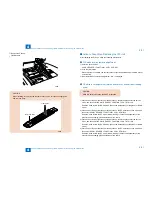
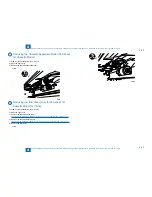
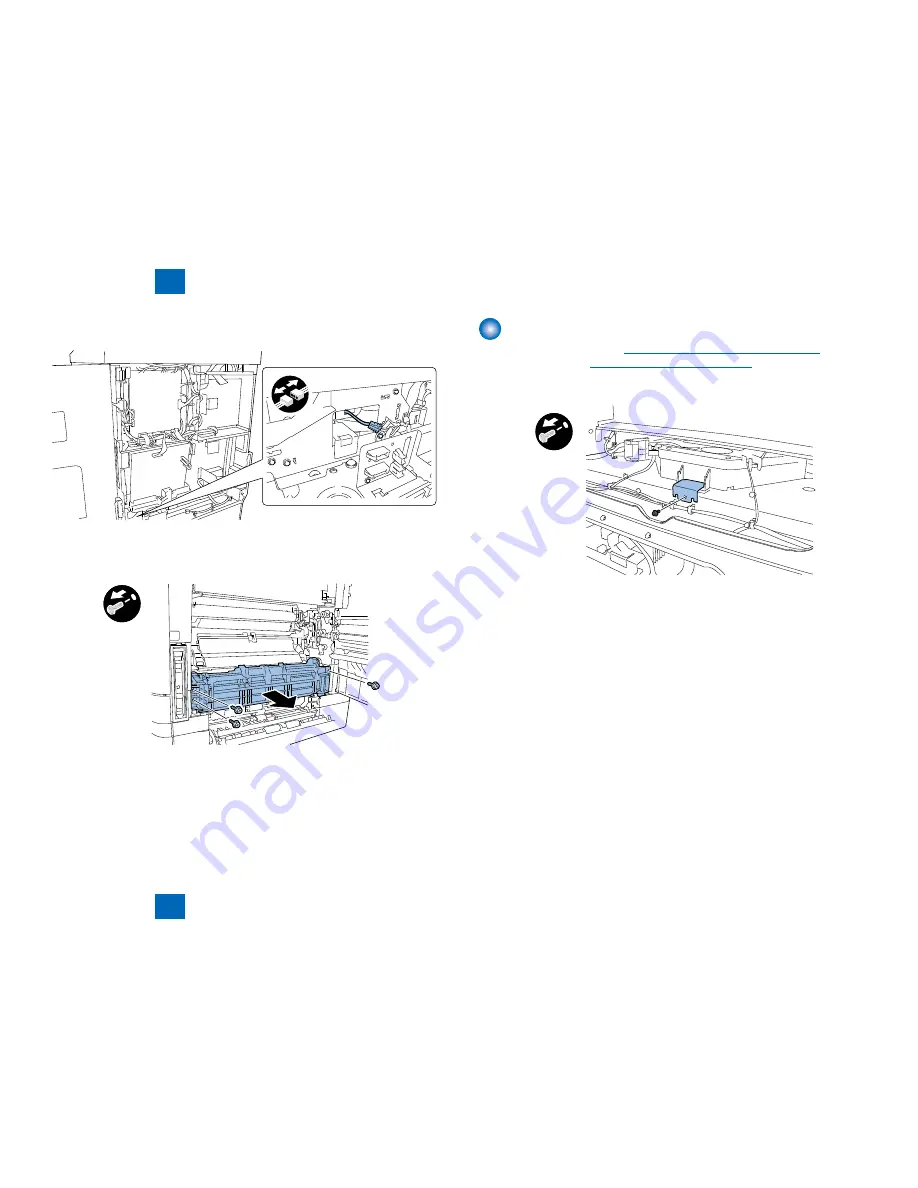
3) Remove the scanner retaining plate.
1 screw
x1
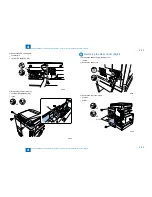
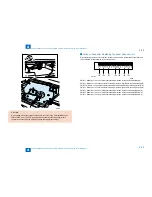
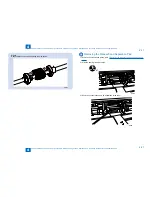
4) Remove the laser scanner unit.
2 pieces of sponge
4 connectors
•
•
•
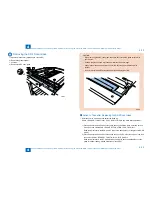
F-4-54
F-4-54
Summary of Contents for IMAGERUNNER 2530
Page 1: ...9 8 7 6 5 4 3 2 1 imageRUNNER 2530 2525 2520 Series Service Manual...
Page 4: ...Blank Page...
Page 16: ...1 1 Product Overview Product Overview Product Lineup Feature Specifications Name of Parts...
Page 111: ...3 3 Periodical Service Periodical Service Consumable Parts and Cleaning Parts...
Page 159: ...5 5 Adjustment Adjustment Outline Adjustment when replacing parts Image position adjustment...
Page 166: ...6 6 Troubleshooting Troubleshooting Upgrading Targets and Procedure...
Page 171: ...7 7 Error Code Error Code Overview Error Code Jam Code Alarm Code...
Page 186: ...8 8 Service Mode Service Mode Outline Details of Service Mode...
Page 321: ...Service Tools General Circuit Diagram Appendix...

