9
9
9-23
9-23
Installation > Card Reader Installation Procedure > Installation Procedure
Installation > Card Reader Installation Procedure > Installation Procedure
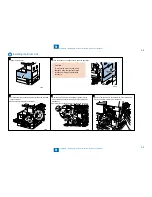
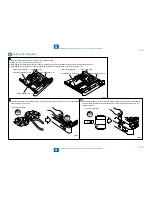
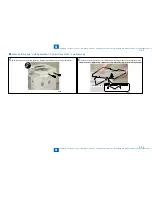
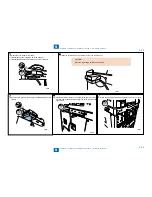
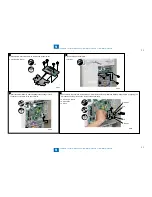
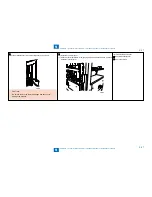
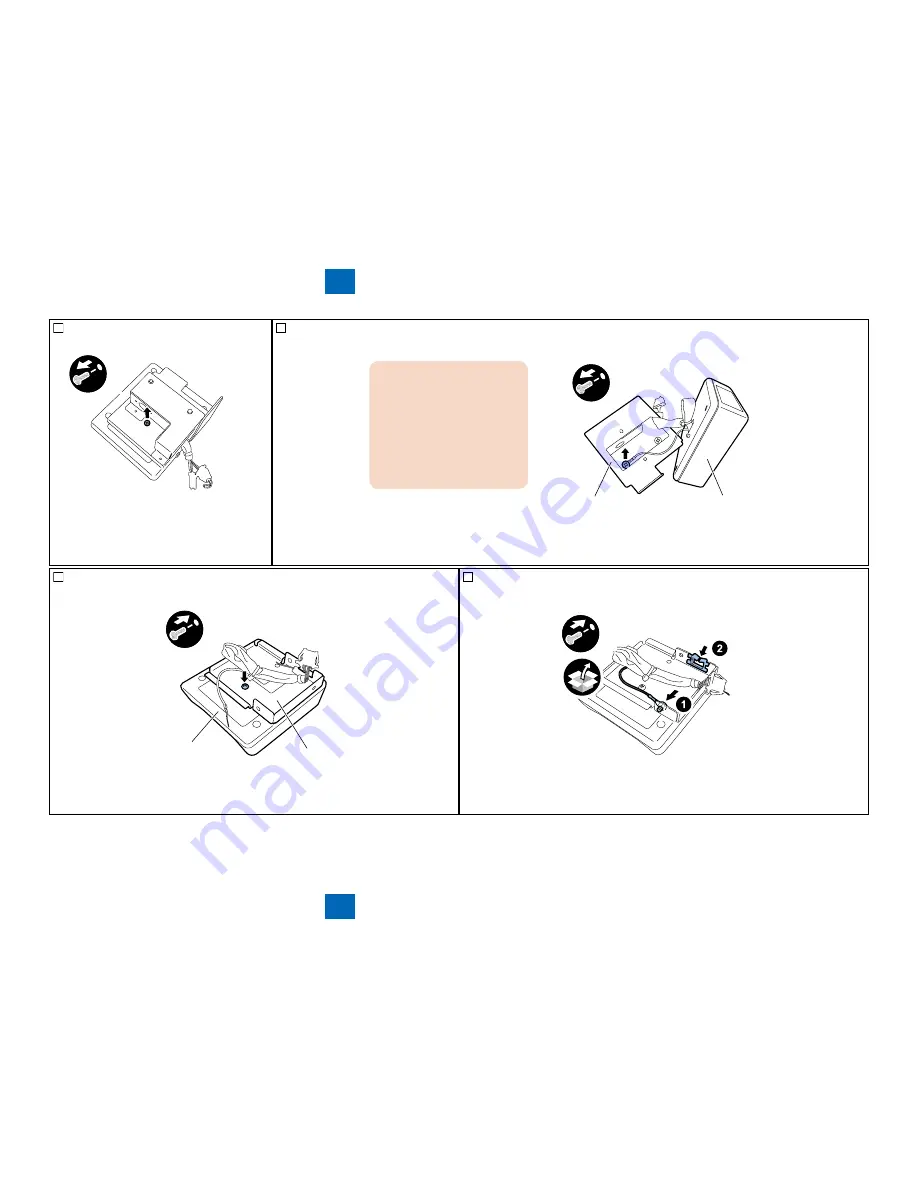
3) Remove the screw from the card reader.
x1
F-9-45
F-9-45
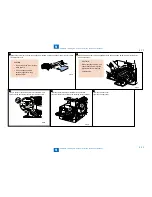
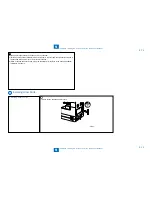
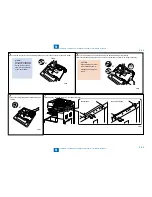
4) Remove the screw and the tooth washer securing the ground cable, and then separate the card reader from the card reader mount. The removed card
reader mount is no longer necessary.
CAUTION:
When removing the harness
through the opening in the card
reader mount, take care not to
cut or damage it.
x1
Card reader mount
Card reader
F-9-46
F-9-46
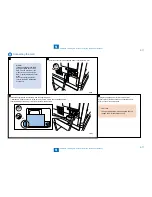
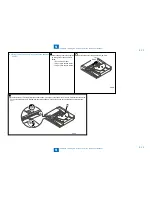
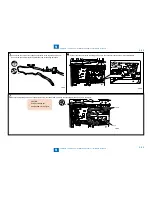
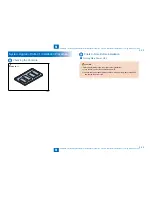
5) Insert the card reader harness and ground cable into the hole in the supplied card reader mount.
Using the screw removed in step 4), secure the card reader to the card reader mount.
Card reader mount
Card reader
x1
F-9-47
F-9-47
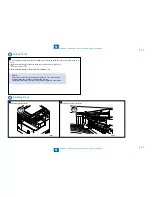
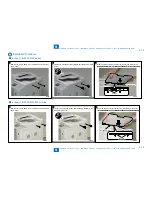
6) Connect the ground cable [2] to the reader mount using the bundled binding screw (M4x6).
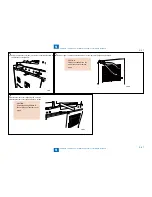
7) Attach the supplied edge saddle to the card reader mount.
x1
F-9-48
F-9-48
Summary of Contents for IMAGERUNNER 2530
Page 1: ...9 8 7 6 5 4 3 2 1 imageRUNNER 2530 2525 2520 Series Service Manual...
Page 4: ...Blank Page...
Page 16: ...1 1 Product Overview Product Overview Product Lineup Feature Specifications Name of Parts...
Page 111: ...3 3 Periodical Service Periodical Service Consumable Parts and Cleaning Parts...
Page 159: ...5 5 Adjustment Adjustment Outline Adjustment when replacing parts Image position adjustment...
Page 166: ...6 6 Troubleshooting Troubleshooting Upgrading Targets and Procedure...
Page 171: ...7 7 Error Code Error Code Overview Error Code Jam Code Alarm Code...
Page 186: ...8 8 Service Mode Service Mode Outline Details of Service Mode...
Page 321: ...Service Tools General Circuit Diagram Appendix...

