9
9
9-28
9-28
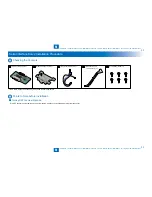
Installation > Card Reader Installation Procedure > Installation Procedure
Installation > Card Reader Installation Procedure > Installation Procedure
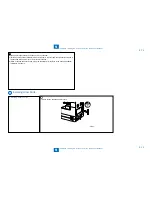
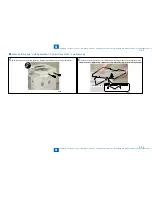
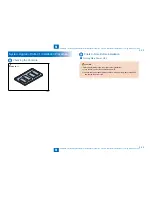
b.Installing the Card Reader and the USB Application 3-Port Interface Kit-A1 at the same time
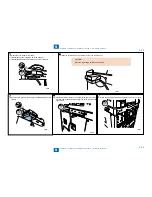
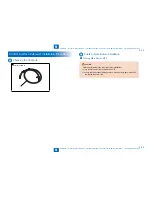
1) Install USB USB Application 3-Port Interface Kit-A1 earlier.
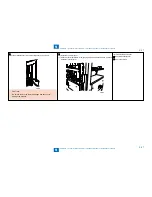
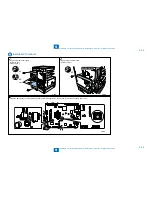
2) Remove the cable cover of USB Application 3-Port Interface Kit-A1.
Claws (2 pcs.)
Claw
x2
Claw
•
F-9-64
F-9-64
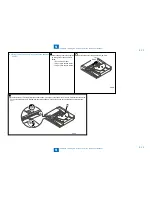
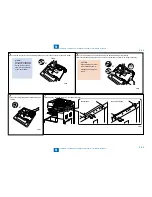
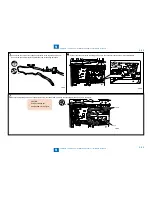
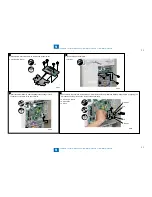
3) Perform steps 1) to 12) of "a. Installing the card reader in a simple substance ".
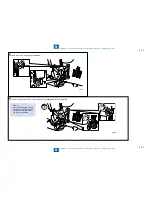
4) Attach the card reader to the reader using the 2 bundled TP screws (M4x16).
x2
F-9-65
F-9-65
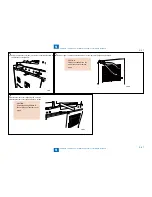
5) Perform steps 15) to 16) of " a. Installing the card reader in a simple substance ".
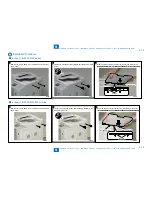
6) Route the cable to the USB cable guide.
F-9-66
F-9-66
7) Perform steps 18) to 21) and steps 23) to 25) of " a. Installing the card reader in a simple substance ".
8) Attach the cable cover of USB Application 3-Port Interface Kit-A1.
Summary of Contents for IMAGERUNNER 2530
Page 1: ...9 8 7 6 5 4 3 2 1 imageRUNNER 2530 2525 2520 Series Service Manual...
Page 4: ...Blank Page...
Page 16: ...1 1 Product Overview Product Overview Product Lineup Feature Specifications Name of Parts...
Page 111: ...3 3 Periodical Service Periodical Service Consumable Parts and Cleaning Parts...
Page 159: ...5 5 Adjustment Adjustment Outline Adjustment when replacing parts Image position adjustment...
Page 166: ...6 6 Troubleshooting Troubleshooting Upgrading Targets and Procedure...
Page 171: ...7 7 Error Code Error Code Overview Error Code Jam Code Alarm Code...
Page 186: ...8 8 Service Mode Service Mode Outline Details of Service Mode...
Page 321: ...Service Tools General Circuit Diagram Appendix...

