9
9
9-41
9-41
Installation > System Upgrade RAM-C1 Installation Procedure > Installation Procedure
Installation > System Upgrade RAM-C1 Installation Procedure > Installation Procedure
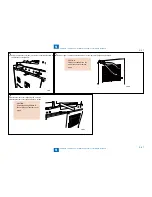
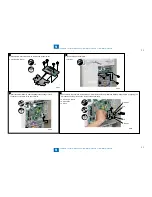
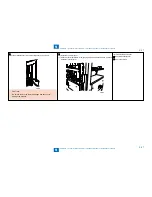
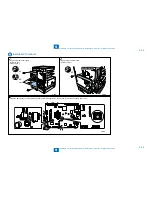
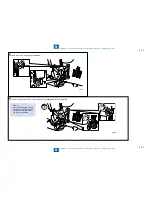
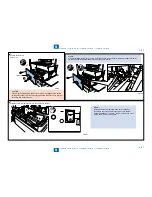
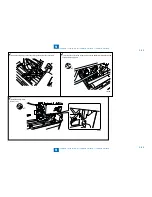
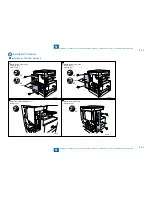
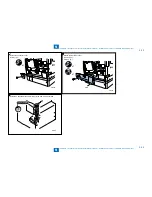
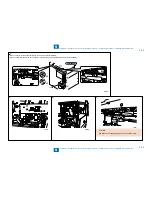
6) Fix the controller plate with 3 screws (TP, M3x6).
7) Fix the rear cover (right) with 3 screws (RS-tight, M3x8).
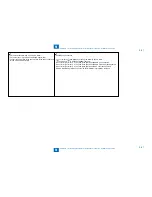
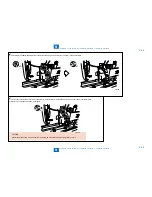
8) Connect the power plug of the host machine to the power outlet and
turn its main power switch ON.
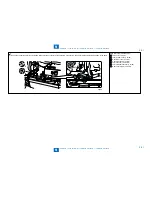
9) Checking the Connection
9-1) Have the service mode display by pressing the following keys in order:
>2key>8key>
In response, [#SSSW] appears.
9-2) Use left or right cursor [< / >] key and press [OK] when [REPORT] has appeared.
9-3) Use left or right cursor [< / >] key and press [OK] when [REPORT OUTPUT] has appeared.
9-4) Use left or right cursor [< / >] key and press [OK] when [SPEC LIST] has appeared.
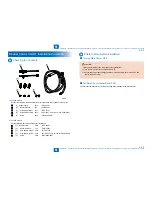
9-5) SPEC REPORT is printed out. Confirm TOTAL MEMORY is [512MB] on the report.
Summary of Contents for IMAGERUNNER 2530
Page 1: ...9 8 7 6 5 4 3 2 1 imageRUNNER 2530 2525 2520 Series Service Manual...
Page 4: ...Blank Page...
Page 16: ...1 1 Product Overview Product Overview Product Lineup Feature Specifications Name of Parts...
Page 111: ...3 3 Periodical Service Periodical Service Consumable Parts and Cleaning Parts...
Page 159: ...5 5 Adjustment Adjustment Outline Adjustment when replacing parts Image position adjustment...
Page 166: ...6 6 Troubleshooting Troubleshooting Upgrading Targets and Procedure...
Page 171: ...7 7 Error Code Error Code Overview Error Code Jam Code Alarm Code...
Page 186: ...8 8 Service Mode Service Mode Outline Details of Service Mode...
Page 321: ...Service Tools General Circuit Diagram Appendix...

