2
2
2-37
2-37
Technology > Image Formation System > Controls > Drum Unit
Technology > Image Formation System > Controls > Drum Unit
Controls
Drum Unit
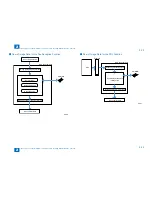
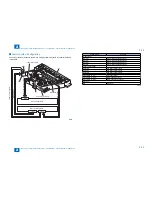
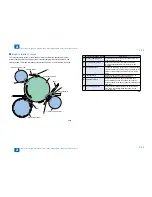
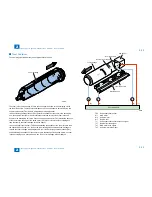
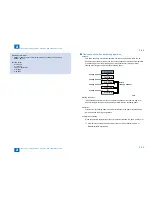
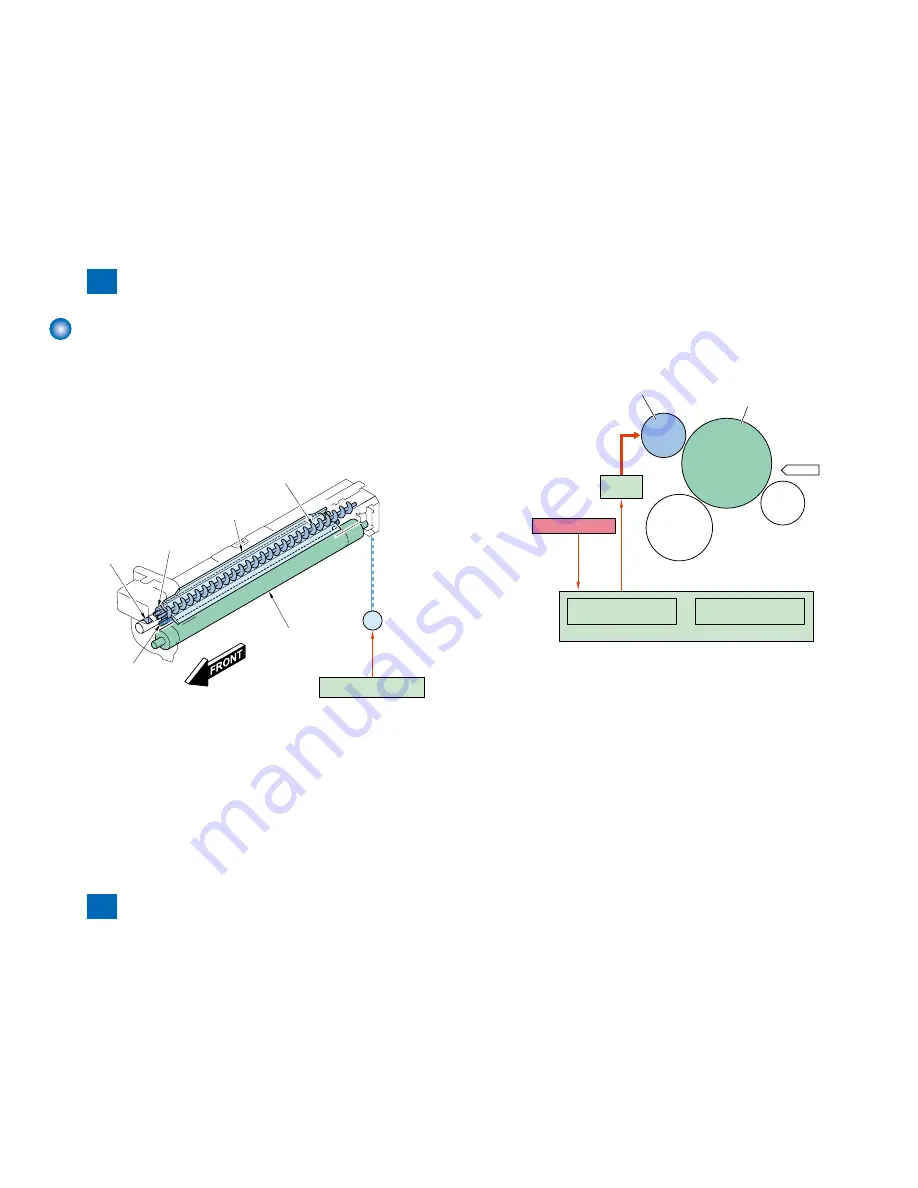
The drum unit mainly consists of the photosensitive drum, primary charging roller, brush roller,
cleaning blade, and waste toner feed screw, and is driven by the main motor (M1).
Cleaning blade in contact with the photosensitive drum scrapes off the residual toner on its
surface without being transferred to a paper. The residual toner scraped off by the cleaning
blade is fed from the toner ejection part into the waste toner box by the waste toner feed
screw. The primary charging roller is cleaned by the brush roller in contact with it.
Photosensitive drum
Cleaning Blade
Primary charging roller
Waste toner feed screw
M 1
[1]
Toner ejection part
Brush roller
DC Controller PCB
M1 Main motor
[1]
Main motor drive signal
■
F-2-59
F-2-59
Primary Charging Bias Control
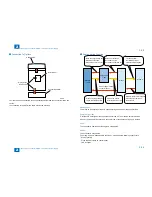
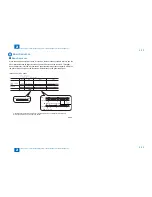
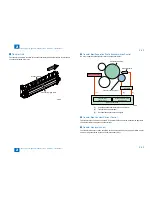
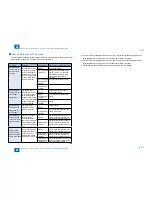
The machine is directly charged by the charging roller. DC bias and AC bias that stabilized
the charge is applied to the primary charging roller.
Photosensitive drum
[2]
Environment sensor
[1]
Primary charging roller
HVT PCB
Primary DC bias
control circuit
Primary AC bias
control circuit
DC Controller PCB
[1]
Primary charging bias control signal
[2]
Environment sensor detection signal
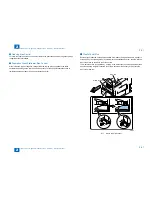
Constant voltage control of DC bias and AC bias
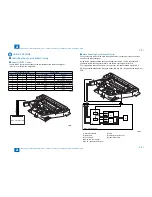
The DC bias and AC bias control circuits on the DC controller PCB control the DC bias and
AC bias applied to the primary charging roller to keep their voltage at the fixed level.
DC bias switch control
The DC bias output varies according to the environment detected by the environment sensor
(HU1).
●
●
●
F-2-60
F-2-60
Summary of Contents for IMAGERUNNER 2530
Page 1: ...9 8 7 6 5 4 3 2 1 imageRUNNER 2530 2525 2520 Series Service Manual...
Page 4: ...Blank Page...
Page 16: ...1 1 Product Overview Product Overview Product Lineup Feature Specifications Name of Parts...
Page 111: ...3 3 Periodical Service Periodical Service Consumable Parts and Cleaning Parts...
Page 159: ...5 5 Adjustment Adjustment Outline Adjustment when replacing parts Image position adjustment...
Page 166: ...6 6 Troubleshooting Troubleshooting Upgrading Targets and Procedure...
Page 171: ...7 7 Error Code Error Code Overview Error Code Jam Code Alarm Code...
Page 186: ...8 8 Service Mode Service Mode Outline Details of Service Mode...
Page 321: ...Service Tools General Circuit Diagram Appendix...

