COPYRIGHT © 1999 CANON INC. CANON imageRUNNER 400/330 REV.0 JAN. 1999 PRINTED IN JAPAN (IMPRIME AU JAPON)
12-29
CHAPTER 12 INSTALLATION
IV. INSTALLING THE
CONTROL CARD V
Before turning off the main power
switch, check to make sure that the
image/memory lamp is off.
1. Removing the Control Panel
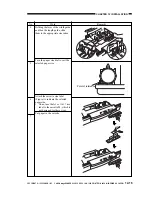
1) Remove the following to detach the inside
cover:
Front cover
Feeding assembly lever (after
releasing the feeding assembly)
Drum unit (after releasing the
developing assembly)
Registration roller tab
Top cassette
2) Lock the developing assembly, and
remove the five screws; then, detach the
inside cover.
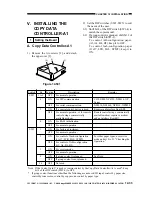
3) Free the harness of the shortage connector
from the edge saddle, and disconnect the
shorting connector. (The shorting
connector will not be used.)
Figure 12-401
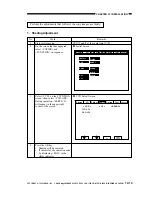
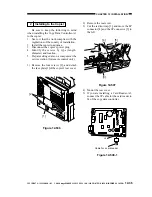
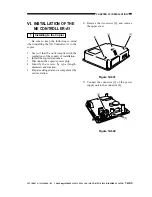
4) Remove the control panel, and turn it over
carefully.
4 screws
Grounding plat (1 pc.; 1 screw)
Connectors (4 pc.)
2. Preparing for the Control Card
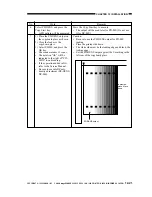
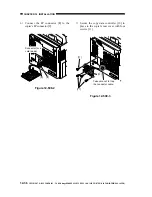
1) Remove the inlet face plate.
Figure 12-402
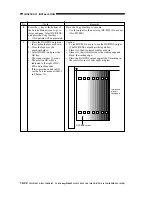
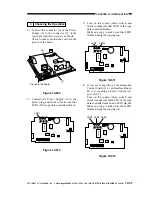
2) Remove the screw of the face plate.
Figure 12-403
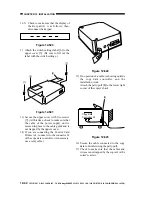
Shorting connector
Edge saddle
Inlet face plate
Screw of the face plate

