CHAPTER 3 EXPOSURE SYSTEM
3-14
COPYRIGHT © 1999 CANON INC. CANON imageRUNNER 400/330 REV.0 JAN. 1999 PRINTED IN JAPAN (IMPRIME AU JAPON)
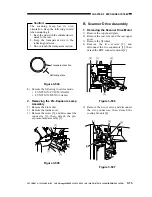
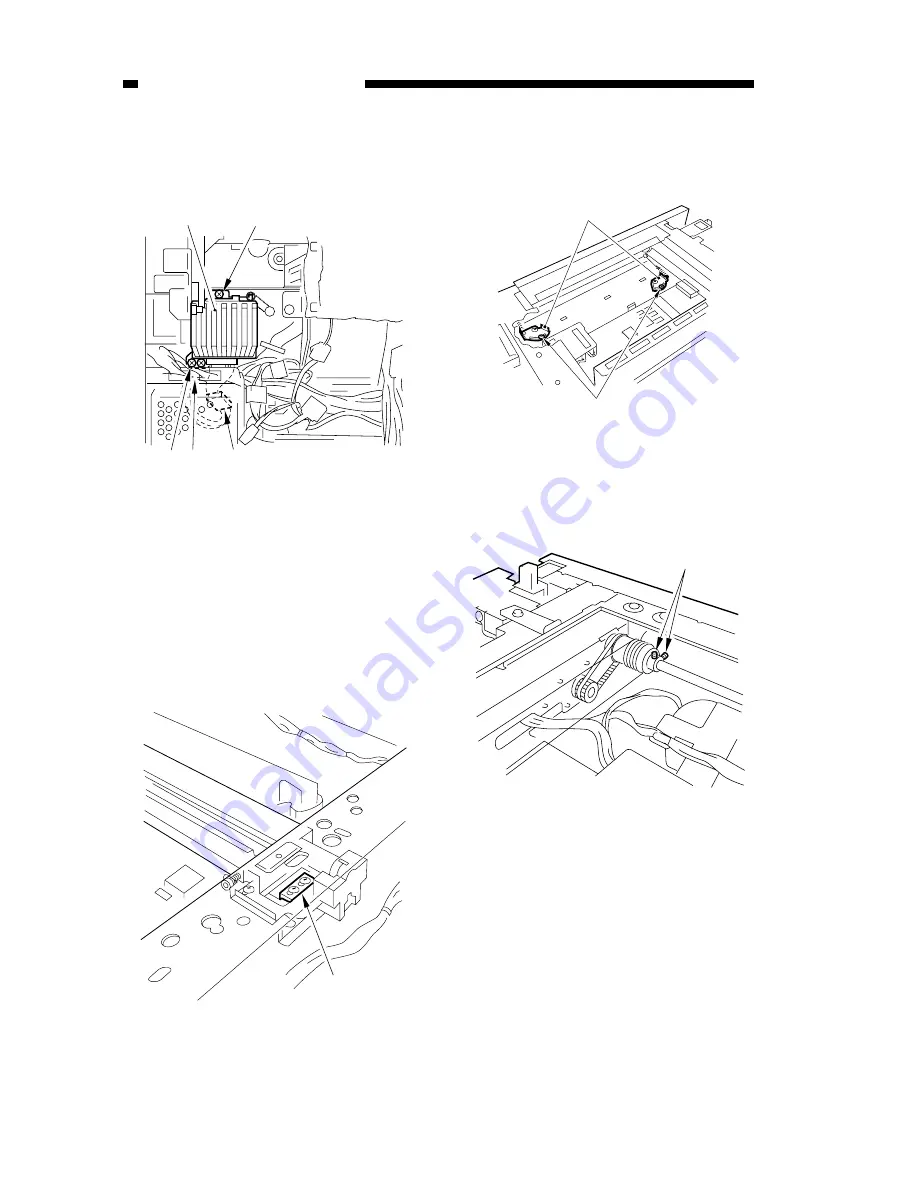
6) Remove the three screws [8], and
disconnect the connector [9]; then, detach
the scanner drive motor [7].
Figure 3-508
2. Removing the Scanner Cable
1) Remove the following:
Copyboard glass
Control panel
Rear cover, rear upper cover, right
cover, left cover
2) Remove the metal fixings [1] of the
scanner cable (both front and rear).
Figure 3-509
3) Loosen the two screws [3] to free the
cable spring stay [2] (both font and rear).
Figure 3-510
4) Loosen the set screws [4], and detach the
cable (both front and rear).
Figure 3-511
[7]
[8]
[8] [8]
(RS tightening)
[9]
[1]
[2]
[3]
[4]


