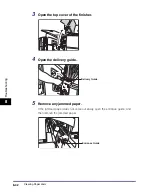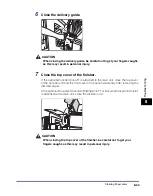
Clearing Paper Jams
8-53
8
T
rou
b
lesh
o
o
ti
ng
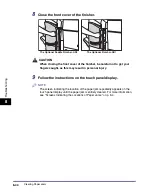
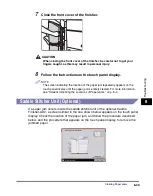
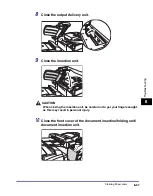
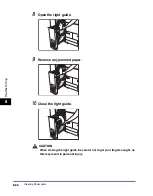
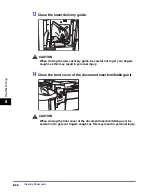
CAUTION
When closing the front cover of the finisher, be careful not to get your
fingers caught, as this may result in personal injury.
8
Follow the instructions on the touch panel display.
NOTE
The screen indicating the location of the paper jam repeatedly appears on the
touch panel display until the paper jam is entirely cleared. For more information,
see "Screens Indicating the Locations of Paper Jams," on p. 8-4.
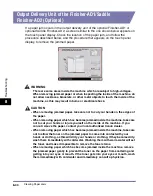
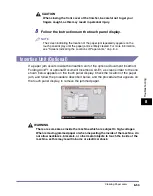
Insertion Unit (Optional)
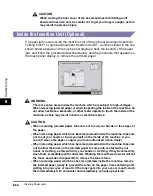
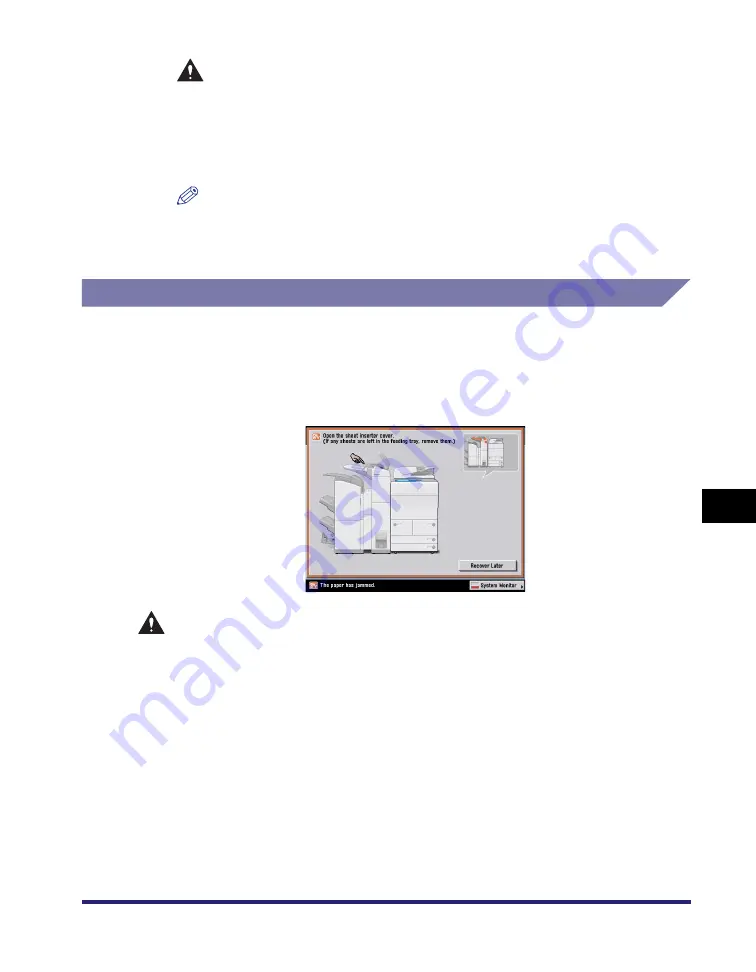
If a paper jam occurs inside the insertion unit of the optional Document Insertion/
Folding Unit-F1 or optional Document Insertion Unit-E1, a screen similar to the one
shown below appears on the touch panel display. Check the location of the paper
jam, and follow the procedure described below, and the procedure that appears on
the touch panel display, to remove the jammed paper.
WARNING
There are some areas inside the machine which are subject to high-voltages.
When removing jammed paper or when inspecting the inside of the machine, do
not allow necklaces, bracelets, or other metal objects to touch the inside of the
machine, as this may result in burns or electrical shock.
Summary of Contents for ImageRunner 5050
Page 2: ......
Page 3: ...imageRUNNER 5075 5065 5055 5050 Reference Guide 0 Ot ...
Page 48: ...System Settings 1 28 1 Before You Start Using This Machine ...
Page 102: ...Available Paper Stock 2 54 2 Basic Operations ...
Page 214: ...Adjusting the Machine 4 68 4 Customizing Settings ...
Page 230: ...Priority Printing 5 16 5 Checking Job and Device Status ...
Page 257: ...License Registration 6 27 6 System Manager Settings 3 Press OK ...
Page 306: ...Restricting Printer Jobs 6 76 6 System Manager Settings ...
Page 376: ...Consumables 7 70 7 Routine Maintenance ...
Page 500: ...Index 9 22 9 Appendix ...
Page 501: ......


