Using Image Creation Modes
4-64
4
Spe
c
ial Co
p
y
in
g and
Mai
l
Bo
x F
eatures
■
Copying
1
Place your originals on the platen glass
➞
press [Special
Features]
➞
[Image Creation].
2
Press [Area Designation]
➞
press [Pen Entry].
3
Press [Start Scan].
IMPORTANT
Confirm that the original is placed on the platen glass.
4
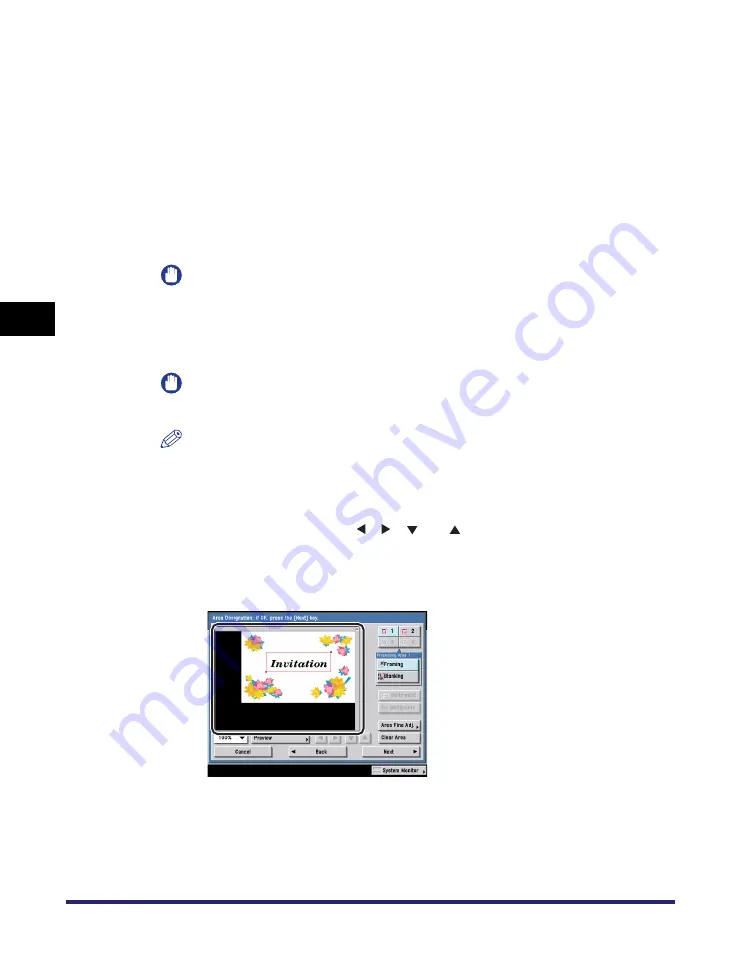
Designate the area using the edit pen.
IMPORTANT
You cannot designate a rectangular area and a polygonal area at the same time.
NOTE
•
To clear the last point entered, press [Erase Point]. (Once an area is designated,
[Erase Point] changes to [Clear Area].)
•
To clear a designated area, press [Clear Area].
•
To zoom in on any area on the original, press the ratio drop-down list
➞
select an
enlargement ratio
➞
press [ ], [ ], [
], or [
] to display the desired area.
●
To designate a rectangular area with two points:
❑
Designate two opposing points with the edit pen.
You can designate up to four different areas.
Summary of Contents for imageRUNNER C3480
Page 2: ......
Page 3: ...Color imageRUNNER C3480 C3480i C3080 C3080i C2550 Copying and Mail Box Guide 0 Ot...
Page 22: ...xx...
Page 316: ...Sending a Document 6 14 6 Sending and Receiving Documents Using the Inboxes...
Page 377: ...Book Page Edit Shift Settings 7 61 7 Using the Express Copy Basic Features Screen 3 Press Done...
Page 446: ...Index 9 20 9 Appendix...
Page 447: ......


