Chapter 2
2-22
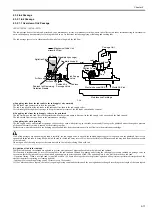
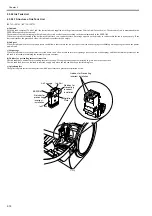
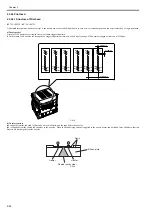
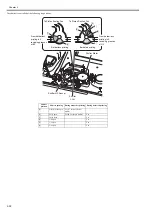
F-2-13
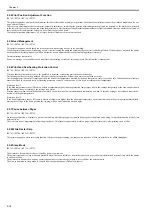
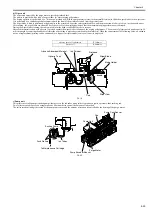
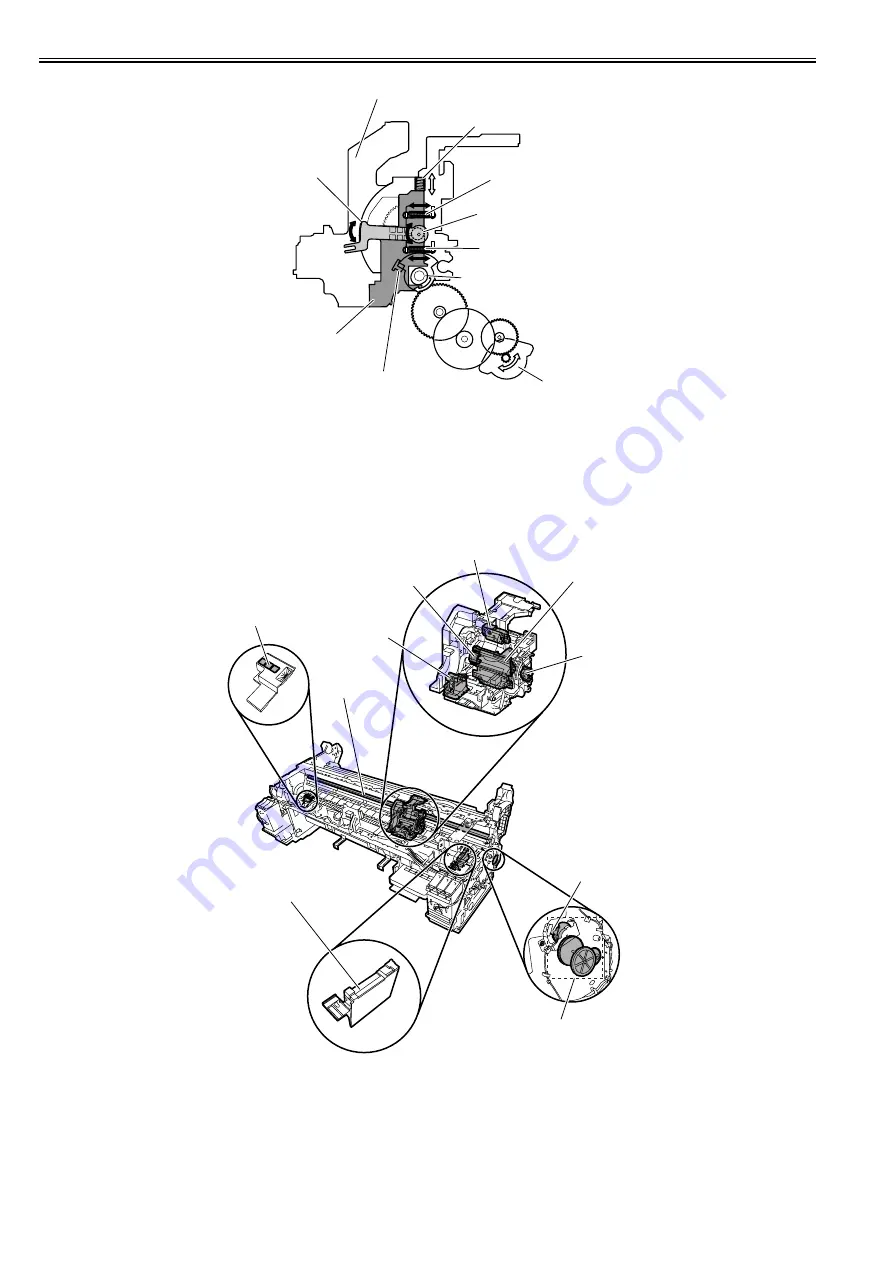
f) Carriage height adjustment unit
The head height is adjusted with the carriage halted at its home position.
The lift motor is driven to rotate the carriage height changing cam within the carriage, in sync with which the lift cams on both sides of the carriage move the head
holder up and down, thereby varying the separation between the face of the printhead and the paper.
The printhead height is detected from the lift cam sensor within the carriage and the distance of rotation of the lift motor.
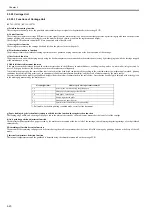
g) Slant adjustment unit
The tilting of the head is adjusted with the slant adjustment lever.
The point where the slant adjustment lever axis touches the head holder is offset from the fulcrum of the lever axis. Therefore, the printhead is tilted by moving the
slant adjustment lever and moving the position on the right side of the head holder back or forward.
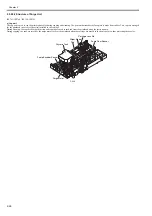
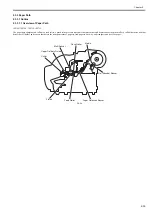
F-2-14
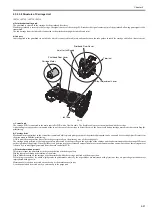
h) Multi Sensor
A photo reflective type multi sensor consists of three red LEDs, one red/blue/green LED array, and three light receiving sensors and is used for media end, skew,
and width adjustment, registration adjustment, head height adjustment, and print position adjustment.
The multi sensor reference has three white plates attached to it, so that a reference value can be calculated during carriage height measurement by measuring the
intensity of light reflected upon the white plates.
(Service mode: SERVICE MODE>ADJUST>GAP CALIB.)
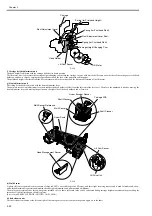
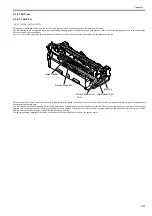
i) Shaft cleaner units
The shaft cleaners mounted at the left and right of the carriage are used to clean the carriage and apply oil to the shaft.
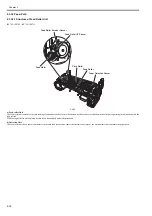
Carriage
Spring (for Printhead Height)
Spring (for Printhead Slant)
Head Holder
Lift Motor
Lift Cam Sensor
Carriage Height Changing Cam
Slant Adjustment Lever
Spring (for Printhead Slant)
Slant Adjustment Lever Shaft
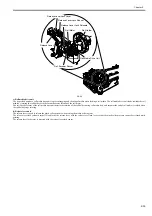
Linear Encoder Sensor
Lift Cam Sensor
Linear Scale
Lift Drive Unit
Multi Sensor Reference
Head Management Sensor
Shaft Cleaner
Shaft Cleaner
Multi Sensor
Carriage PCB
Summary of Contents for iPF750 series
Page 1: ...Jul 25 2012 Service Manual iPF760 750 series ...
Page 2: ......
Page 6: ......
Page 11: ...Chapter 1 PRODUCT DESCRIPTION ...
Page 12: ......
Page 14: ...Contents 1 7 3 5 Self diagnostic Feature 1 71 1 7 3 6 Disposing of the Lithium Battery 1 72 ...
Page 87: ...Chapter 2 TECHNICAL REFERENCE ...
Page 88: ......
Page 99: ...Chapter 2 2 9 ...
Page 145: ...Chapter 3 INSTALLATION ...
Page 146: ......
Page 148: ......
Page 152: ......
Page 153: ...Chapter 4 DISASSEMBLY REASSEMBLY ...
Page 154: ......
Page 156: ......
Page 214: ...Chapter 4 4 58 2 Shaft Cleaner 1 F 4 119 1 ...
Page 215: ...Chapter 4 4 59 3 Upper Cover Hinge Catch 1 Roll Cover Slide Guide 2 F 4 120 2 1 ...
Page 218: ......
Page 219: ...Chapter 5 MAINTENANCE ...
Page 220: ......
Page 222: ......
Page 227: ...Chapter 5 5 5 ...
Page 228: ......
Page 229: ...Chapter 6 TROUBLESHOOTING ...
Page 230: ......
Page 232: ......
Page 250: ......
Page 251: ...Chapter 7 SERVICE MODE ...
Page 252: ......
Page 254: ......
Page 305: ......
Page 306: ......
Page 307: ...Chapter 8 ERROR CODE ...
Page 308: ......
Page 310: ......
Page 327: ...Jul 25 2012 ...
Page 328: ......


