Chapter 4
4-30
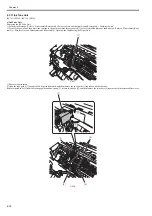
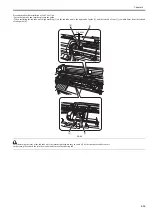
Removing the Purge Unit (when the joint [B] has been attached.)
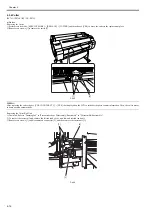
1) Turn off the power, and then move the carriage onto the platen. Refer to "Disassembly/Reassembly > Points to Note on Disassembly and Reassembly > Opening
the Cap/Moving the Wiper Unit".
2) Remove the right cover.
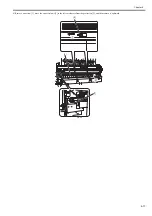
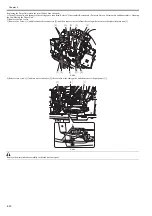
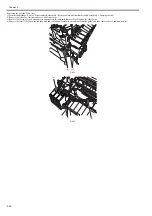
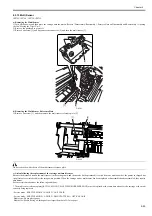
3) Remove five screws [1] and disconnect five connectors [2], and then remove the cable from the cable guide to remove the right side plate unit [3].
F-4-64
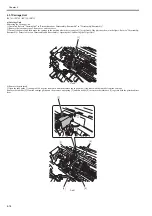
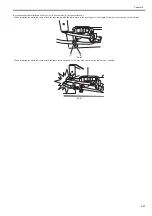
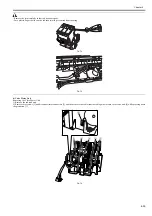
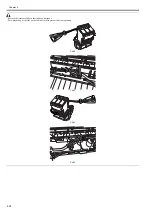
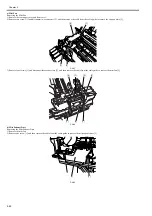
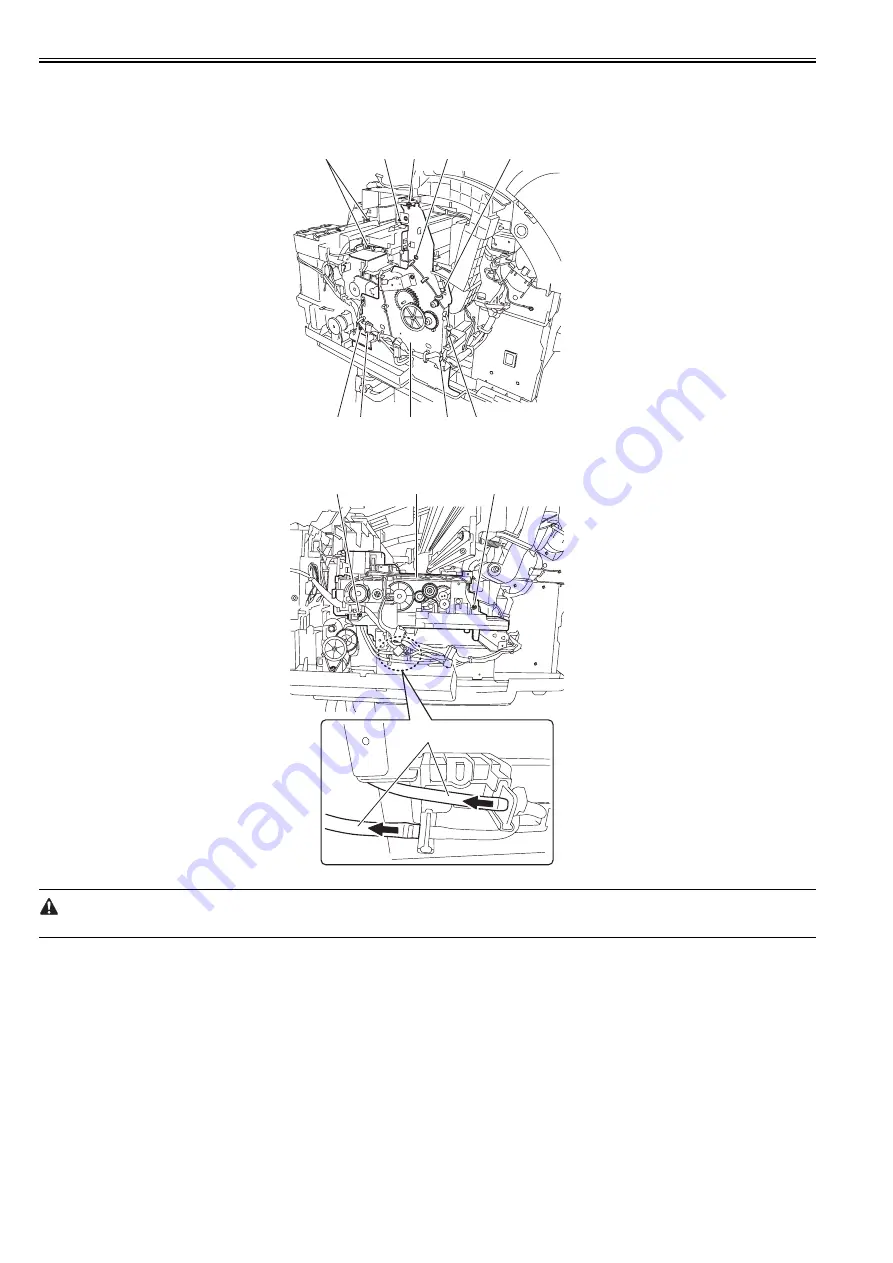
4) Remove two screws [1] and two waste ink tubes [2], the cable from the cable guide, and then remove the purge unit [3].
F-4-65
Remove the waste ink tubes carefully so that ink does not spout.
[2]
[1]
[1]
[1]
[2]
[1] [2]
[3]
[1]
[2]
[1]
[3]
[1]
[2]
Summary of Contents for iPF750 series
Page 1: ...Jul 25 2012 Service Manual iPF760 750 series ...
Page 2: ......
Page 6: ......
Page 11: ...Chapter 1 PRODUCT DESCRIPTION ...
Page 12: ......
Page 14: ...Contents 1 7 3 5 Self diagnostic Feature 1 71 1 7 3 6 Disposing of the Lithium Battery 1 72 ...
Page 87: ...Chapter 2 TECHNICAL REFERENCE ...
Page 88: ......
Page 99: ...Chapter 2 2 9 ...
Page 145: ...Chapter 3 INSTALLATION ...
Page 146: ......
Page 148: ......
Page 152: ......
Page 153: ...Chapter 4 DISASSEMBLY REASSEMBLY ...
Page 154: ......
Page 156: ......
Page 214: ...Chapter 4 4 58 2 Shaft Cleaner 1 F 4 119 1 ...
Page 215: ...Chapter 4 4 59 3 Upper Cover Hinge Catch 1 Roll Cover Slide Guide 2 F 4 120 2 1 ...
Page 218: ......
Page 219: ...Chapter 5 MAINTENANCE ...
Page 220: ......
Page 222: ......
Page 227: ...Chapter 5 5 5 ...
Page 228: ......
Page 229: ...Chapter 6 TROUBLESHOOTING ...
Page 230: ......
Page 232: ......
Page 250: ......
Page 251: ...Chapter 7 SERVICE MODE ...
Page 252: ......
Page 254: ......
Page 305: ......
Page 306: ......
Page 307: ...Chapter 8 ERROR CODE ...
Page 308: ......
Page 310: ......
Page 327: ...Jul 25 2012 ...
Page 328: ......

