Chapter 4
4-13
4.3.5 Drive Unit
0023-3212
iPF765 / iPF760 / iPF750 / iPF755
a) Feed Motor
Removing the Feed Motor
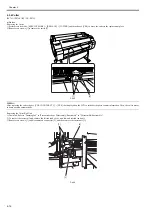
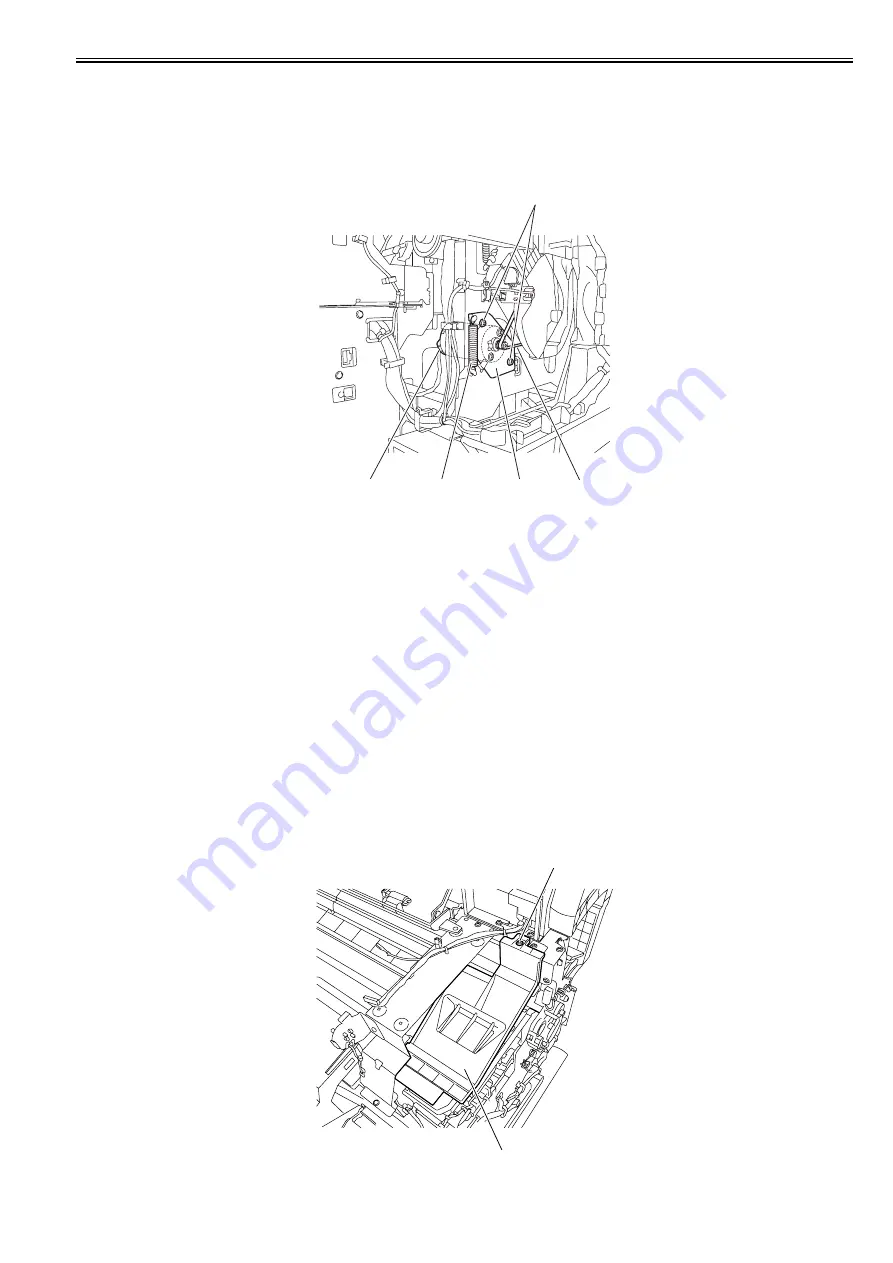
1) Remove the left cover.
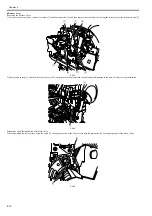
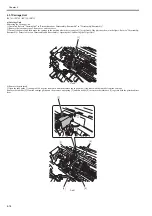
2) Remove one spring [1], two screws [2], and one connector [3], and then remove the belt [4] from the motor pulley to remove the feed motor [5].
F-4-26
Precautions about Reinstallation of Feed Motor
Put the timing belt [4] on the pulley in the feed motor drive unit, tighten the screw [2] temporarily, install the spring [1], and then tighten the screw [2] to secure the
feed motor [5].
b) Action to take after replacing the feed roller encoder and feed roller
This printer as shipped has the feed roller eccentricity (that is, variations in the rate of paper feed from rotation to rotation) corrected for enhanced media feed ac-
curacy. When the feed roller HP sensor or feed roller encoder and feed roller pertaining to the correction of eccentricity variations has been replaced, therefore, they
should require adjustment.
Execute service mode under the following conditions to launch automatic adjustment:
Service mode: SERVICE MODE > ADJUST > PRINT PATTERN > LF TUNING
Media type: Glossy photo paper
If adjustment cannot be done properly by selecting "SERVICE MODE > ADJUST > PRINT PATTERN > LF TUNING" (auto adjustment), carry out manual ad-
justment.
Service mode: SERVICE MODE > ADJUST > PRINT PATTERN > LF TUNING2
Media type: Gloss photo paper
Check the printed pattern and enter values for adjustment.
c) Carriage Motor
Removing the Carriage Motor
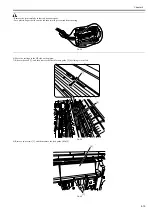
1) Move the carriage onto the platen. Refer to "Disassembly/Reassembly > Points to Note on Disassembly and Reassembly > Opening the Cap/Moving the Wiper
Unit".
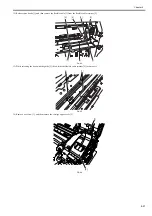
2) Remove the left/right cover.
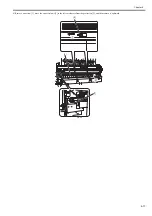
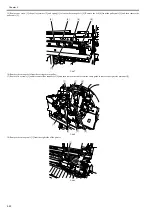
3) Remove one screw [1], and then remove the carriage upper cover [2].
F-4-27
[2]
[4]
[5]
[1]
[3]
[1]
[2]
Summary of Contents for iPF750 series
Page 1: ...Jul 25 2012 Service Manual iPF760 750 series ...
Page 2: ......
Page 6: ......
Page 11: ...Chapter 1 PRODUCT DESCRIPTION ...
Page 12: ......
Page 14: ...Contents 1 7 3 5 Self diagnostic Feature 1 71 1 7 3 6 Disposing of the Lithium Battery 1 72 ...
Page 87: ...Chapter 2 TECHNICAL REFERENCE ...
Page 88: ......
Page 99: ...Chapter 2 2 9 ...
Page 145: ...Chapter 3 INSTALLATION ...
Page 146: ......
Page 148: ......
Page 152: ......
Page 153: ...Chapter 4 DISASSEMBLY REASSEMBLY ...
Page 154: ......
Page 156: ......
Page 214: ...Chapter 4 4 58 2 Shaft Cleaner 1 F 4 119 1 ...
Page 215: ...Chapter 4 4 59 3 Upper Cover Hinge Catch 1 Roll Cover Slide Guide 2 F 4 120 2 1 ...
Page 218: ......
Page 219: ...Chapter 5 MAINTENANCE ...
Page 220: ......
Page 222: ......
Page 227: ...Chapter 5 5 5 ...
Page 228: ......
Page 229: ...Chapter 6 TROUBLESHOOTING ...
Page 230: ......
Page 232: ......
Page 250: ......
Page 251: ...Chapter 7 SERVICE MODE ...
Page 252: ......
Page 254: ......
Page 305: ......
Page 306: ......
Page 307: ...Chapter 8 ERROR CODE ...
Page 308: ......
Page 310: ......
Page 327: ...Jul 25 2012 ...
Page 328: ......

