Chapter 8
8-21
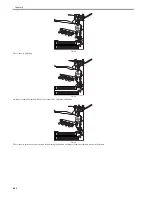
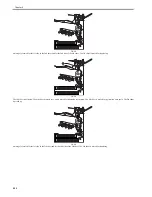
COPIER > ADJUST > CST-ADJ > MF-A4R
COPIER > ADJUST > CST-ADJ > MF-A6R
COPIER > ADJUST > CST-ADJ > MF-A4
8.7 Registration Unit
8.7.1 Overview
0014-0324
/ / / / iR C3380i / iR C3380 / iR C2880i / iR C2880
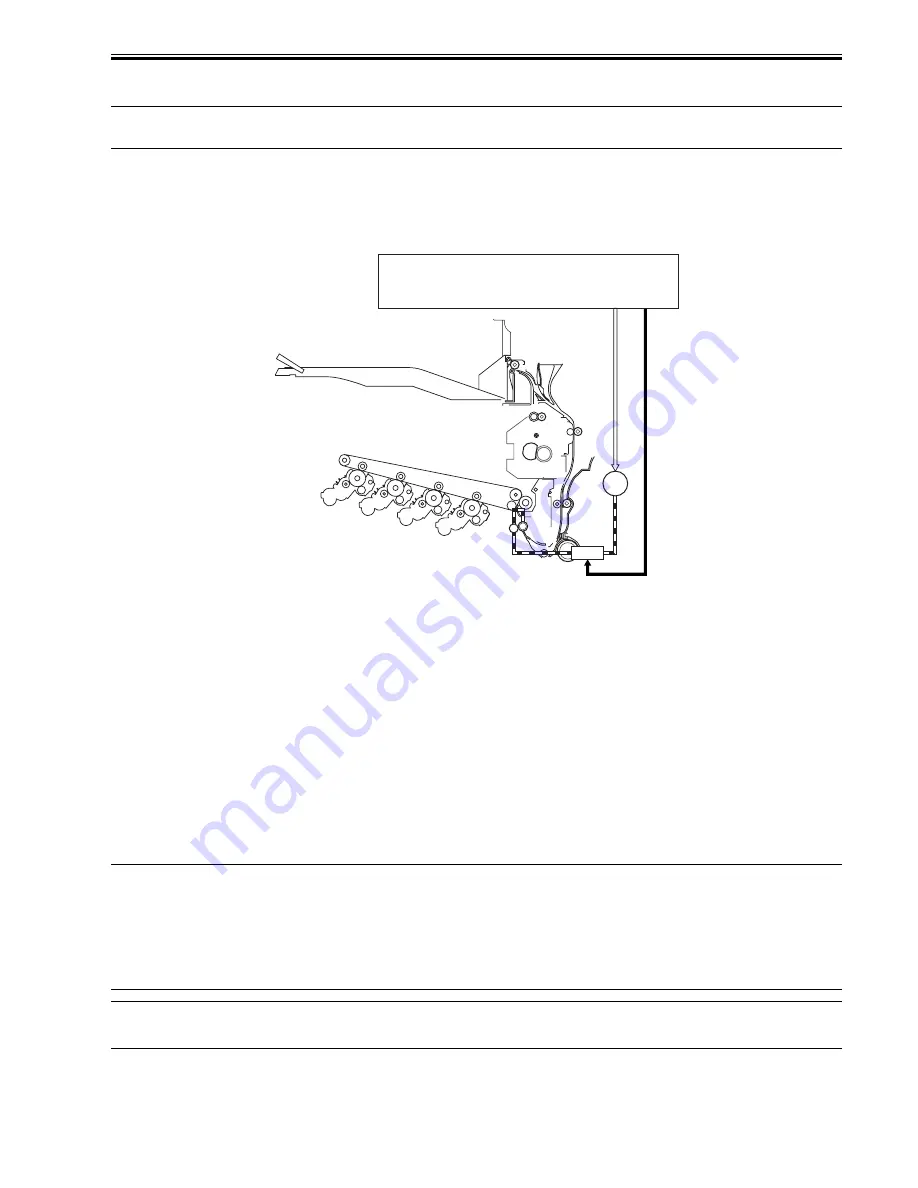
The registration roller is driven with the registration multi motor (M6).
The registration clutch (CL6) is located between the registration roller and the registration multi motor, and it controls ON/OFF of the registration roller in order to
match a paper and an image on the drum at the predetermined registration point.
F-8-25
8.7.2 Control of Registration Unit
0014-2910
/ / / / iR C3380i / iR C3380 / iR C2880i / iR C2880
In this machine, it is controlled to turn OFF the pickup motor (in case of cassette pickup), manual feeder pickup clutch (in case of manual feeder pickup), and the
duplexing feeding motor (in case of duplexing re-pickup) to make papers stop at the point where the distance from the pre-registration sensor to the registration
roller (19.9 mm) + predetermined registration arching (cassette/duplexing: 3 mm, manual feed: 5.5 mm) are added after the pre-registration sensor detects the lead-
ing edge.
When executing the accelerated pickup (300 mm/sec), decelerate to 200 mm/sec when the pre-registration sensor turns ON.
When the registration clutch turns ON, the registration roller starts to rotate and feeds paper to the secondary transfer assembly.
The registration clutch is turned OFF either after a paper is fed the predetermined amount (paper 50ms) or when the next paper turns ON the pre-registration
sensor.
8.7.3 Checking Horizontal Registration
0014-0325
/ / / / iR C3380i / iR C3380 / iR C2880i / iR C2880
The machine does not have the horizontal registration adjustment function by the horizontal registration detection at the time of duplexing feeding.
However, practically, adjustment of the horizontal registration point is possible by adjusting the write start timing of the horizontal scanning of the laser (horizontal
scanning interval signal) in terms of software in the service mode setting.
In the service mode, set the horizontal registration adjustment value for each source of paper. The range of adjustment value is +/-2.5 mm. In case of duplexing re-
pickup, the write start timing of the horizontal scanning of the laser is corrected in accordance with the horizontal registration adjustment value of the source of
paper.
Service Mode:
COPIER>ADJUST>FEED-ADJ>ADJ-REFE
Use it to adjust the horizontal registration for the 2nd side of small-size double-sided prints.
COPIER>ADJUST>FEED-ADJ>ADJ-RE-L
Use it to adjust the horizontal registration for the 2nd side of large-size double-sided prints.
COPIER>ADJUST>FEED-ADJ>LOOPREFE
Use it to adjust the degree of arching for the 2nd side of double-sided prints.
The term "2nd side of a double-sided print" as used in relation to the machine's service mode refers to the side that receives an image second in order; in other words,
it corresponds to the 1st side of the original.
Reference:
Small paper: a paper whose length of paper feeding direction is LTR (216 mm) or shorter, e.g., A4 and B5.
Large paper: a paper whose length of paper feeding direction is longer than LTR (261 mm), e.g., A3, A4R, and B5R.
M6
J313
J314
CL6
DC controller PCB
Registr
ation m
ulti motor dr
iv
e signal
Registr
ation clutch dr
iv
e signal
Summary of Contents for iR C3380 series
Page 1: ...Aug 29 2006 Service Manual iR C3380 2880 Series...
Page 2: ......
Page 6: ......
Page 23: ...Chapter 1 Introduction...
Page 24: ......
Page 26: ......
Page 52: ......
Page 53: ...Chapter 2 Installation...
Page 54: ......
Page 127: ...Chapter 3 Basic Operation...
Page 128: ......
Page 130: ......
Page 136: ......
Page 137: ...Chapter 4 Main Controller...
Page 138: ......
Page 160: ......
Page 161: ...Chapter 5 Original Exposure System...
Page 162: ......
Page 188: ...Chapter 5 5 24 F 5 68 4 Remove the original sensor 2 hook 1 F 5 69...
Page 189: ...Chapter 6 Laser Exposure...
Page 190: ......
Page 192: ......
Page 206: ......
Page 207: ...Chapter 7 Image Formation...
Page 208: ......
Page 256: ......
Page 257: ...Chapter 8 Pickup Feeding System...
Page 258: ......
Page 262: ......
Page 303: ...Chapter 9 Fixing System...
Page 304: ......
Page 306: ......
Page 321: ...Chapter 10 Externals and Controls...
Page 322: ......
Page 326: ......
Page 336: ...Chapter 10 10 10 F 10 10 2 Remove the check mark from SNMP Status Enabled...
Page 337: ...Chapter 10 10 11 F 10 11...
Page 359: ...Chapter 11 MEAP...
Page 360: ......
Page 362: ......
Page 401: ...Chapter 12 RDS...
Page 402: ......
Page 404: ......
Page 411: ...Chapter 13 Maintenance and Inspection...
Page 412: ......
Page 414: ......
Page 416: ...Chapter 13 13 2 F 13 1 8 9 1 2 3 3 5 6 7 10 11 12 13 14 4...
Page 421: ...Chapter 14 Standards and Adjustments...
Page 422: ......
Page 424: ......
Page 431: ...Chapter 15 Correcting Faulty Images...
Page 432: ......
Page 434: ......
Page 459: ...Chapter 16 Self Diagnosis...
Page 460: ......
Page 462: ......
Page 481: ...Chapter 17 Service Mode...
Page 482: ......
Page 484: ......
Page 571: ...Chapter 18 Upgrading...
Page 572: ......
Page 574: ......
Page 603: ...Chapter 19 Service Tools...
Page 604: ......
Page 606: ......
Page 609: ...Aug 29 2006...
Page 610: ......


