Chapter 1
45
F-1-140
6) Take up the slack from the cable used between the
controller and its host machine; bundle the extra
length of the cable, and fix the bundle in place on
the host machine using a harness band [1].
F-1-141
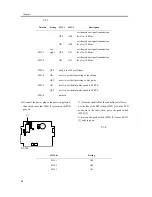
7) Shift bit 4 of the DIP switch (SW2-4) found on the
PCB to the ON side (so that the communication
between the controller and the host machine will be
in IPC mode).
F-1-142
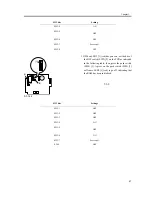
8) If IC6 [1] is found on the PCB, shift bit 7 of the DIP
switch (SW2-7) [2] to the ON side; otherwise, shift
the bit to the OFF side.
F-1-143
If IC6 [1] is not found, you need not mount one.
If you are mounting or replacing a ROM (IC6) [1] to
upgrade the controller, be sure to shift bit 7 of the DIP
switch (SW2-7) [2] to the ON side.
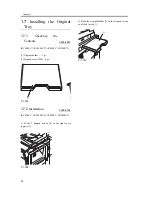
9) Set the bits of the DIP switch (SW3) [1] on the PCB
as indicated.
F-1-144
[1]
[2]
[2]
[1]
LED1 LED2 LED3
2
1
LED5
LED6
LED4
IC6
SW1
SW4
SW3
6
1
BAT1
CN4
1
2
CN3
CN2
12345678
SW2
[1]
LED1 LED2 LED3
2
1
LED5
LED6
LED4
IC6
SW1
SW4
SW3
6
1
BAT1
CN4
1
2
CN3
CN2
12345678
SW2
[2]
[1]
LED1 LED2 LED3
2
1
LED5
LED6
LED4
IC6
SW1
SW4
SW3
6
1
BAT1
CN4
1
2
CN3
CN2
12345678
SW2
[1]
Summary of Contents for iR C6800 Series
Page 1: ...Jan 20 2005 Installation Procedure iR C6800 Series...
Page 2: ......
Page 6: ......
Page 9: ...Chapter 1 Installation Procedure...
Page 61: ...Chapter 2 Relocating the Machine...
Page 63: ...Jan 20 2005...
Page 64: ......

