Chapter 1
1-20
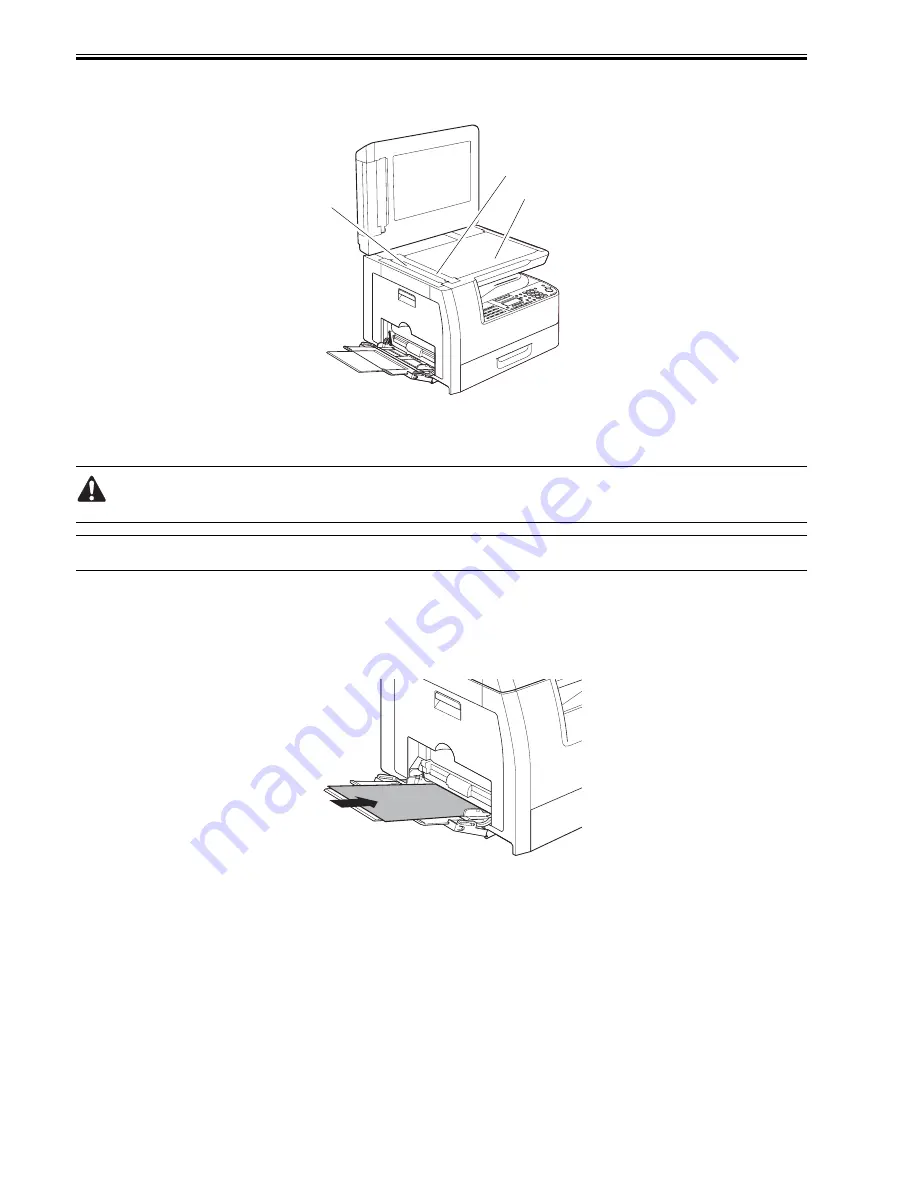
2. Cleaning the Copyboarg glass/Reading glass/Copyboard holder (jump board)
Clean the copyboard glass [1], reading glass [2] and copyboard holder (jump board) [3] with a cloth dampened with water or neutral detergent and squeezed hard,
and then wipe them with a dry soft cloth.
F-1-13
3. Cleaning the Fixing pressure roller
If black streaks are seen on the printed paper, the fixing pressure roller can be dirty. If black streaks are seen on the printed paper, clean the fixing pressure roller
in the user mode. Be sure to clean the fixing pressure roller after replacing the toner bottle.
When cleaning the fixing pressure roller, manually feed A4 or LTR paper.
MEMO:
The time required for cleaning is about 100 seconds.
1) Press the additonal functions key key to enter the user mode.
2) Using the left an right arrow keys, display the "ADJUST./CLEANING" menu.
3) Press the OK key.
4) Using the left and right arrow keys, select "FIX. UNIT CLEANING".
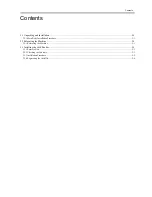
5) Open the manual feed tray.
6) Place an A4 or LTR sheet of plain paper in the manual feed tray.
F-1-14
7) Press the OK key. The machine will start cleaning the fixing pressure roller.
4.Cleaning the Transfer roller
If the reverse side of the printed paper is stained, the transfer roller can be dirty. If the reverse side of the printed paper is stained, clean the transfer roller in the user
mode.
1) Press the additonal functions key to enter the user mode.
2) Using the left and right arrow keys, display the "ADJUST./CLEANING".
3) Press the OK key.
4) Using the left and right arrow keys, select "TRANS. ROLR CLEAN". Next, press the OK key. Cleaning will start.
5. Cleaning the ADF roller
If black streaks are seen on the printed paper from the ADF, the internal roller in the ADF can be dirty. If this symptom occurs, clean the internal roller in the user
mode.
1) Press the additonal functions key to enter the user mode.
2) Using the left and right arrow keys, display the "ADJUST./CLEANING" menu.
3) Press the OK key.
4) Using the left and right arrow keys, select "FEEDER CLEANING".
5) Load five sheets of paper in the ADF and press the OK key. Cleaning will start.
[2]
[1]
[3]
Summary of Contents for iR1020 Series
Page 1: ...Sep 1 2008 Service Manual iR1020 1021 1024 1025 Series ...
Page 2: ......
Page 6: ......
Page 17: ...Chapter 1 Introduction ...
Page 18: ......
Page 20: ......
Page 49: ...Chapter 1 1 29 ...
Page 50: ......
Page 51: ...Chapter 2 Installation ...
Page 52: ......
Page 54: ......
Page 61: ...Chapter 2 2 7 ...
Page 62: ......
Page 63: ...Chapter 3 Basic Operation ...
Page 64: ......
Page 66: ......
Page 73: ...Chapter 3 3 7 ...
Page 74: ......
Page 75: ...Chapter 4 Original Exposure System ...
Page 76: ......
Page 78: ......
Page 87: ...Chapter 5 Laser Exposure ...
Page 88: ......
Page 90: ......
Page 94: ......
Page 95: ...Chapter 6 Image Formation ...
Page 96: ......
Page 98: ......
Page 103: ...Chapter 7 Pickup Feeding System ...
Page 104: ......
Page 106: ......
Page 120: ......
Page 121: ...Chapter 8 Fixing System ...
Page 122: ......
Page 124: ......
Page 135: ...Chapter 9 External and Controls ...
Page 136: ......
Page 138: ......
Page 151: ...Chapter 10 Original Feeding System ...
Page 152: ......
Page 154: ......
Page 156: ...Chapter 10 10 2 M2001 ADF motor Symbol Name ...
Page 170: ......
Page 171: ...Chapter 11 e maintenance imageWARE Remote ...
Page 172: ......
Page 174: ......
Page 184: ......
Page 185: ...Chapter 12 Maintenance and Inspection ...
Page 186: ......
Page 188: ......
Page 190: ......
Page 191: ...Chapter 13 Standards and Adjustments ...
Page 192: ......
Page 194: ......
Page 201: ...Chapter 14 Correcting Faulty Images ...
Page 202: ......
Page 204: ......
Page 214: ......
Page 215: ...Chapter 15 Self Diagnosis ...
Page 216: ......
Page 218: ......
Page 224: ......
Page 225: ...Chapter 16 Service Mode ...
Page 226: ......
Page 230: ......
Page 232: ...Chapter 16 16 2 Makes various status checks such as contact sensor sensor and print status ...
Page 278: ......
Page 279: ...Chapter 17 Upgrading ...
Page 280: ......
Page 282: ......
Page 297: ...Chapter 18 Service Tools ...
Page 298: ......
Page 299: ...Contents Contents 18 1 Service Tools 18 1 18 1 1 Special Tools 18 1 ...
Page 300: ......
Page 302: ......
Page 303: ...Sep 1 2008 ...
Page 304: ......


