Chapter 13
13-19
COPIER > FUNCTION > CST > C3-STMTR/A4R
Use it to register the paper width basic value of the cassette 3.
1) Put STMTR/A4R paper in the cassette3, and adjust the slide guide
plate to the width.
2) Select C3-STMTR/A4R to highlight, and press the OK key so that
the machine executes auto adjustment and register the value.
Cassette 4
COPIER > FUNCTION > CST > C4-STMTR/A4R
This operation is similar to cassette 3.
<Front Deck Left/Right>
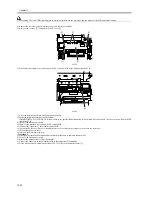
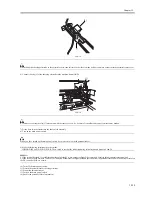
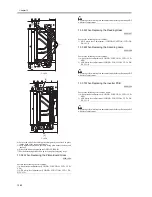
1) Press the release button to draw out the front deck left/right.
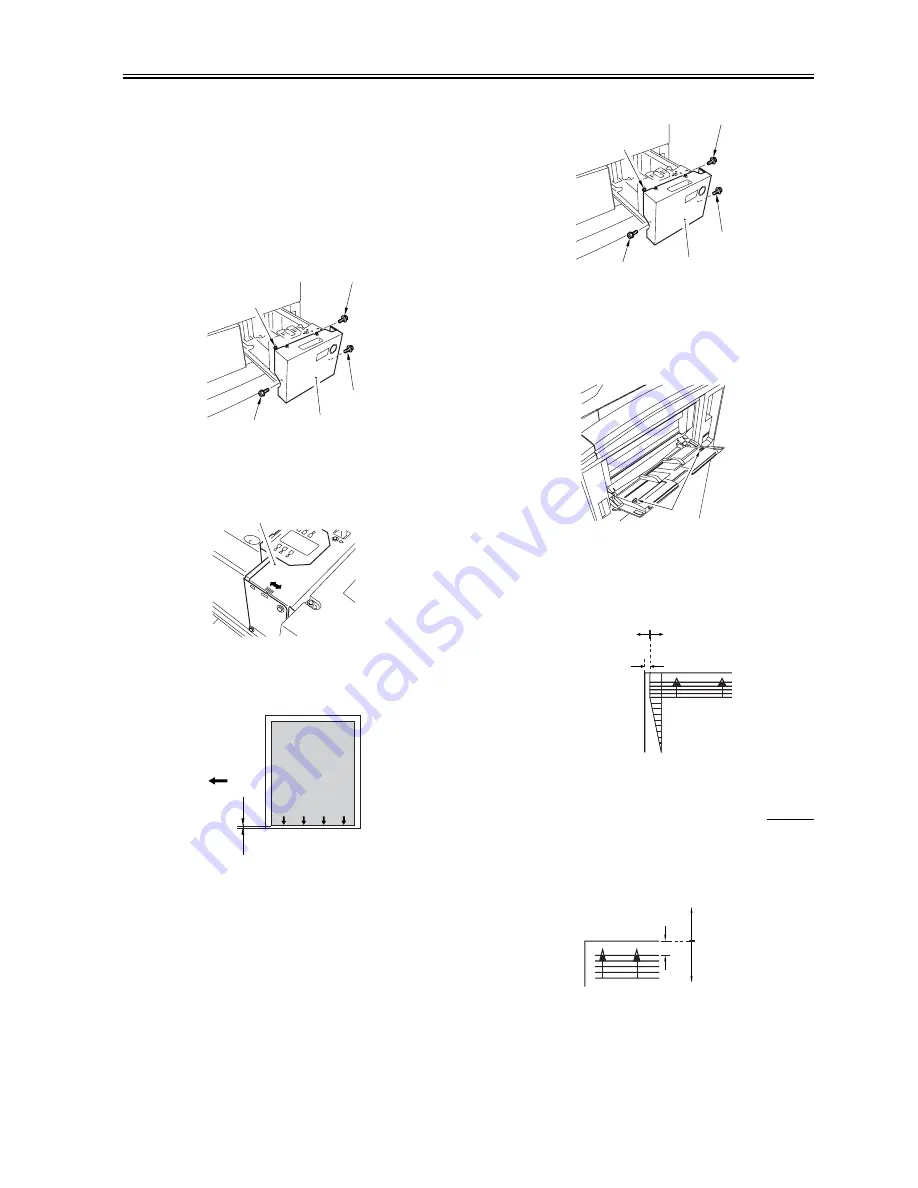
2) Loosen the 2 screws [2] and 2 fixing screws [3] of the deck front cover
[1].
F-13-24
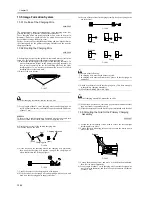
3) Move the cassette plate (front) [1] frontward or backward to adjust.
Backward: The side registration value (left margin) is decreased.
Frontward: The side registration value (left margin) is increased.
F-13-25
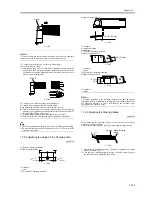
4) Make sure that the side registration values (left and right margins) of
a copy made from the front deck left/right are L1 = 2.5±1.5mm
respectively.
F-13-26
[1] Paper feed direction
5) Tighten the 2 screws [2] and 2 fixing screws [3] of the deck front
cover [1].
F-13-27
6) Put back the front deck left/right to the machine.
<Manual Feed Tray>
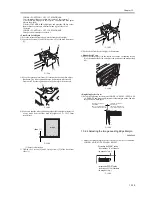
1) Move the side plates [1] to the center. Loosen the 2 mounting screws
[2] of the manual feed tray, and adjust the position of the manual feed
tray.
F-13-28
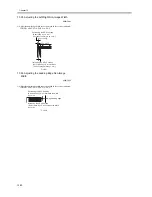
<Duplexing Feeder Unit>
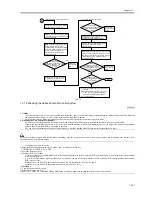
1) Select the following service mode COPIER > ADJUST > FEED-ADJ
> ADJ-REFE, and make an adjustment so that margin on the 2nd side
image will be within specs.
F-13-29
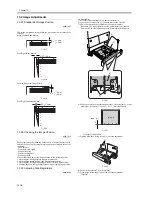
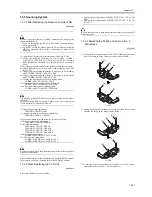
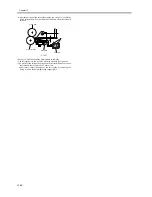
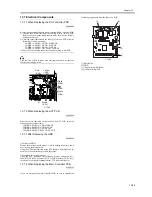
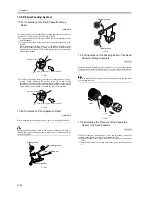
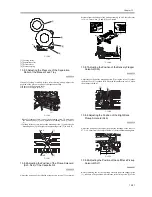
13.2.4 Adjusting the Image Leading Edge Margin
0008-7920
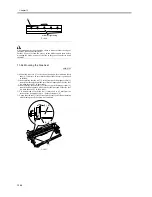
1) Adjust the image margin in service mode so that it is as indicated:
COPIER> ADJUST> FEED-ADJ> REGIST.
F-13-30
[1]
[2]
[2]
[3]
[3]
[1]
image
L1
[1]
[1]
[2]
[2]
[3]
[3]
[1]
2.5+/-2.0mm
Increase the value of
ADJ-REFE
(Margin is increased by
1mm with increase of 10)
Decrease the value of
ADJ-REFE
(Margin is decreased by
1mm with decrease of 10)
0
2
4
6
8
10
0
2
4
6
8
10
Decreasing the REGIST setting
(A decrease by ‘10’ will increase
the margin by 1 mm.)
Increasing the REGIST setting
(An increase by ‘10’ will decrease
the margin by 1 mm.)
Summary of Contents for iR5570 Series
Page 1: ...Mar 29 2005 Service Manual iR6570 5570 Series ...
Page 2: ......
Page 6: ......
Page 26: ...Contents ...
Page 27: ...Chapter 1 Introduction ...
Page 28: ......
Page 30: ......
Page 55: ...Chapter 2 Installation ...
Page 56: ......
Page 58: ...Contents 2 9 3 Mounting the Cassette Heater 2 34 ...
Page 98: ......
Page 99: ...Chapter 3 Basic Operation ...
Page 100: ......
Page 102: ......
Page 110: ......
Page 111: ...Chapter 4 Main Controller ...
Page 112: ......
Page 114: ......
Page 135: ...Chapter 5 Original Exposure System ...
Page 136: ......
Page 181: ...Chapter 6 Laser Exposure ...
Page 182: ......
Page 184: ......
Page 192: ......
Page 193: ...Chapter 7 Image Formation ...
Page 194: ......
Page 198: ......
Page 259: ...Chapter 8 Pickup Feeding System ...
Page 260: ......
Page 350: ......
Page 351: ...Chapter 9 Fixing System ...
Page 352: ......
Page 401: ...Chapter 10 External and Controls ...
Page 402: ......
Page 406: ......
Page 448: ......
Page 449: ...Chapter 11 MEAP ...
Page 450: ......
Page 452: ......
Page 455: ...Chapter 12 Maintenance and Inspection ...
Page 456: ......
Page 458: ......
Page 468: ......
Page 469: ...Chapter 13 Standards and Adjustments ...
Page 470: ......
Page 505: ...Chapter 14 Correcting Faulty Images ...
Page 506: ......
Page 508: ......
Page 537: ...Chapter 15 Self Diagnosis ...
Page 538: ......
Page 540: ......
Page 565: ...Chapter 16 Service Mode ...
Page 566: ......
Page 568: ......
Page 633: ...Chapter 17 Upgrading ...
Page 634: ......
Page 636: ......
Page 641: ...Chapter 17 17 5 F 17 4 HDD Boot ROM Flash ROM System Software ...
Page 646: ...Chapter 17 17 10 F 17 11 8 Click START F 17 12 ...
Page 675: ...Chapter 17 17 39 F 17 59 2 Select the data to download F 17 60 3 Click Start ...
Page 677: ...Chapter 18 Service Tools ...
Page 678: ......
Page 680: ......
Page 683: ...Mar 29 2005 ...
Page 684: ......

