Chapter 13
13-27
13.6 Fixing System
13.6.1 Applying Grease After Replacing the Fixing
Roller
0009-4869
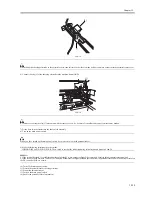
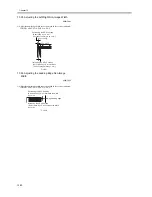
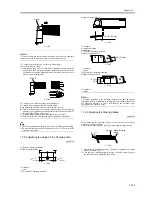
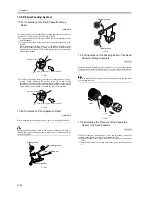
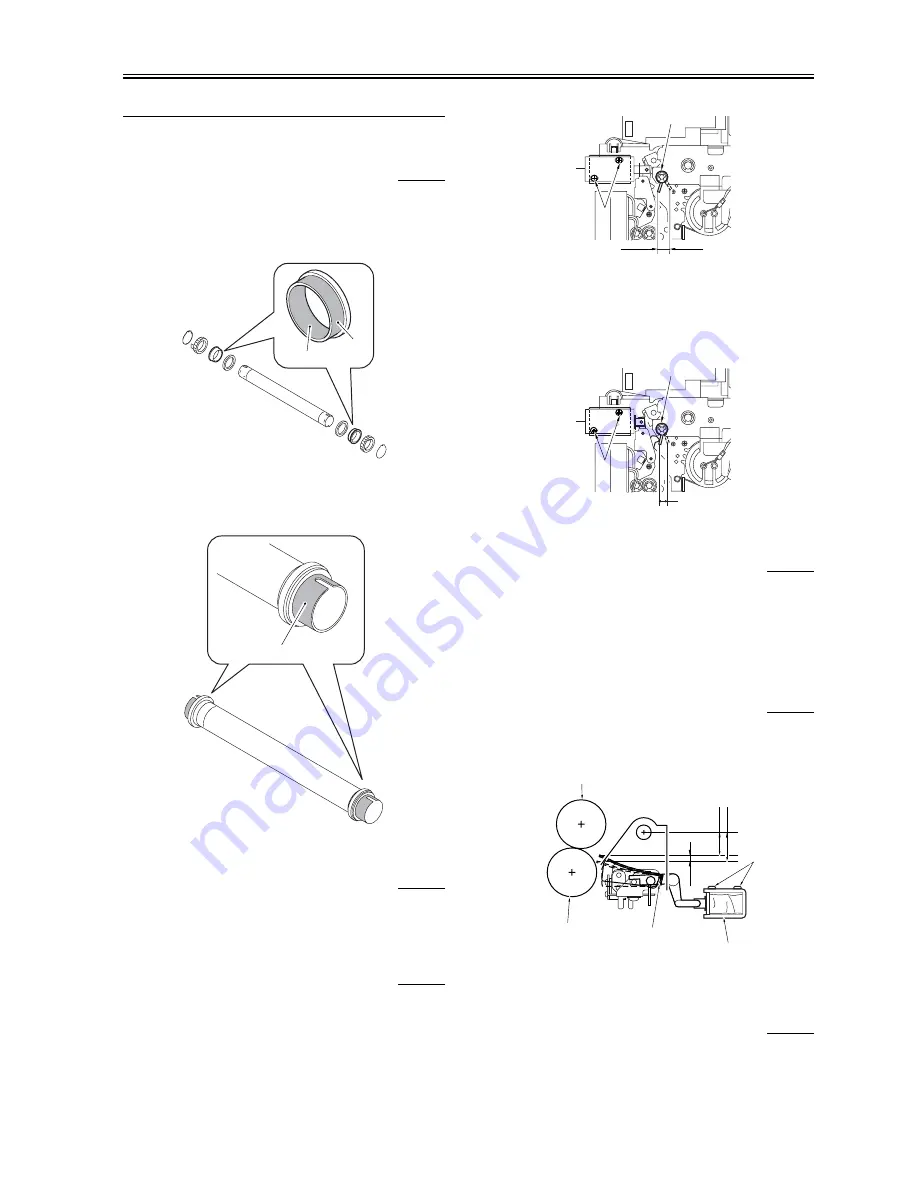
- Apply about 20 mg of grease (Molykote HP-300; CK-8012) on the
inner [1] and outer [2] surfaces of the bushing until there is a white
coating covering the entire sources. Failure to apply grease will cause
abnormal (squeaking) sound.
F-13-52
- There will likely be adhesion of grease on the ends [1] of the fixing
roller when the bushing is fitted to the roller. Be sure to remove the
adhesion.
F-13-53
13.6.2 Adjusting the Nip Width
0009-4870
There is no need for adjustment of the nip widh.
13.6.3 Adjusting the Position of the Fixing Web
Solenoid (SL9)
0007-7185
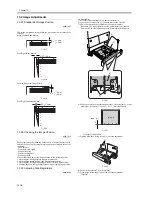
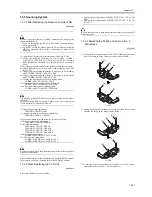
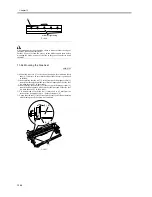
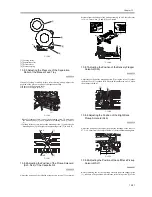
a. If the fixing web is new,
Turn the screw [2] to adjust the position of the solenoid so that the
shift distance of the drive lever [1] is 8.6 mm.
F-13-54
b. If the fixing web has been used at all,
Before removing the solenoid, check the position of the drive lever
as found when the solenoid goes on. After replacing the solenoid,
turn the screw [2] so that the drive lever [1] is located as it was before
the replacement.
F-13-55
13.6.4 After Replacing the Fixing Web
0009-4955
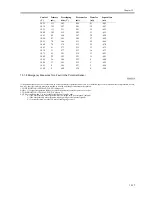
- If you have replaced the fixing web, be sure to reset the counter reading
to '0' using the following service mode items:
COPIER>COUNTER>MISC>FIX-WEB
COPIER>COUNTER>DRBL-1>FIX-WEB
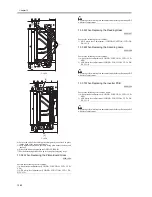
13.6.5 Adjusting the Position of he Fixing Inlet Guide
Solenoid (SL1)
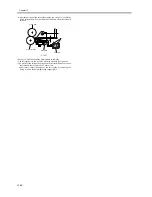
0007-8757
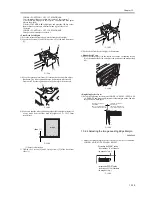
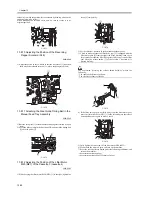
Turn the screw [1] to adjust the position of the solenoid so that the guide
will be as shown in the figure when the solenoid goes on.
F-13-56
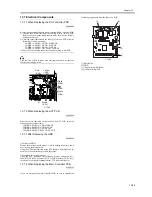
13.6.6 Adjusting the Position of the Fixing Inlet
Guide
0007-7297
[2]
[1]
[1]
8.6mm
[1]
[2]
A
[1]
[2]
1.6mm
Fixing roller
Pressure roller
Solenoid
Inlet guide
11.1mm
12.7mm
[1]
Summary of Contents for iR5570 Series
Page 1: ...Mar 29 2005 Service Manual iR6570 5570 Series ...
Page 2: ......
Page 6: ......
Page 26: ...Contents ...
Page 27: ...Chapter 1 Introduction ...
Page 28: ......
Page 30: ......
Page 55: ...Chapter 2 Installation ...
Page 56: ......
Page 58: ...Contents 2 9 3 Mounting the Cassette Heater 2 34 ...
Page 98: ......
Page 99: ...Chapter 3 Basic Operation ...
Page 100: ......
Page 102: ......
Page 110: ......
Page 111: ...Chapter 4 Main Controller ...
Page 112: ......
Page 114: ......
Page 135: ...Chapter 5 Original Exposure System ...
Page 136: ......
Page 181: ...Chapter 6 Laser Exposure ...
Page 182: ......
Page 184: ......
Page 192: ......
Page 193: ...Chapter 7 Image Formation ...
Page 194: ......
Page 198: ......
Page 259: ...Chapter 8 Pickup Feeding System ...
Page 260: ......
Page 350: ......
Page 351: ...Chapter 9 Fixing System ...
Page 352: ......
Page 401: ...Chapter 10 External and Controls ...
Page 402: ......
Page 406: ......
Page 448: ......
Page 449: ...Chapter 11 MEAP ...
Page 450: ......
Page 452: ......
Page 455: ...Chapter 12 Maintenance and Inspection ...
Page 456: ......
Page 458: ......
Page 468: ......
Page 469: ...Chapter 13 Standards and Adjustments ...
Page 470: ......
Page 505: ...Chapter 14 Correcting Faulty Images ...
Page 506: ......
Page 508: ......
Page 537: ...Chapter 15 Self Diagnosis ...
Page 538: ......
Page 540: ......
Page 565: ...Chapter 16 Service Mode ...
Page 566: ......
Page 568: ......
Page 633: ...Chapter 17 Upgrading ...
Page 634: ......
Page 636: ......
Page 641: ...Chapter 17 17 5 F 17 4 HDD Boot ROM Flash ROM System Software ...
Page 646: ...Chapter 17 17 10 F 17 11 8 Click START F 17 12 ...
Page 675: ...Chapter 17 17 39 F 17 59 2 Select the data to download F 17 60 3 Click Start ...
Page 677: ...Chapter 18 Service Tools ...
Page 678: ......
Page 680: ......
Page 683: ...Mar 29 2005 ...
Page 684: ......

