Paper Selection
2-37
2
Introduc
tion
to the M
a
il
Bo
x Functions
IMPORTANT
•
Make sure that the correct paper is selected. If the setting is wrong when printing on special
paper, especially on heavy paper, it may cause false print, or make the fixing unit dirty and the
paper may be clang to it. If this happens, you may have to call your local authorized Canon
dealer to fix the machine.
•
If you select a nonstandard paper size, Finisher mode, Two-sided Printing, Cover/Sheet
Insertion, Cover/Job Separator, Booklet, Form Composition, Page/Copy Set Numbering,
Watermark/Print Date, Tab Paper Creation modes cannot be specified.
NOTE
For more information on the paper types, see Chapter 2, "Basic Operations," in the Reference
Guide.
4
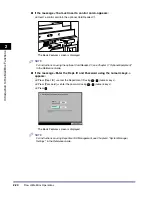
Press [Done].
The display returns to the Change Print Settings screen, and the selected paper size and type
are displayed.
5
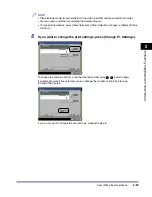
Press [Start Print].
If there is a current or reserved print job, the document is placed in the queue and is printed
after the current or reserved job is complete.
Printing starts.
NOTE
To cancel all settings and return the machine to the Standard Local Print Settings,
press [Initial Settings].To return to the Inbox Selection screen, press
.
iR6570_CMB_Upgrade_ENG_Post_Final.book Page 37 Tuesday, May 24, 2005 12:12 PM
Summary of Contents for iR5570 Series
Page 1: ...iR6570 iR5570 Copying and Mail Box Guide 0 Frontmatter ...
Page 150: ...Arranging Documents Stored in an Inbox 2 78 2 Introduction to the Mail Box Functions ...
Page 320: ...Tab Paper Creation 4 102 4 Special Copying and Mail Box Features ...
Page 330: ...Memory Keys 5 10 5 Memory Features ...
Page 466: ...Making Copies with Job Done Notice Others 7 124 ...
Page 503: ...9 1 CHAPTER 9 Appendix This chapter provides the index Index 9 2 ...
Page 508: ...Index 9 6 9 Appendix ...


