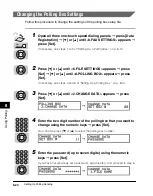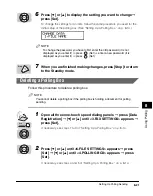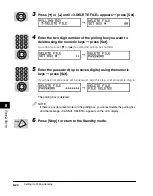
Setting Up Polling Sending
8-16
8
Using P
olling
8
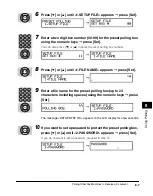
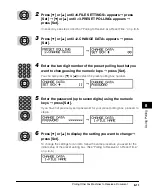
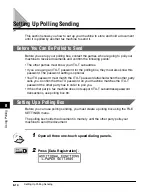
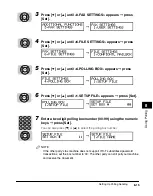
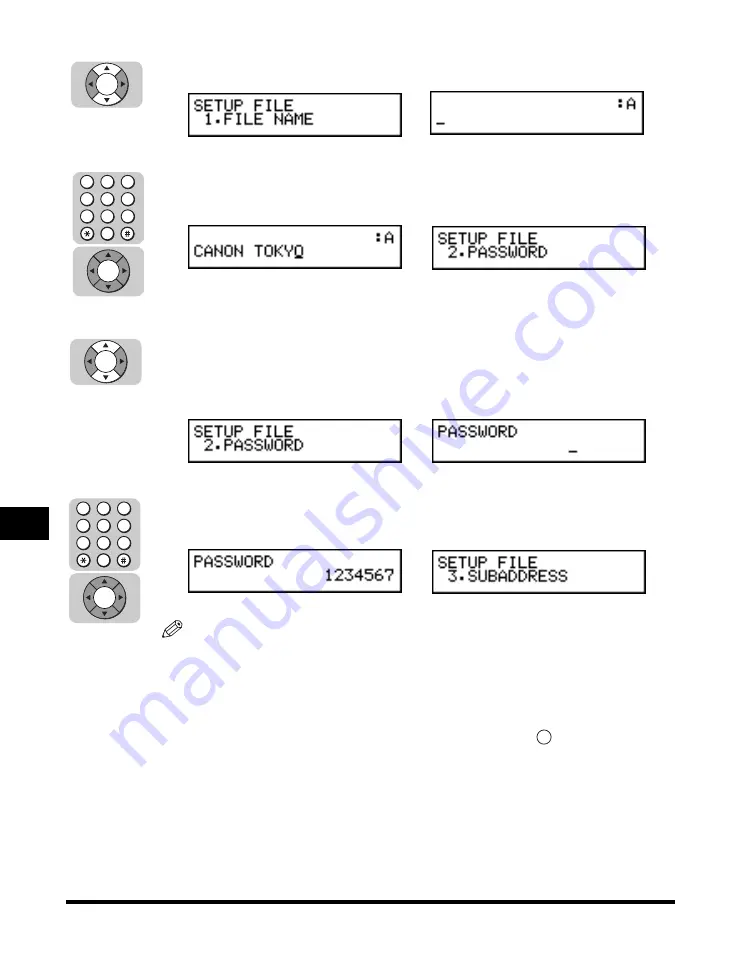
Press [
▼
] or [
▲
] until <1.FILE NAME> appears
➞
press [Set].
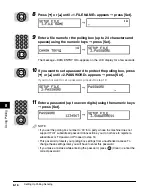
9
Enter a file name for the polling box (up to 24 characters and
spaces) using the numeric keys
➞
press [Set].
The message <DATA ENTRY OK> appears on the LCD display for a few seconds.
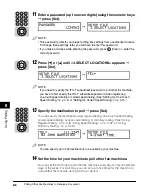
10
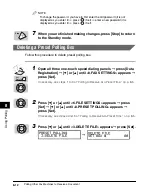
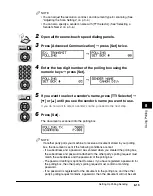
If you want to set a password to protect the polling box, press
[
▼
] or [
▲
] until <2.PASSWORD> appears
➞
press [Set].
If you do not want to set a password, proceed to step 12.
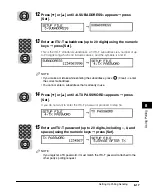
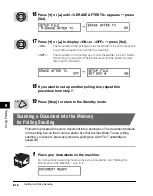
11
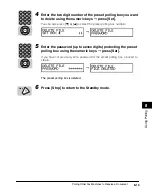
Enter a password (up to seven digits) using the numeric keys
➞
press [Set].
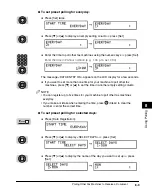
NOTE
• If you set the polling box number to ‘00’ for a party whose fax machine does not
support ITU-T subaddress/password transactions, you do not have to register a
subaddress or TX password. Proceed to step 16.
• This password protects your polling box settings from unauthorized access. To
change these settings later, you will have to enter this password.
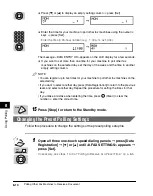
• If you make a mistake while entering the password, press
(Clear)
➞
enter the
correct password.
➞
➞
➞
➞
Set
4
1
7
5
2
8
6
3
9
0
Set
Set
4
1
7
5
2
8
6
3
9
0
Set
C
Summary of Contents for Laser Class 700 Series
Page 2: ...LASER CLASS 700 Series Facsimile Guide ...
Page 57: ...Using the Optional Dual Line 1 36 1 Before You Start Using This Machine ...
Page 133: ...Sending a Document with a Subaddress Password 3 36 3 Sending Documents ...
Page 183: ...Sending a Confidential Document 7 16 Using Confidential Mailboxes 7 ...
Page 237: ...What Happens to the Memory After a Power Failure 9 32 9 Special Sending Receiving Features ...
Page 263: ...How the Machine Operates with Default Settings 10 26 10 Other Special Features ...
Page 297: ...System Settings 11 34 Summary of Important Settings 11 ...
Page 315: ...Memory Lists 12 18 Printing Reports and Lists 12 ...
Page 337: ...When Trouble Occurs 13 22 Troubleshooting 13 ...

