Setting Up the Program One-Touch Key
10-17
Other Special F
eatures
10
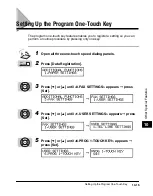
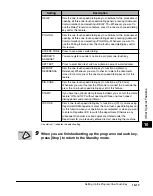
An asterisk (*) indicates the default setting.
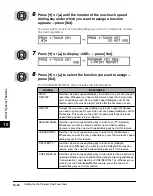
9
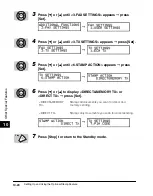
When you are finished setting up the program one-touch key,
press [Stop] to return to the Standby mode.
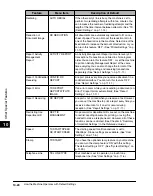
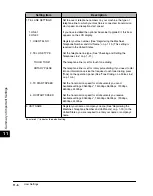
RELAY
Sets the one-touch speed dialing key to substitute for the procedure of
opening all three one-touch speed dialing panels, pressing [Advanced
Communication], and selecting <RELAY TX>. Whenever you want to
use the Relay Transmission feature, press the one-touch speed dialing
key set for this feature.
POLLING
Sets the one-touch speed dialing key to substitute for the procedure of
opening all three one-touch speed dialing panels, pressing [Advanced
Communication], and selecting <POLLING>. Whenever you want to
use the Polling feature, press the one-touch speed dialing key set for
this feature.
ACCESS CODE
Press to use access code dialing.
SENDER’S
NAME SET
You can register a sender’s name in a program one-touch key.
SET TEXT
Press to enter fixed text, such as a domain name of e-mail address.
MEMORY
REFERENCE
Sets the one-touch speed dialing key to function as [Memory
Reference]. Whenever you want to check or delete the documents
stored in memory, press the one-touch speed dialing key set for this
feature.
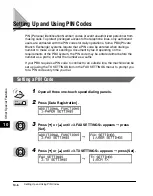
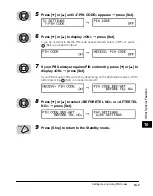
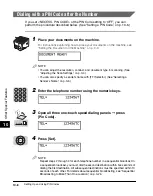
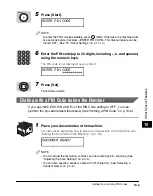
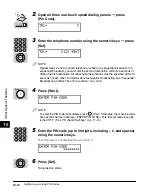
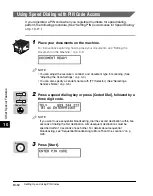
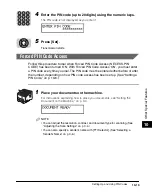
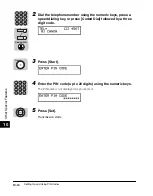
PIN CODE
Sets the one-touch speed dialing key to function as [Pin Code].
Whenever you want to enter the PIN code to connect to an outside line,
press the one-touch speed dialing key set for this feature.
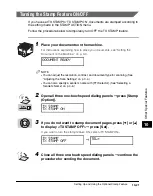
STAMP
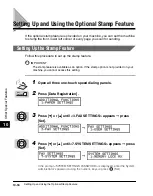
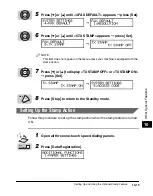
If you have the optional stamp feature installed, you can turn the stamp
feature ‘ON’ and ‘OFF’ without opening all three one-touch speed
dialing panels and pressing [Stamp].
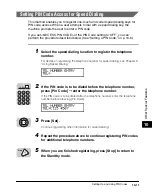
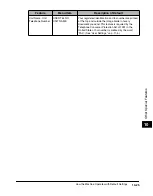
ID CODE
Sets a one-touch speed dialing key to function as [ID]. If you are using
Department ID Management, press the one-touch speed dialing key set
for this function when your operations are completed, or when you want
to enter a Department ID to switch the department. Otherwise, any
subsequent transmissions and copies are totaled under the
Department ID you previously entered to start operating the machine.
Setting
Description
Stop
Summary of Contents for Laser Class 700 Series
Page 2: ...LASER CLASS 700 Series Facsimile Guide ...
Page 57: ...Using the Optional Dual Line 1 36 1 Before You Start Using This Machine ...
Page 133: ...Sending a Document with a Subaddress Password 3 36 3 Sending Documents ...
Page 183: ...Sending a Confidential Document 7 16 Using Confidential Mailboxes 7 ...
Page 237: ...What Happens to the Memory After a Power Failure 9 32 9 Special Sending Receiving Features ...
Page 263: ...How the Machine Operates with Default Settings 10 26 10 Other Special Features ...
Page 297: ...System Settings 11 34 Summary of Important Settings 11 ...
Page 315: ...Memory Lists 12 18 Printing Reports and Lists 12 ...
Page 337: ...When Trouble Occurs 13 22 Troubleshooting 13 ...

