Using Memory Lock
9-14
9
Special Sending/Receiving F
eatures
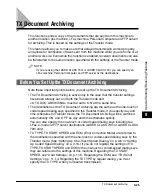
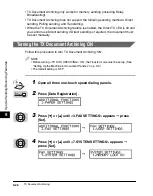
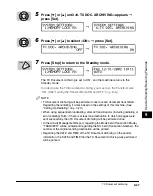
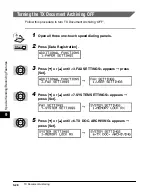
Turning Memory Lock OFF and Printing Documents
Follow this procedure to turn the Memory Lock ‘OFF’ and print the documents
received in memory.
NOTE
If the timer is set for the Memory Lock mode, the machine enters and leaves the Memory
Lock mode automatically at the specified times. (See “Setting a Time and Password for
Memory Lock,” on p. 9-10.)
1
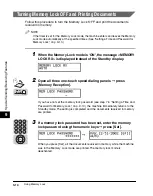
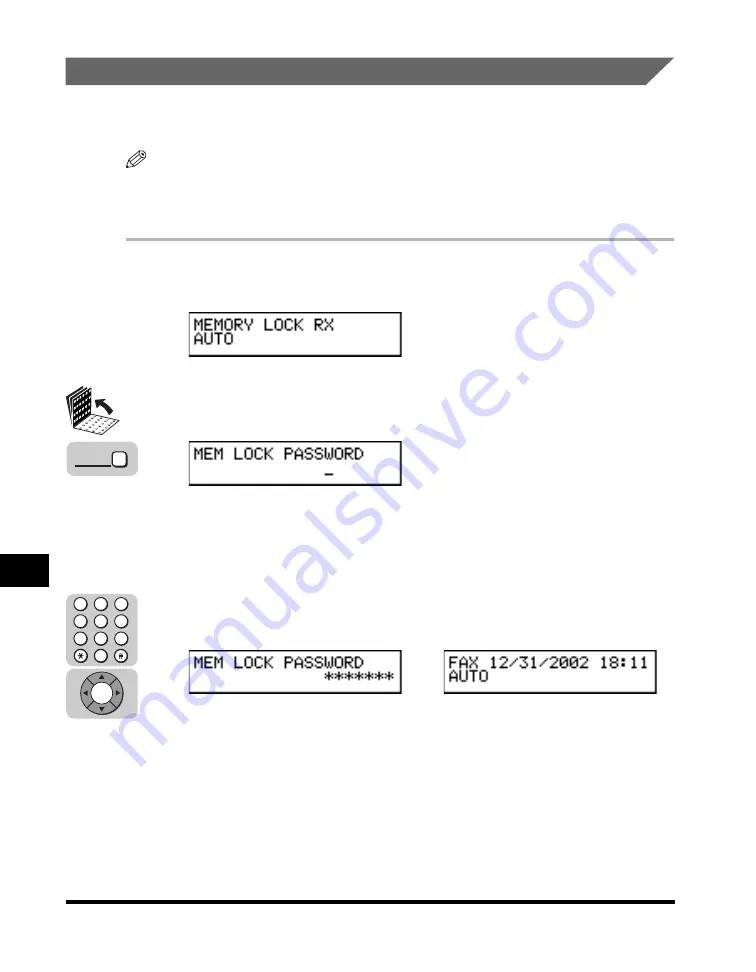
When the Memory Lock mode is ‘ON’, the message <MEMORY
LOCK RX> is displayed instead of the Standby display.
2
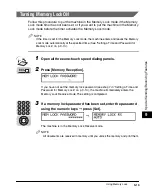
Open all three one-touch speed dialing panels
➞
press
[Memory Reception].
If you have not set the memory lock password (see step 7 in “Setting a Time and
Password for Memory Lock,” on p. 9-10), the machine immediately returns to the
Standby mode. The setting is completed and the documents received in memory
are printed.
3
If a memory lock password has been set, enter the memory
lock password using the numeric keys
➞
press [Set].
When you press [Set], all the documents received in memory while the machine
was in the Memory Lock mode are printed. The memory lock mode is
deactivated.
➞
Memory
Reception
4
1
7
5
2
8
6
3
9
0
Set
Summary of Contents for Laser Class 700 Series
Page 2: ...LASER CLASS 700 Series Facsimile Guide ...
Page 57: ...Using the Optional Dual Line 1 36 1 Before You Start Using This Machine ...
Page 133: ...Sending a Document with a Subaddress Password 3 36 3 Sending Documents ...
Page 183: ...Sending a Confidential Document 7 16 Using Confidential Mailboxes 7 ...
Page 237: ...What Happens to the Memory After a Power Failure 9 32 9 Special Sending Receiving Features ...
Page 263: ...How the Machine Operates with Default Settings 10 26 10 Other Special Features ...
Page 297: ...System Settings 11 34 Summary of Important Settings 11 ...
Page 315: ...Memory Lists 12 18 Printing Reports and Lists 12 ...
Page 337: ...When Trouble Occurs 13 22 Troubleshooting 13 ...

