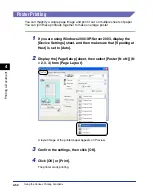
4-35
Pr
inting a Document
4
Using the Various Printing Functions
■
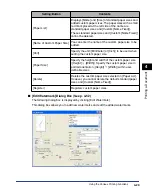
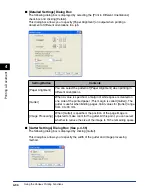
[Finishing Details] Dialog Box
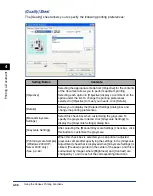
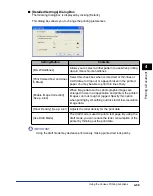
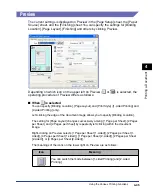
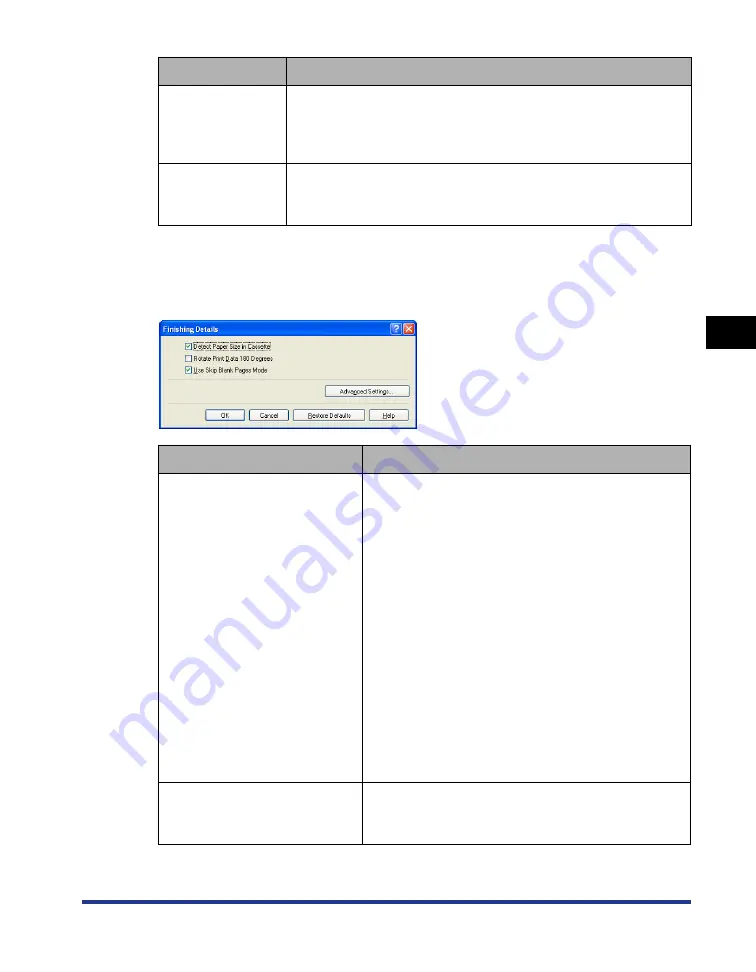
The following dialog box is displayed by clicking [Finishing Details].
This dialog box allows you to specify various settings for print processing.
Setting/Button
Contents
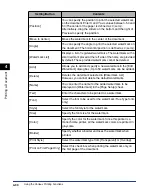
[Gutter]
When a value is specified, a margin of white space is created on
one side of the printed paper (This margin is called [Gutter]). The
gutter is useful when binding pages. Valid values for [Gutter] range
from 0 to 30 mm.
[Image Processing]
When [Gutter] is specified, the position of the page image is
adjusted to make room for the gutter. At this point, you can select
whether to reduce the size of the image to fit the remaining space.
Setting/Button
Contents
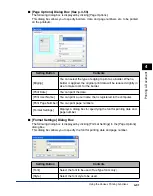
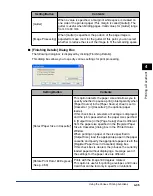
[Detect Paper Size in Cassette]*
This option detects the paper size and allows you to
specify whether to pause a print job temporarily when
[Paper Source] in the [Paper Source] sheet is set to
[Cassette 1] or [Cassette 2] (the optional paper
feeder).
If this check box is selected, a message is displayed,
and the job is paused when the paper size specified
in [Output Size] in the [Page Setup] sheet is different
from the paper size specified in the [Register Paper
Size in Cassettes] dialog box in the Printer Status
Window.
When printing on paper of the size specified in
[Output Size], load the appropriate paper in the paper
cassette and specify the appropriate paper size in the
[Register Paper Size in Cassettes] dialog box.
If this check box is cleared, the job uses the currently
loaded paper without displaying a message even if
the settings for the paper size are different.
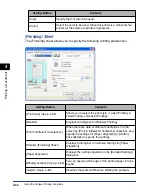
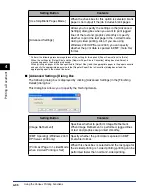
[Rotate Print Data 180 Degrees]
(See p. 4-59)
Prints with the image 180 degrees rotated.
This option is useful for printing envelopes and Index
Card that can be fed only in specific orientations.
Summary of Contents for laser Shot LBP 3300
Page 2: ...LBP3300 Laser Printer User s Guide ...
Page 25: ...xxii ...
Page 45: ...1 20 Before You Start 1 Connecting to a Computer ...
Page 99: ...2 sided Printing 2 54 Loading and Outputting Paper 2 12 Click OK to start printing ...
Page 105: ...2 sided Printing 2 60 Loading and Outputting Paper 2 ...
Page 305: ...5 32 Routine Maintenance 5 Handling the Printer ...
Page 391: ...7 52 Troubleshooting 7 Confirming the Printer Features ...
Page 397: ...8 6 Appendix 8 Dimensions of Each Part Paper Feeder Unit PF 35 117 4 116 6 369 7 421 1 mm ...
Page 413: ...8 22 Appendix 8 Location of the Serial Number ...
Page 414: ...R IE 700AC CANON INC 2005 ...

