6-29
Optional Accessor
ies
6
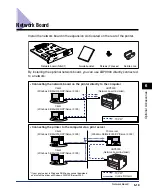
Network Board
Problems on Installing the Network Board
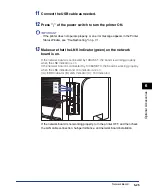
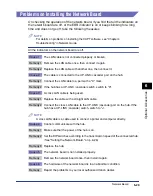
On checking the operation of the network board, if you find that all the indicators on
the network board are off, or the ERR indicator is on or keeps blinking for a long
time and does not go off, take the following measures.
NOTE
For details on problems on installing the CAPT software, see "Chapter 4
Troubleshooting" in Network Guide.
All the indicators on the network board are off.
Cause 1
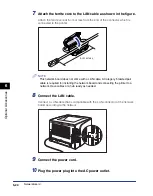
The LAN cable is not connected properly or broken.
Remedy 1 Remove the LAN cable once, then connect it again.
Remedy 2 Replace the LAN cable with another one, then connect it.
Cause 2
The cable is connected to the UP-LINK (cascade) port on the hub.
Remedy 1 Connect the LAN cable to a port with a "X" mark.
Remedy 2 If the hub has a UP-LINK (cascade) switch, switch to "X".
Cause 3
A cross LAN cable is being used.
Remedy 1 Replace the cable with a straight LAN cable.
Remedy 2 Connect the cross LAN cable to the UP-LINK (cascade) port on the hub. If the
hub has a UP-LINK (cascade) switch, switch to "=".
NOTE
A cross LAN cable is a cable used to connect a printer and computer directly.
Cause 4
Cannot communicate with the hub.
Remedy 1 Make sure that the power of the hub is on.
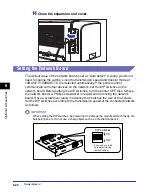
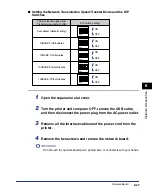
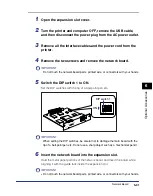
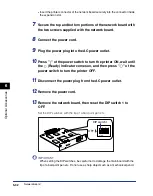
Remedy 2 Set the DIP switches according to the transmission speed of the connected hub.
(See "Setting the Network Board," on p. 6-26)
Remedy 3 Replace the hub.
Cause 5
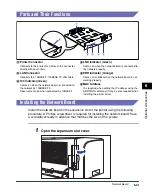
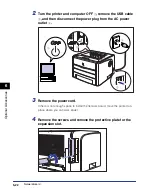
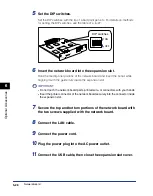
The network board is not installed properly.
Remedy
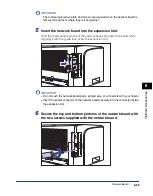
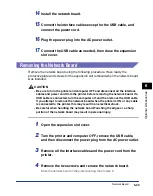
Remove the network board once, then install it again.
Cause 6
The hardware of the network board is in an abnormal condition.
Remedy
Report the problems to your local authorized Canon dealer.
Summary of Contents for laser Shot LBP 3300
Page 2: ...LBP3300 Laser Printer User s Guide ...
Page 25: ...xxii ...
Page 45: ...1 20 Before You Start 1 Connecting to a Computer ...
Page 99: ...2 sided Printing 2 54 Loading and Outputting Paper 2 12 Click OK to start printing ...
Page 105: ...2 sided Printing 2 60 Loading and Outputting Paper 2 ...
Page 305: ...5 32 Routine Maintenance 5 Handling the Printer ...
Page 391: ...7 52 Troubleshooting 7 Confirming the Printer Features ...
Page 397: ...8 6 Appendix 8 Dimensions of Each Part Paper Feeder Unit PF 35 117 4 116 6 369 7 421 1 mm ...
Page 413: ...8 22 Appendix 8 Location of the Serial Number ...
Page 414: ...R IE 700AC CANON INC 2005 ...

